A very popular engine amongst turbine
enthusiasts, although attaching a starter to it can be problematic.
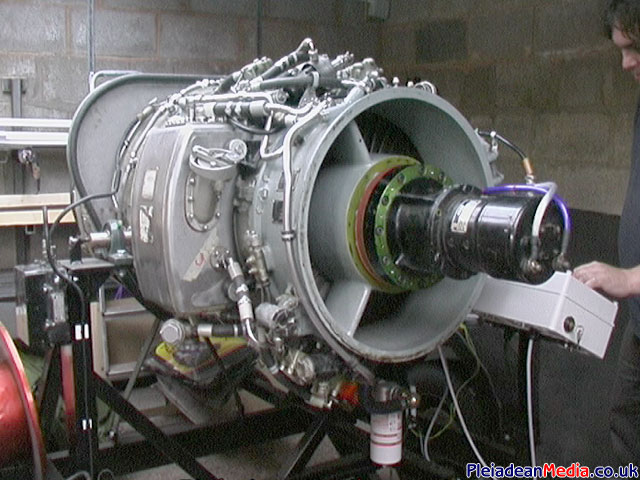
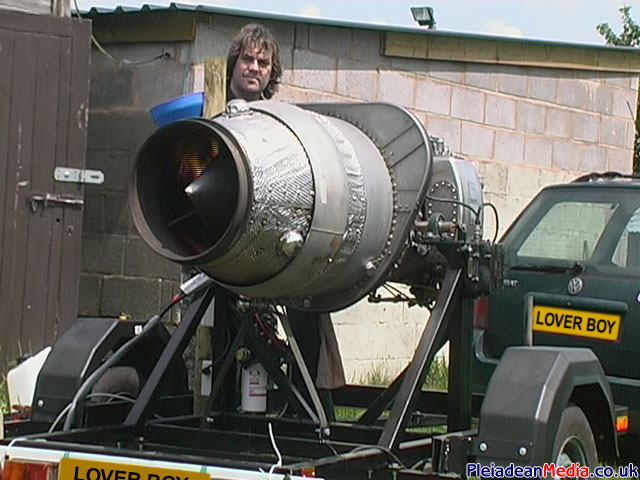
The Rolls Royce Viper 102 Turbojet engine comes from a RAF Jet Provost trainer aircraft similar to the one pictured below.
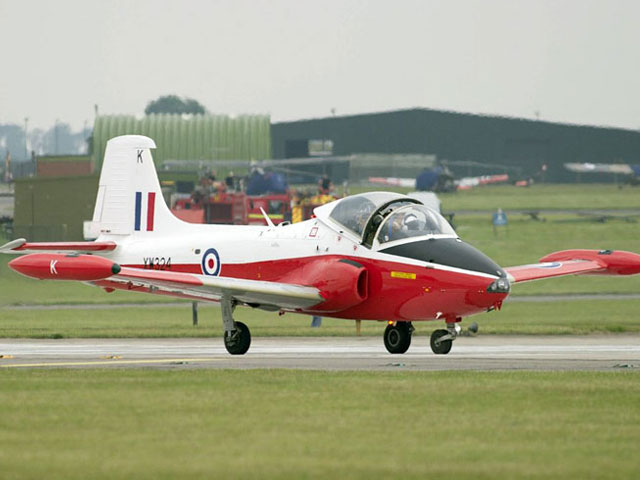
Here she is ‘Val the Viper’, there are a few things that need to be rectified before use, for example over tightened unions and cross threaded bolts.
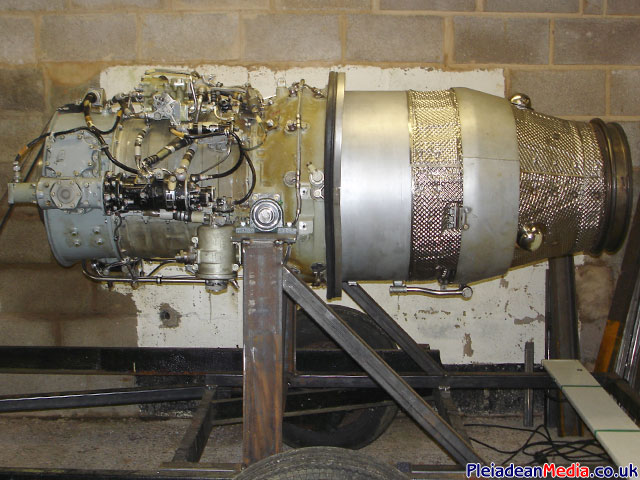
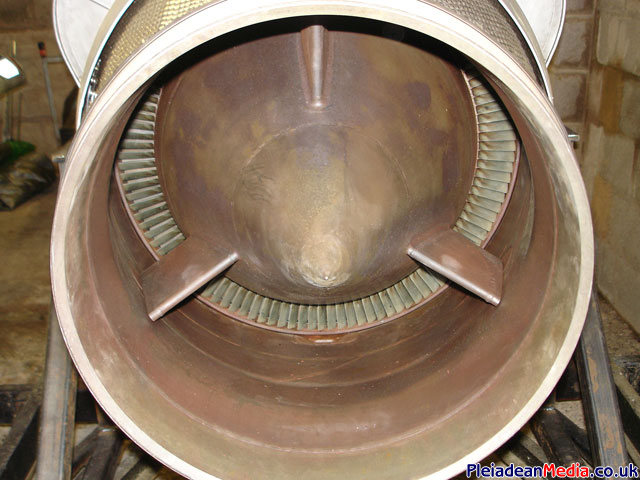
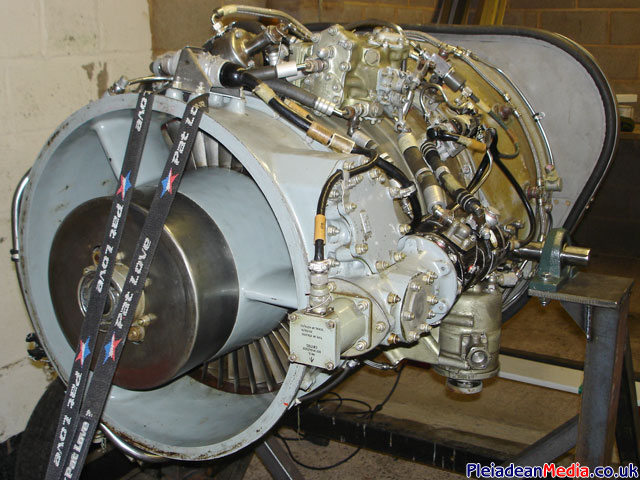
Turbine wheel view. All the blades seem to be in excellent condition.
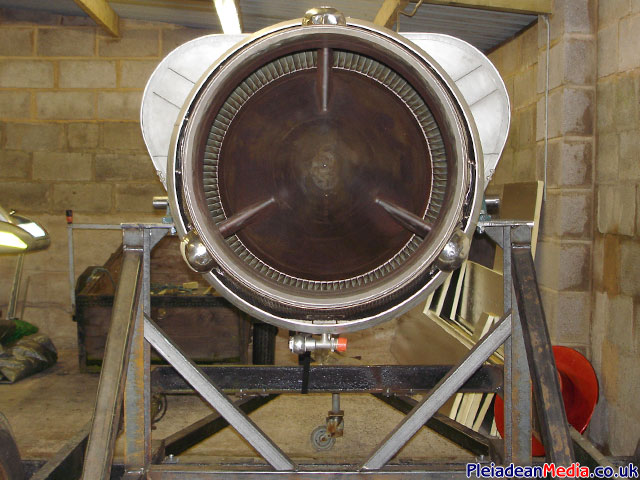
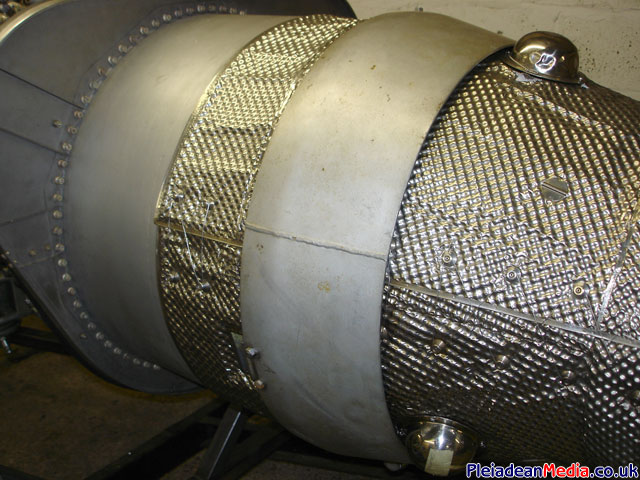
Another view of the rear end, this time with a better view of the exhaust cone/ spike.
Oil tank on the left hand side, oil pump on the front bottom with some fuel controls on the top.
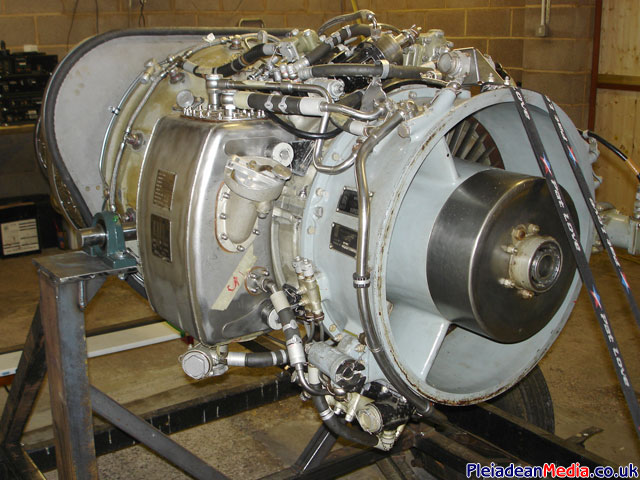
Tacho Genny, Gearbox and fuel pump on the front right and the fuel filter assembly can be seen low down to the right.
A basic failure containment shield around the turbine wheel.
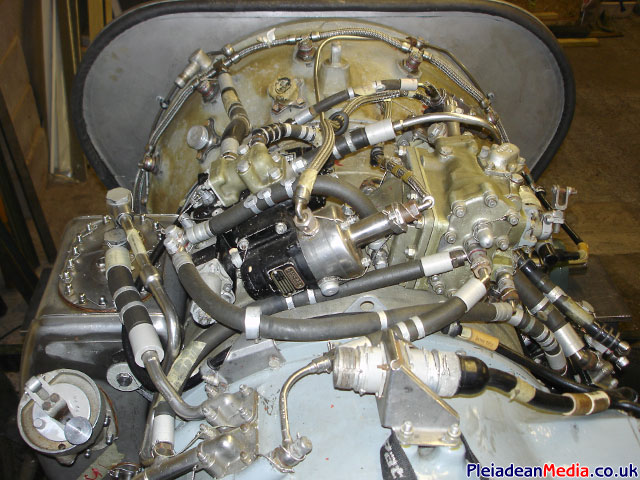
Oil tank on the left, fuel control valves on top.
A close view of the Tacho Genny, Gearbox and fuel pump.
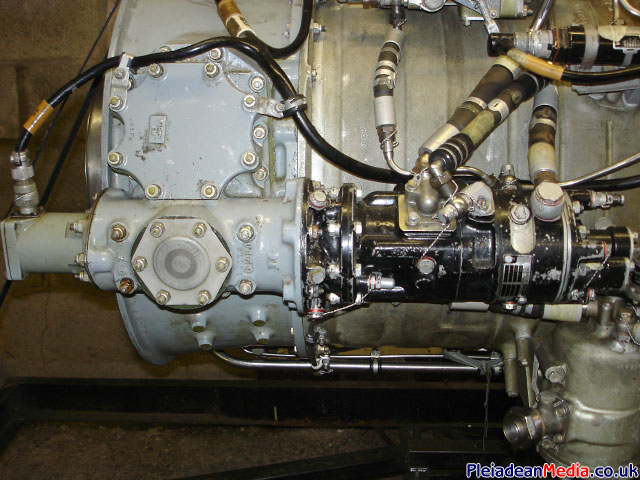
Fuel filter housing.
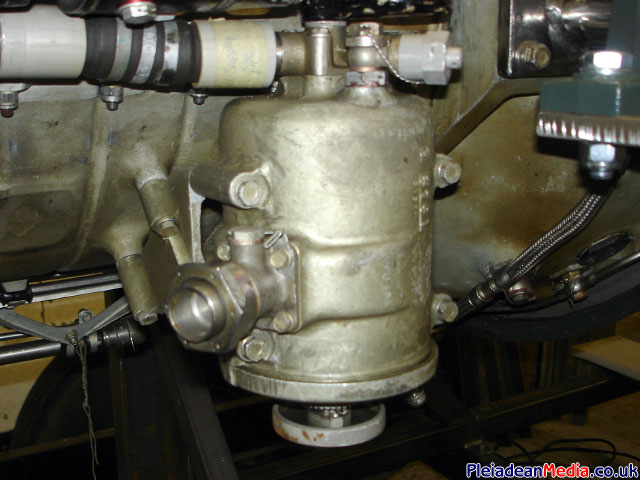
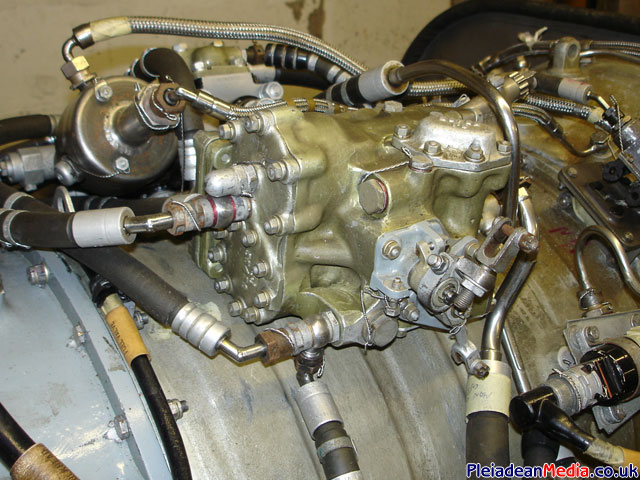
Fuel control unit or FCU.
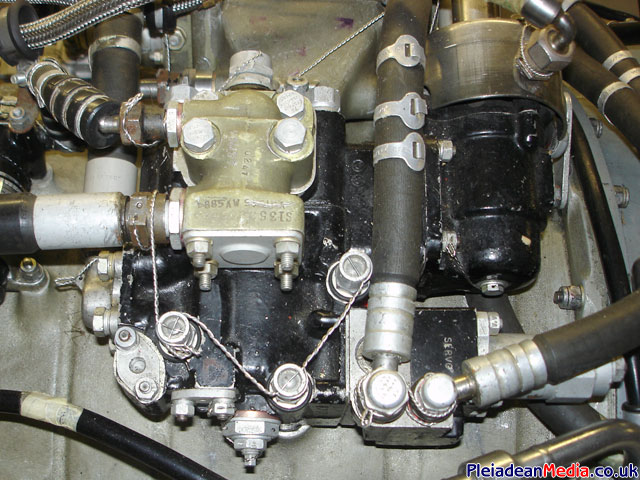
Oil pump assembly.
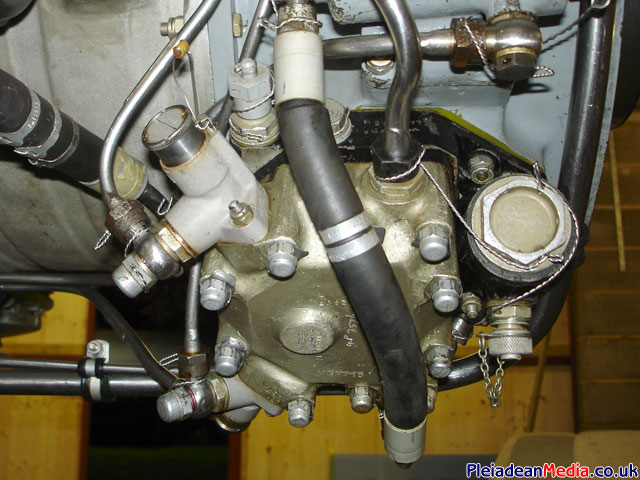
Fuel control valve, the HP Cock and the Throttle can be seen clearly to the right of the unit.
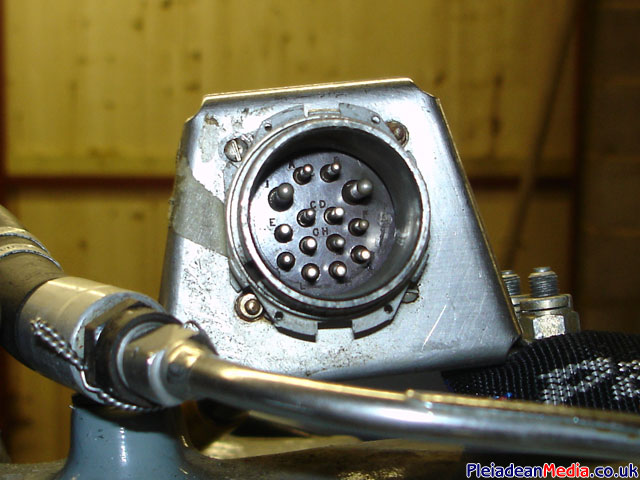
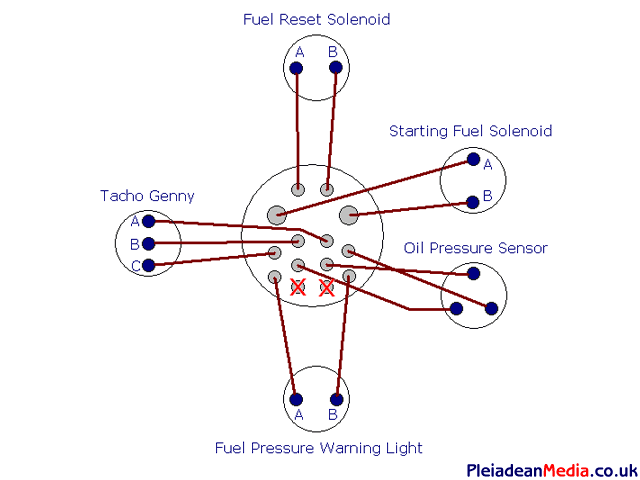
All the wiring (apart from the igniter box) terminate at this multi pole connector.
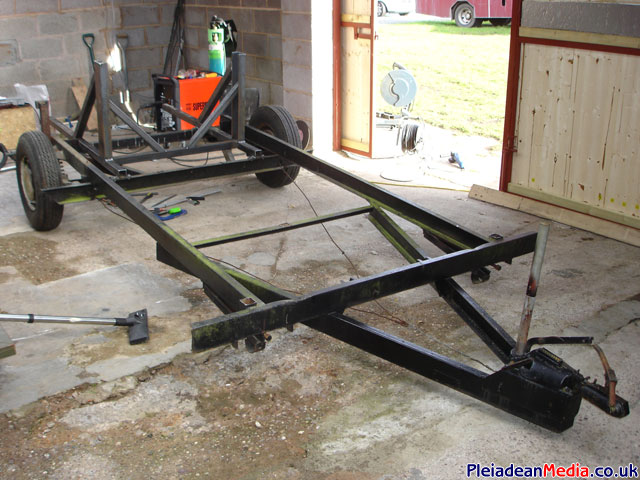
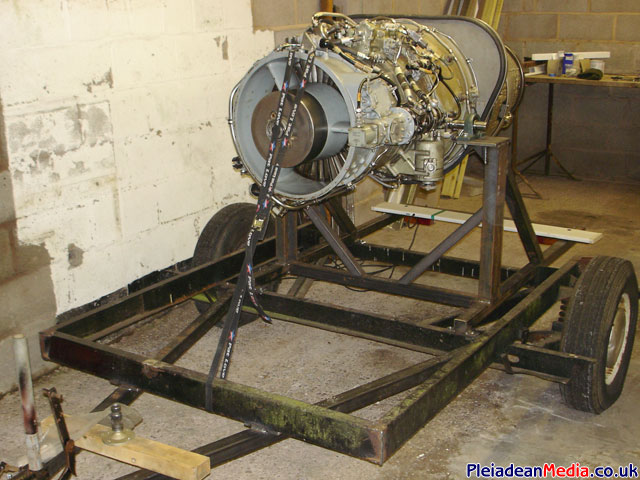
For the Viper’s trailer I am going to use an old 50’s caravan trailer, a little rusty but a sand down and a coat of hammerite will do the job nicely.
The start of the support frame for the Viper.
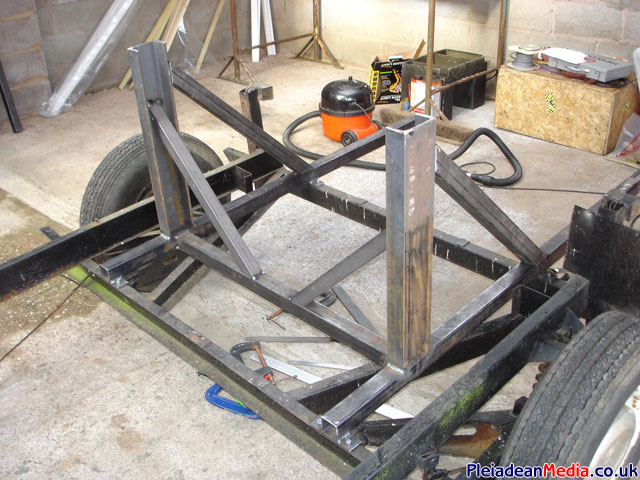
Here you can see that the trailer frame has now been cut down to a sensible size and a new “A” Frame built.
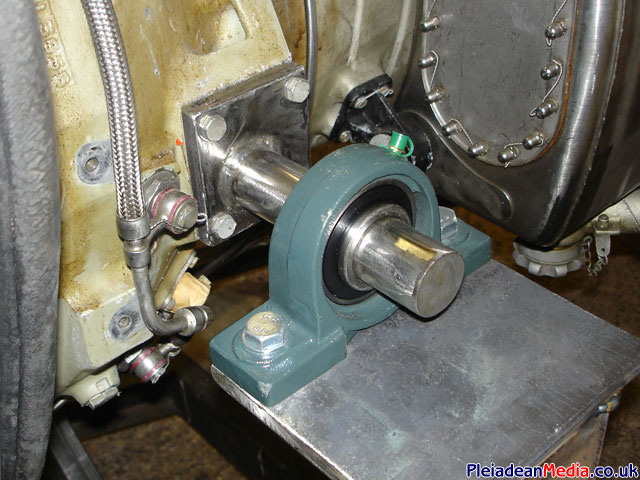
The pillow block bearings that support the engine allowing rotation if required. I made the Vipers supports from 35mm solid bright bar and 12mm plate.
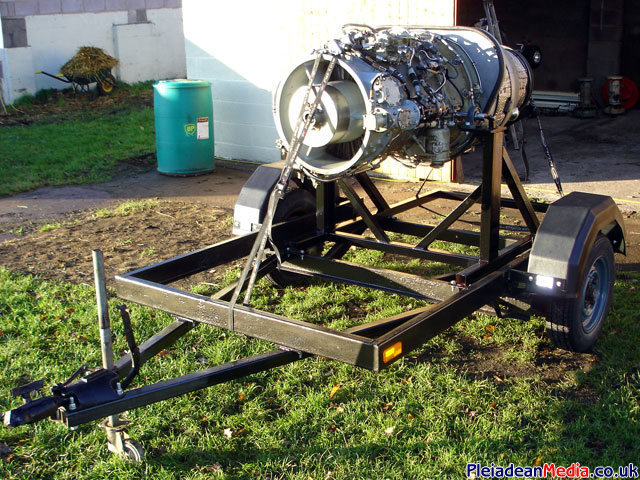
Today I worked on the trailer a little more, its now had a coat of paint, 2 new tyres and the hubs have been sanded down and primed and painted in a dark grey colour to look military-ish. Also some reflectors have been added for safety.
Now that the trailer is pretty much completed, its down to the nitty gritty of getting the engine to run. The first job is to mount an electric starter to fit on to the front hub assembly, for this I’m going to try and adapt this ‘new old stock’ Bendix starter.
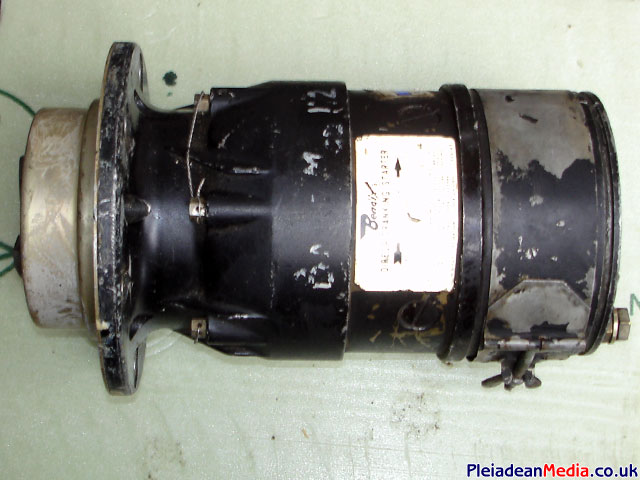
This is the starter in its basic form, the planetary gears and case have been removed. Looking at it now I hope that its going to be powerful enough to start the engine as the initial start load is quite high, maybe a 2 stage soft start system will have to be implemented?
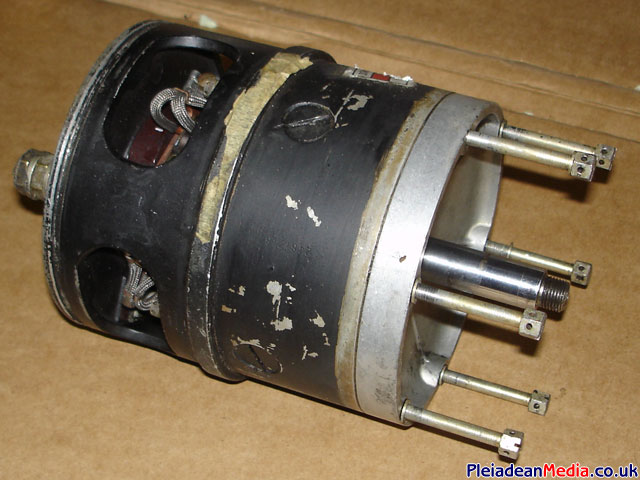
I know not a lots happening with the Viper, but I am chugging along with it slowly. Today I made a note of the wiring harness connections as per the image above.
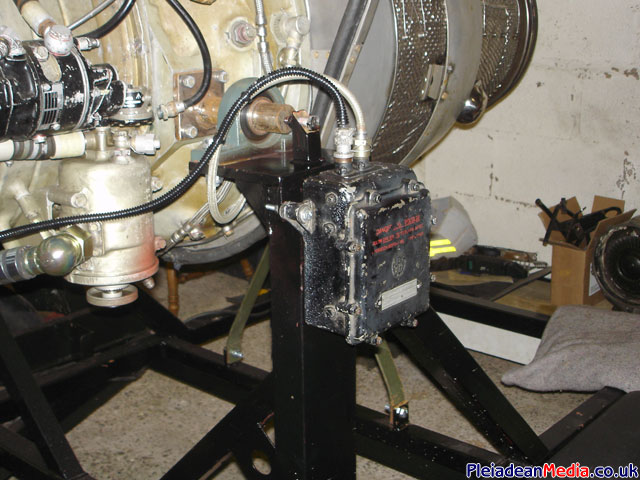
I also have fitted the port side igniter box to the top of the engine frame and wire locked the connections in place. I have yet to find a duplicate box for the other side as there are two separate igniters plugs used on the viper.
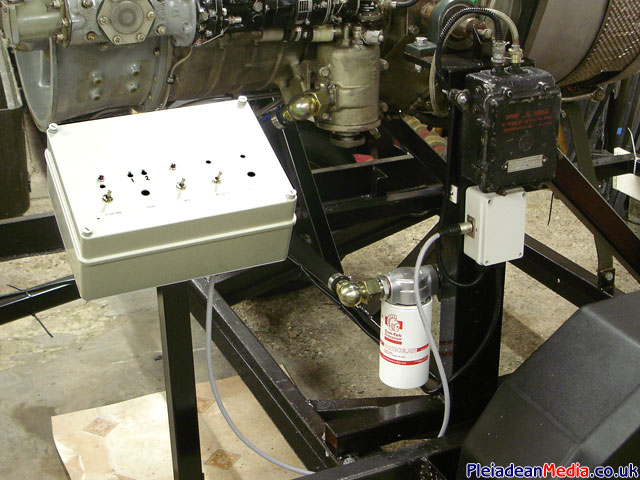
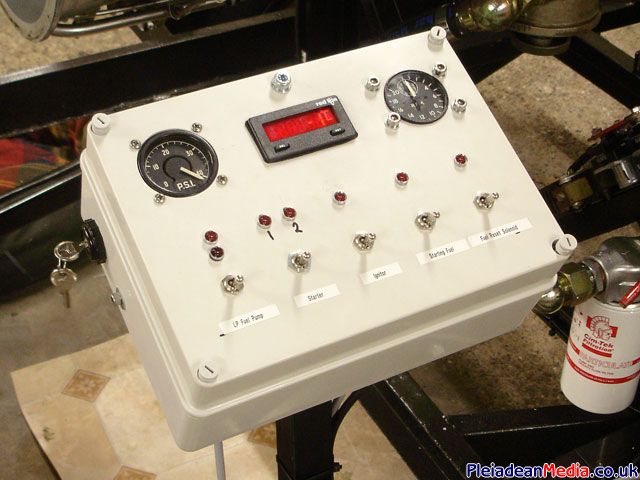
Today I have started the control box, I made a basic bracket that is fixed to the trailer and the box sits on top of that. I will post a wiring diagram when I get chance. I still have a few components to buy yet, eg. RPM & Tacho Gauges, I will order these tonight. I am also in correspondence with a nice chap in Belgium called Luc Conrardy who is also in the middle of a Viper 102 project, this is handy as we can throw ideas at each other.
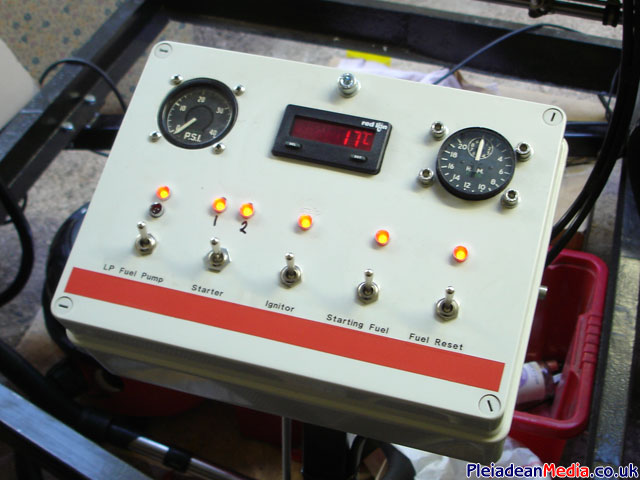
There we go, control panel nearly finished.
From the top left..
Oil Pressure Gauge
Red Lion Thermometer (EGT)
RPM Gauge (Rated to 20,000)Then the switches..
Low Pressure Fuel Pump, 2 Stage Starter, Ignitor, Fuel Starting Valve, Fuel Reset Valve.
Time to have a serious go at getting a starter fitted.
I have decided, with some advice from Richard & Ian that the starter I already have is not going to powerful enough and will increase the risk of hot starts, so this starter has now been shelved. I am having a bit of a mental block with this, so maybe I should delve further; pictured is the starter reduction housing with the cover removed.
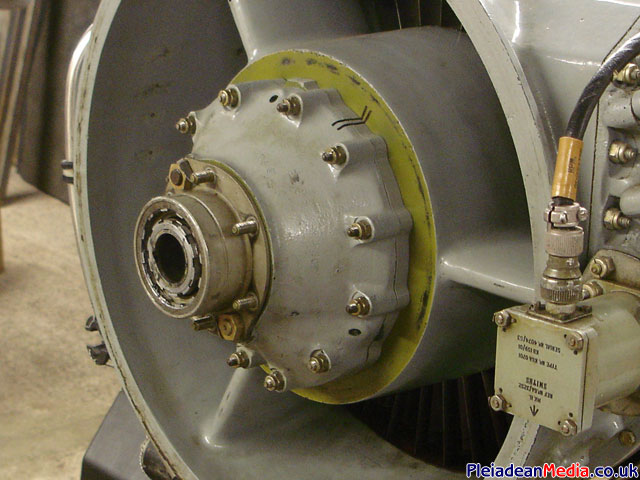
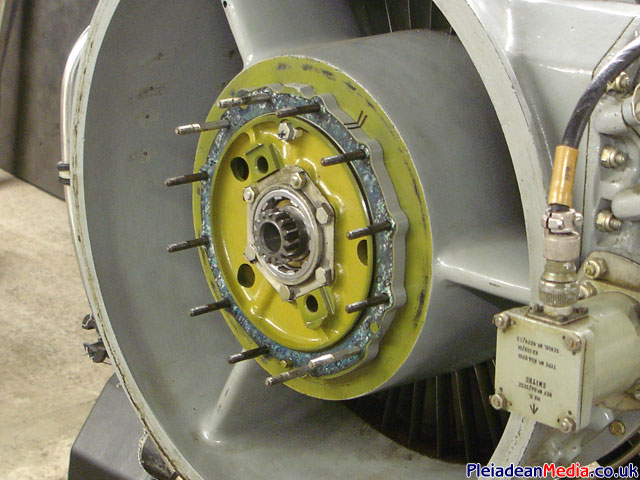
Image with the starter housing removed showing the exposed direct drive to the turbine shaft.
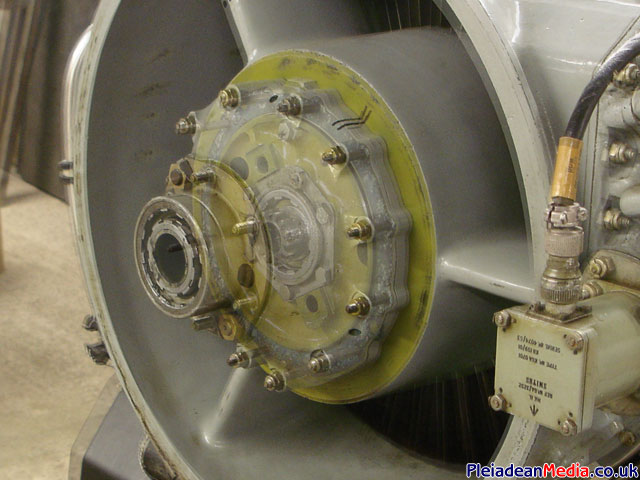
A composite image of the assembly.
This shows the removed starter reduction assembly viewed from the rear.
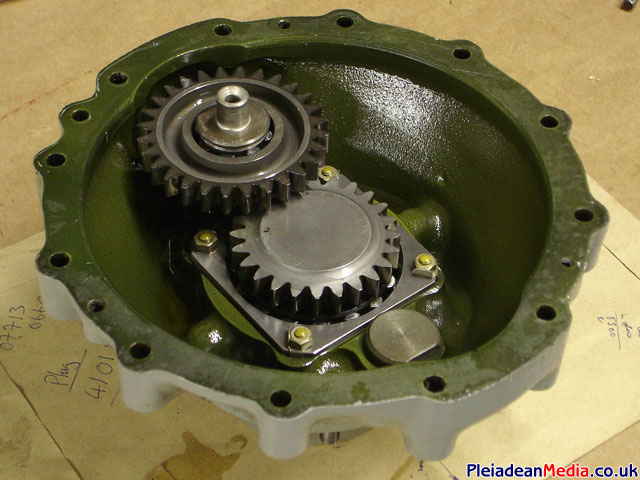
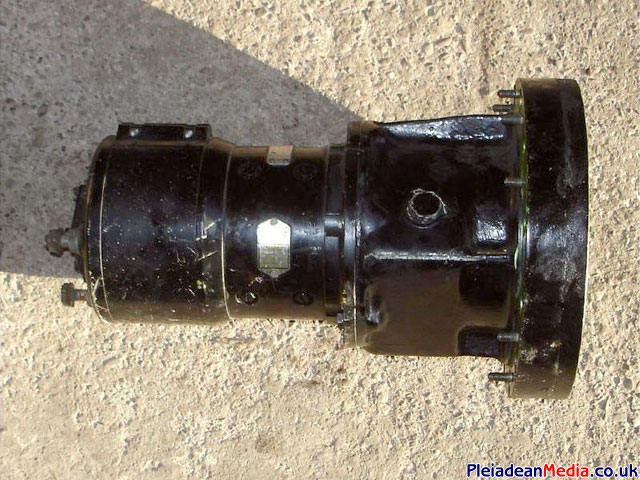
Fortunately I have come across a starter assembly from a Viper 203, the 203 engine was used as a take off assistance unit on a shackleton bomber, and interestingly runs on avgas (petrol). This unit doesn’t directly fit the 102, but I think that it can be made to fit using an adapter plate and a new quill drive which will have to be manufactured.
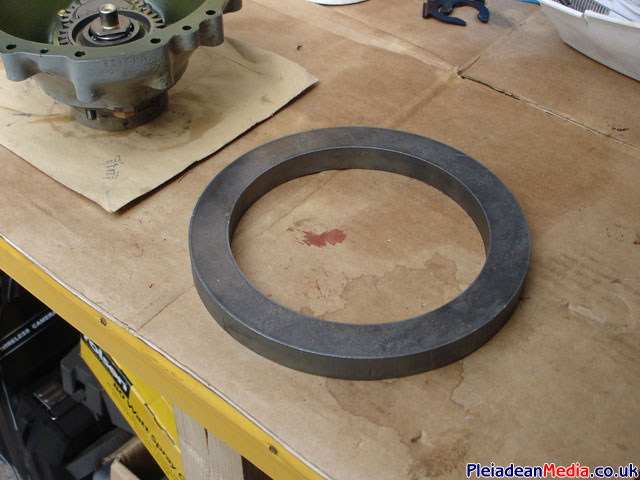
The adapter plate, laser cut to size.
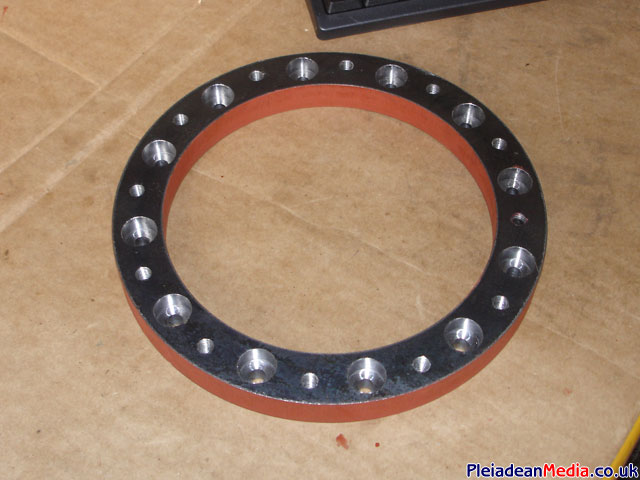
The drilling & tapping part was quite time consuming as all the holes had to be absolutely perfect.
This is the adapter ring mounted on to the face of the viper, note how all the retaining nuts sit below the surface to enable the starter clutch assembly to sit flush.
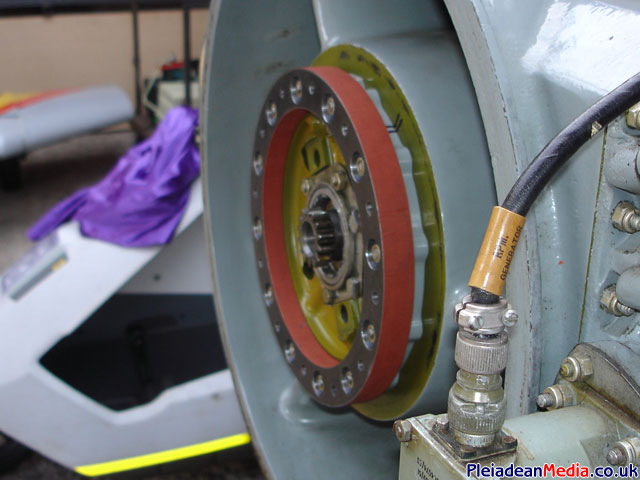
Clutch assembly mounted, I tapped the holes on the adapter plate to 1.25 8mm threads, so this meant the clutch bracket holes had to be drilled out to 8.5mm allowing for clearance.
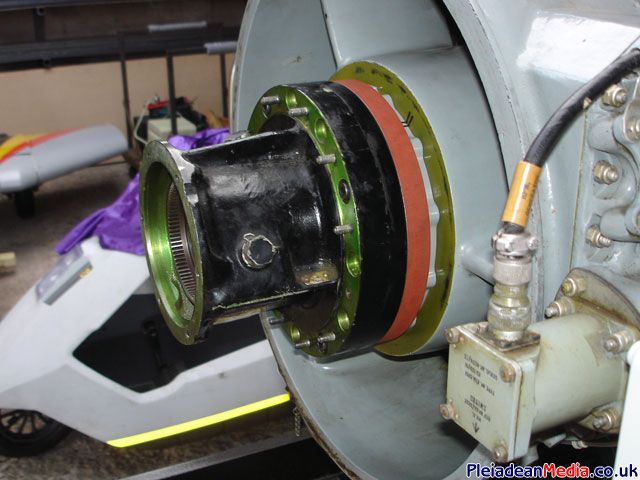
Starter bolted on, now I can get on with the wiring of the starter and related components.
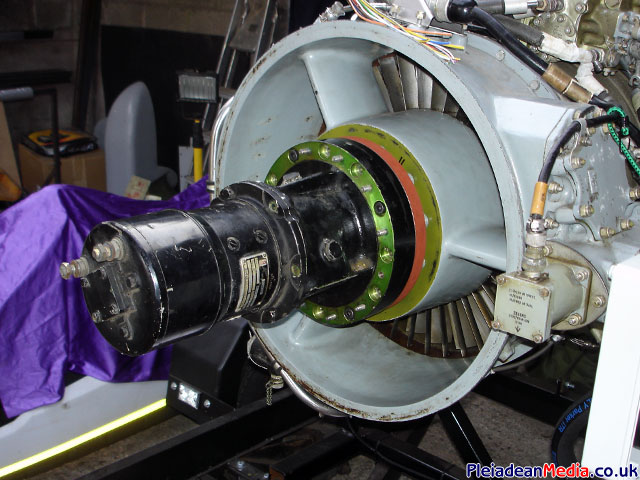
At last ! The adapter coupling has now been made and mates nicely both with the stub shaft and the rotor gear, which now of course is acting as a spline.
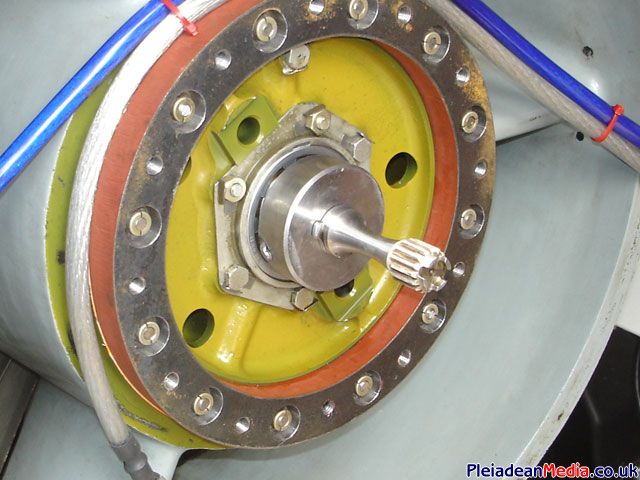
Vid Cap of the first starter test run, an excellent result. In the video you can just see the soft start coil glowing red hot, this is just above the fuel filter at the bottom, this will have to be replaced at some time for a more heavy duty coil.
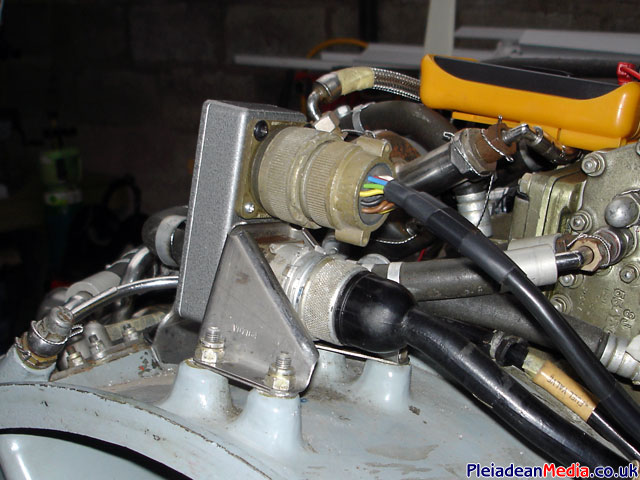
Back to the electrics. I have hunted high and low to find a connector to fit on the viper, but to no avail, so I have decided that I would make my own. I found in my bits chest a suitable male & female connector pair and mounted the male fitting to a metal kit box, I then fixed the box to the vipers bracket. I then soldered the wires at the rear to the vipers terminals. Its a bit bodgy but at least I can still disconnect the control panel if needed and it works a treat.
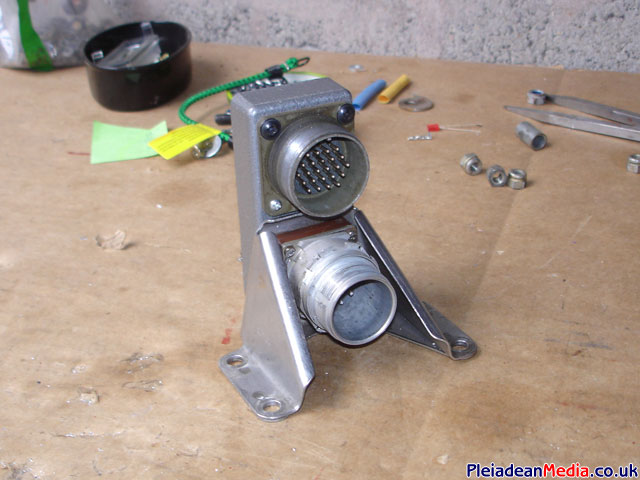
Improvised connector assembly in place and happily wired up.
Control Panel finished and ready to go.
Internal view of the wiring.
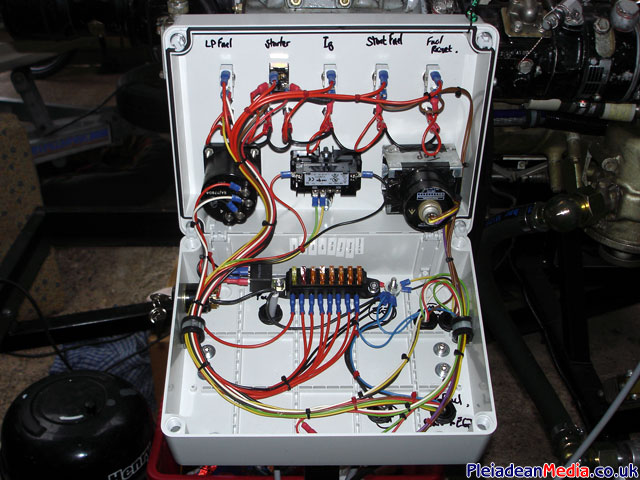
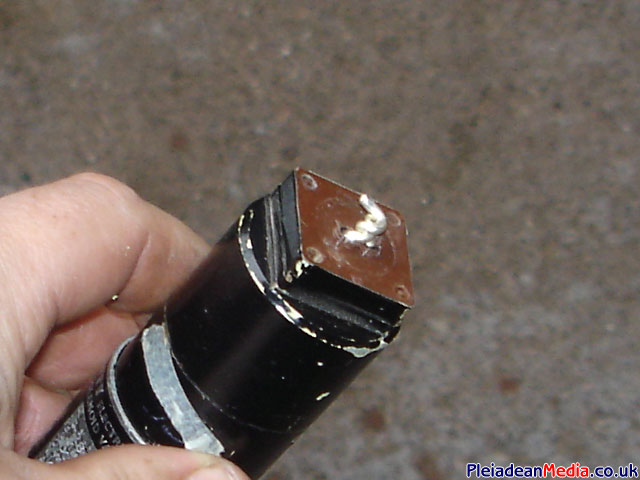
Hmm, the starting fuel and fuel reset valves are not working? lets have a look then. Hmm some plonker seems to have damaged the connectors. At least I know what the fault is and after a bit of messing around with the soldering iron all is sorted.
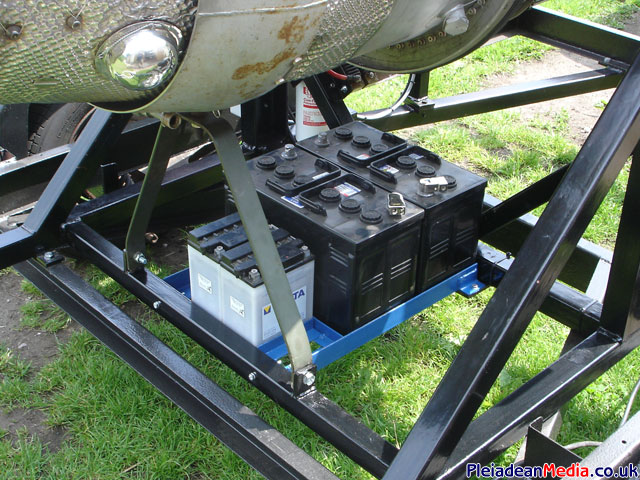
Its time that the Viper was made totally mobile, so work was started on the battery mounts. The 2 larger battery’s provide starting power only, whilst the 2 smaller motorcycle battery’s provide power to the control and igniter box’s. All this fitting nicely to the underside of the engine.
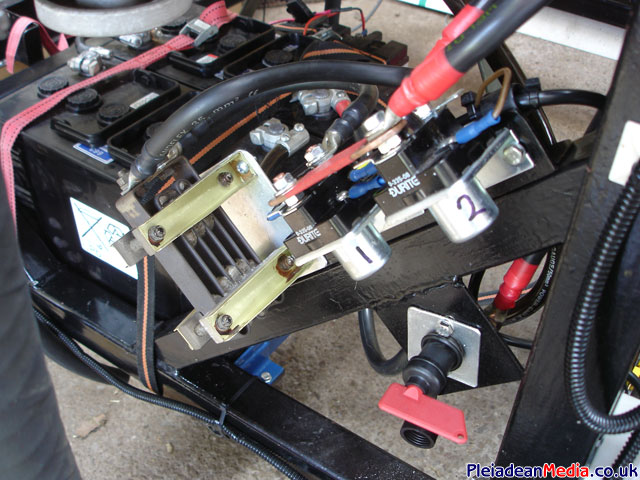
As you may have seen from the video of the 1st viper starter motor test, the uptake was a little slow, until the 2nd stage kicked in, consequently I decided to upgrade all the power cables to 0 gauge and fit a higher current soft start resistor. After another test run the starter seems to be working perfectly.
I had the first proper self sustained test run today and I’m chuffed to bits that all worked ok. However when we were priming the engine before the run, I noticed that there was an oil leak from between the oil pump and the casing, I sorted this out by making a new sealing gasket which speedily resolved the issue. A video of the test can be found on the media page.
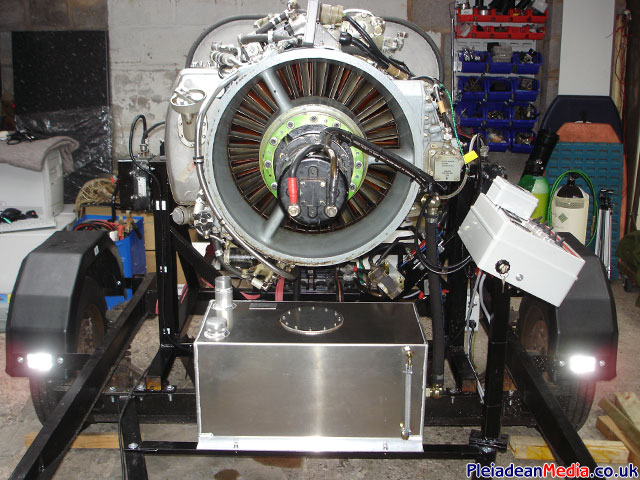
I friend made me a 12 gallon custom fuel tank, as seen in the picture. For now I am going to rely on temporarily pressurising the fuel tank to prime the HP pump, this saves me having to install a low pressure priming pump and not to mention a lot of effort.
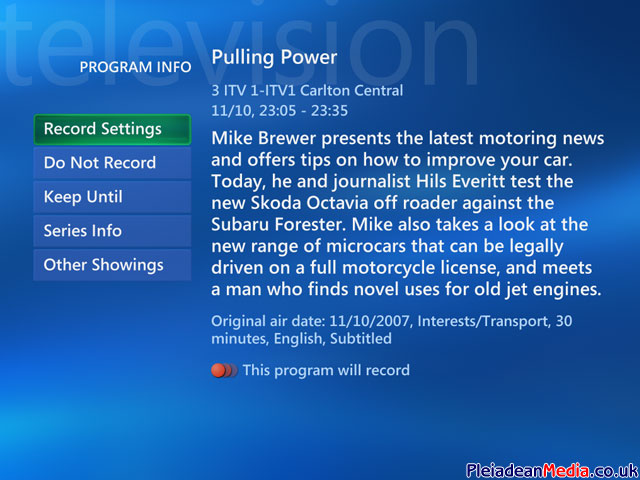
A little bit of TV featuring the running of the Viper.
Maybe this would be a good use for the Viper?
The story continues here.

