I’m running out of things to make. Making a Jet Powered Broom seems the sensible option, being a Harry Potter fan and all that 🙂
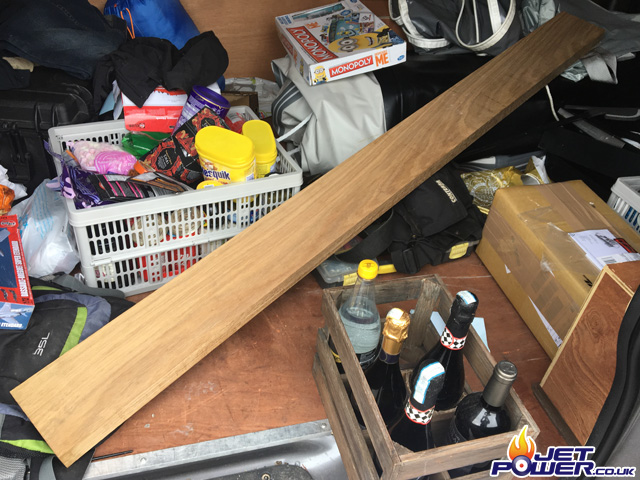
Purchased form a builders merchant in Shrewsbury, 1 x lovely piece of 50mm thick Oak Timber.
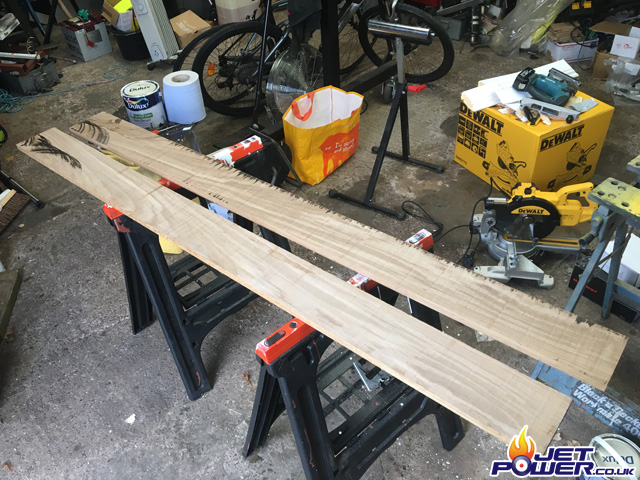
This was harder to do than it looks, cut straight down the middle giving approximately 2 x 25mm thick pieces.
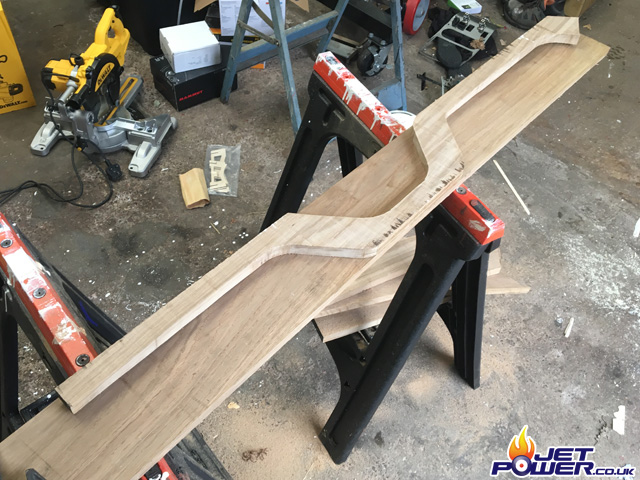
One half was then profiled to the shape of the broom and then the profile was used as template for the other half.
I am concerned that there are areas of the Oaks grain that will be susceptible to splitting/ breaking when assembled, so I am adding a carbon weave reinforcement stringer straight down the middle of the two pieces.
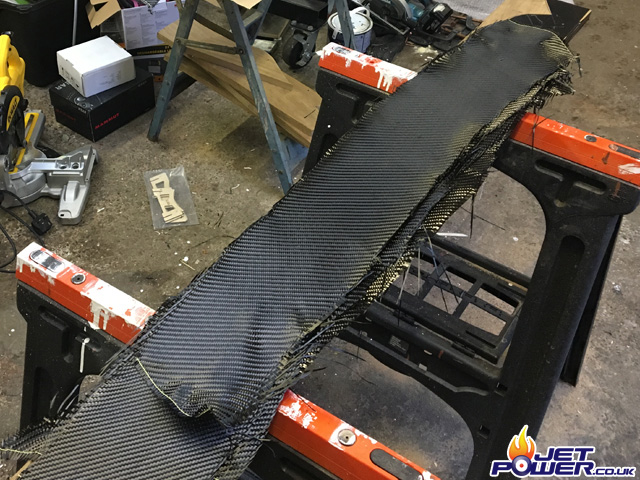
Now, I know a bit about laminating and GRP form my Windsurfing days, but not a lot about gluing Oak to Carbon Fiber. My best guess was to use SP Systems Epoxy 115 because that’s what we used to make windsurf boards from, but that was an incorrect assumption on my part, due to the oily wood a special epoxy was required specially designed to glue Teak & Oak. The Oak profiles were reversed so that the surfaces were flat and copious amounts of resin added to wet out the carbon fiber and then clamped to hold everything in place.
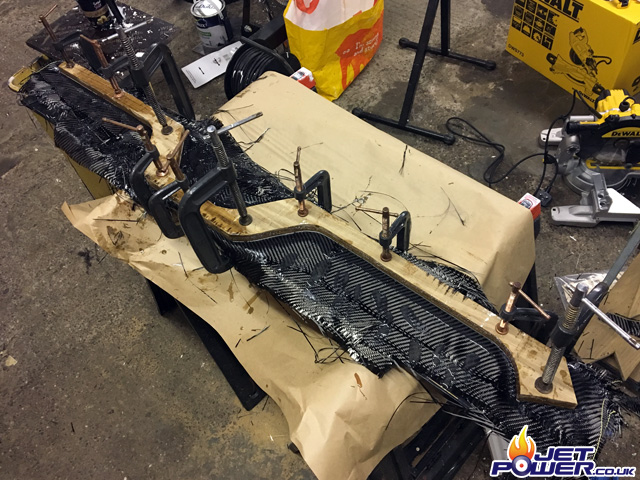
I covered the the outer side of the broom with black gaffer tape so to stop and resin drips sticking to the Oak where it shouldn’t be.
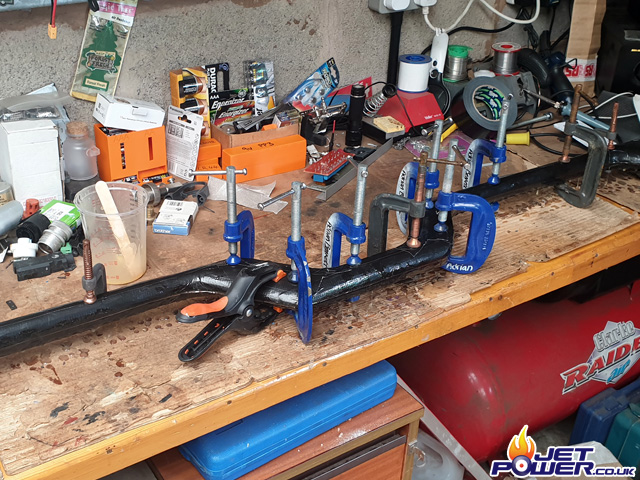
A day later the resin had cured and the clamps have been removed.
I don’t have a picture, but the excess carbon was cut away and the whole thing put to one side for a week or two as other stuff had to be done.
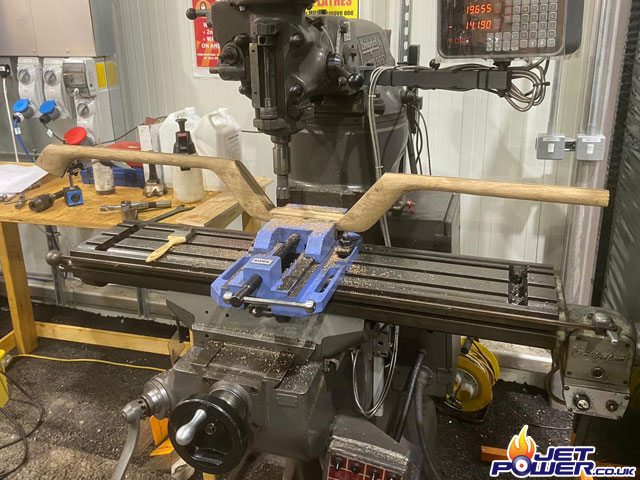
To get a nice and square area for the fuel tank and electronics compartment, I found popping it in the Mill did a great job.
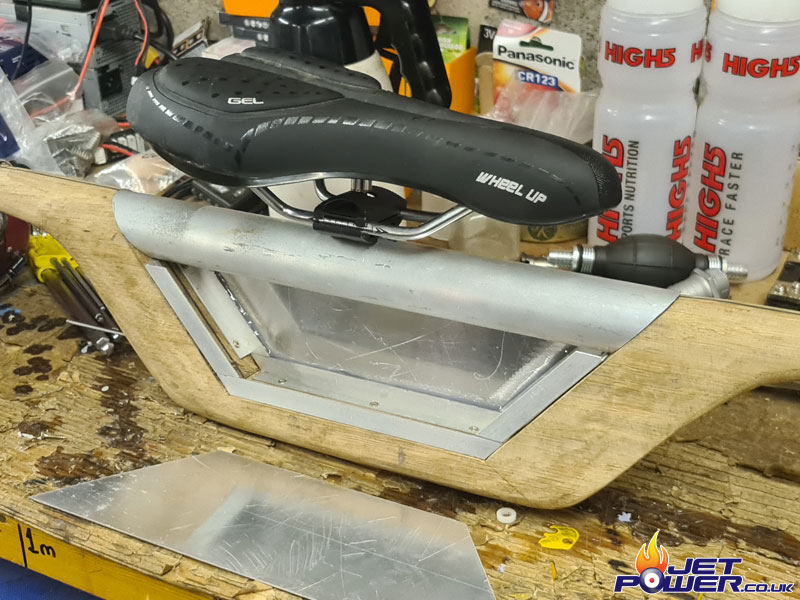
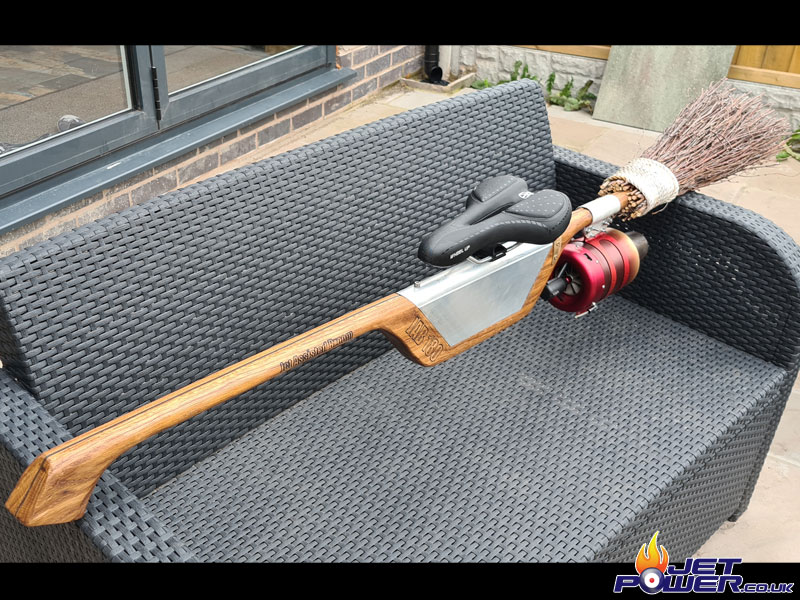
Seat attached to a piece of aluminium tube which will form the top of the broom compartment and aluminium angle, screwed in to place to attach the sides of the compartment on to.
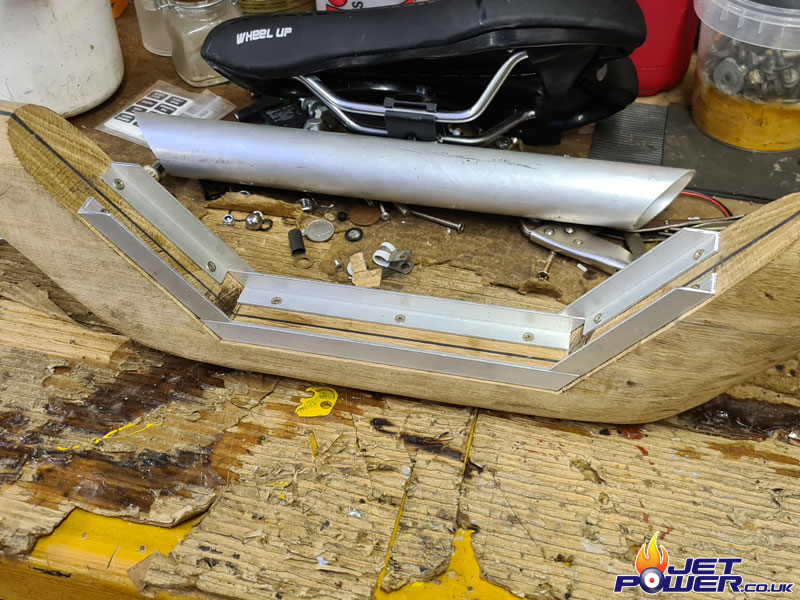
The top tube will act as a doorway in to the compartment, fixed at the rear with a piece of brass and secured at the from with a 5mm bolt.
A bracket behind the seat has been added to attached the engine to, and after some thought I chose a Kingtech K180 Jet Engine which I had spare from another project.
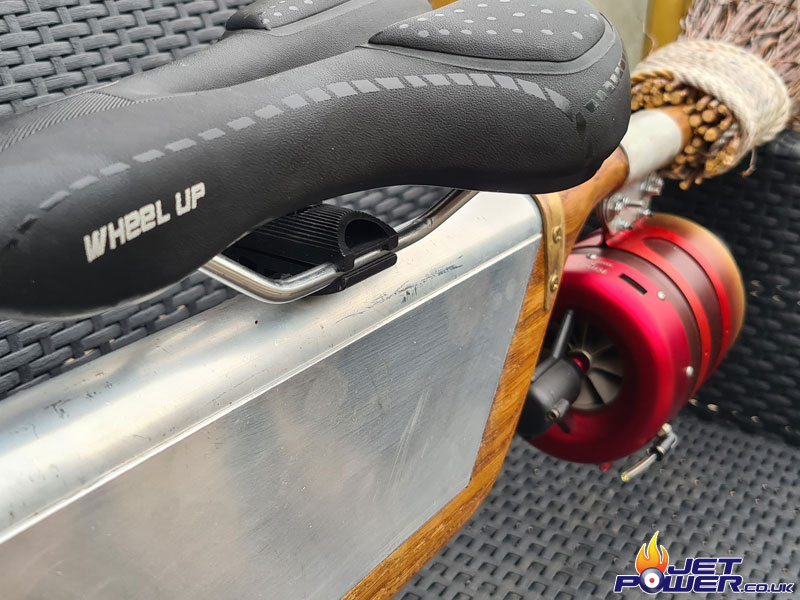
Brass bracket at the rear to hold the top pipe in place and some sticks bound on to the rear of the broom to form the brush, engine bolted in to place and fits really well.
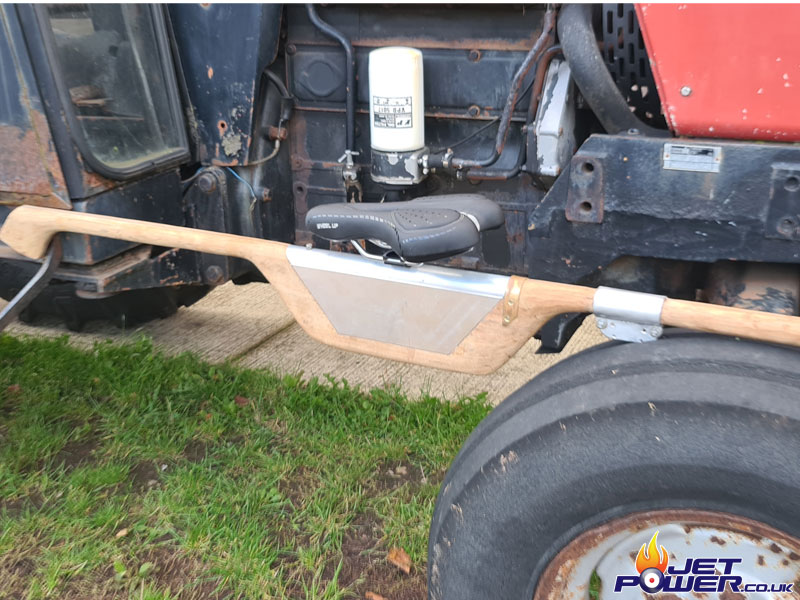
Over the course of a day, Danish oil was rubbed in to the Oak to give it a nice gloss finish and protect the wood from the elements when in use.
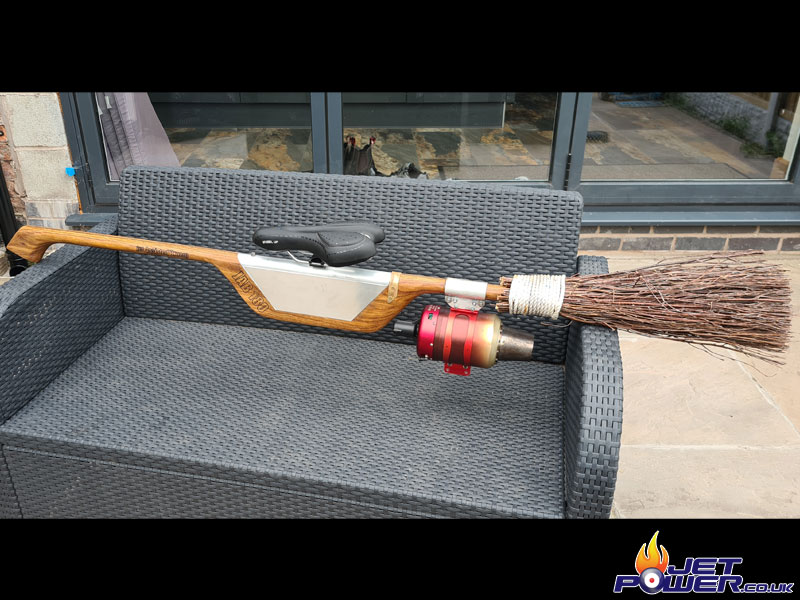
And you can see I fetched the laser engraver out, JAB 180 – Jet Assisted Broom with a K180 engine on board.
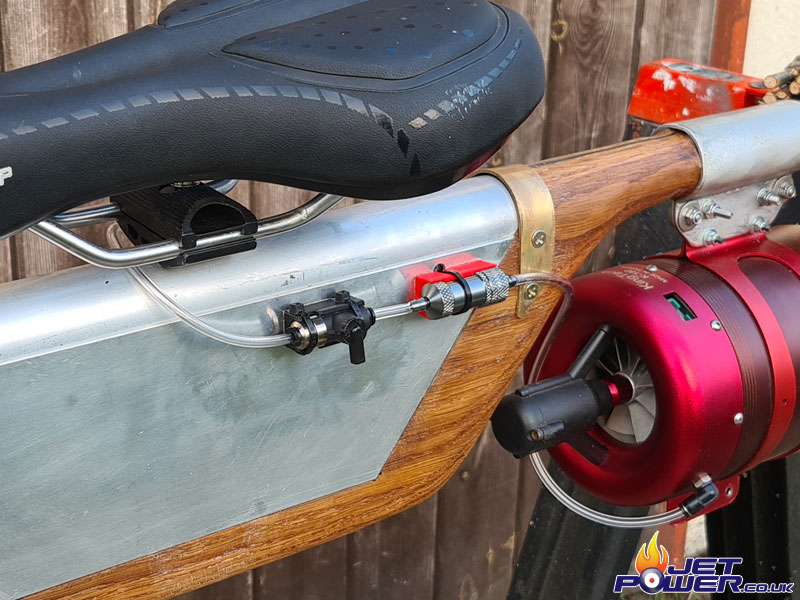
The fuel tank will be mounted inside the housing . Externally to get the fuel to the engine, I fitted a Festo bulkhead to 90 deg swivel adapter on the right hand side of the housing, with the pipework running over the top of the horizontal seat post.

The feed from the tank connects to a shutoff valve and then on to a KT inline filter, finally getting to its location at the engine fuel intake. I 3D printed the valve and filter brackets using PLA. The fuel pipe will be secured in to place, but I am still waiting for the saddle clamps to arrive.