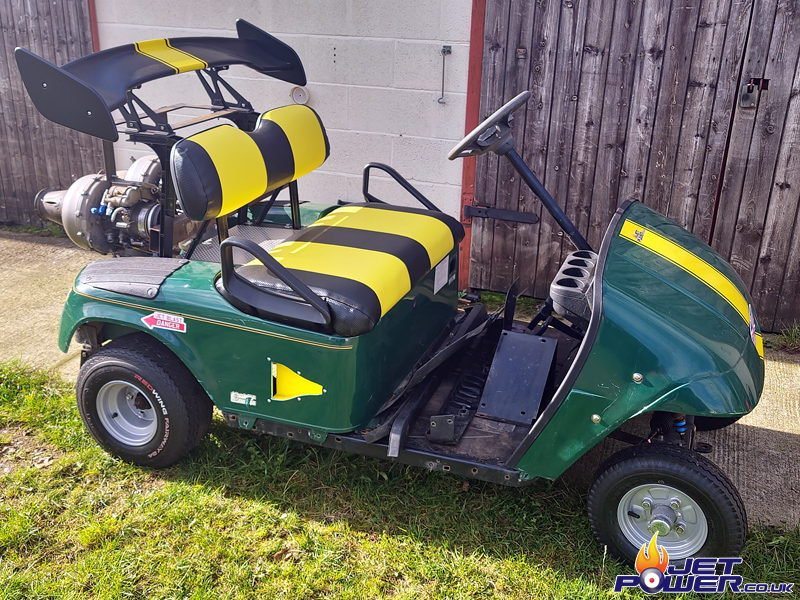
I reckon I need a “Engine Test Bed” in the form of an old Golf Buggy, plus I haven’t made anything for a while, so this little project will help keep me sane.
Well here it is, very kindly donated by a friend.
It is however very tired, needing new wheels, steering rack and other hardware. It doesn’t have a drive system, but that’s OK because it will get pushed along 🙂 A good start to this project for sure!
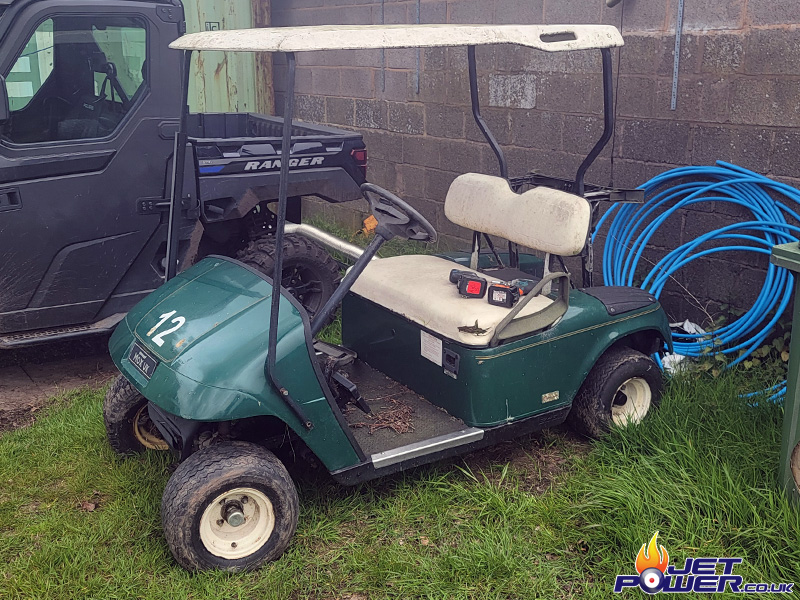
Pictured after a strip down and a good power wash off.
Obviously this cart had had a front right impact at some point and there was damage, mainly to the original steering rack. New steering rack just visible under the hood at the front of the cart.
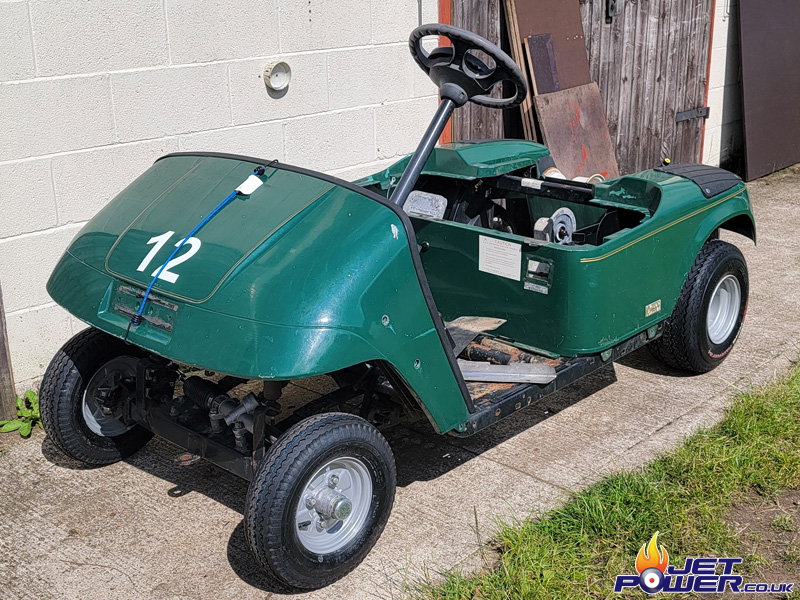
A new set of front wheels from a small car trailer, coupled with a larger set of rear wheels will give it a hot rod kind of appearance.
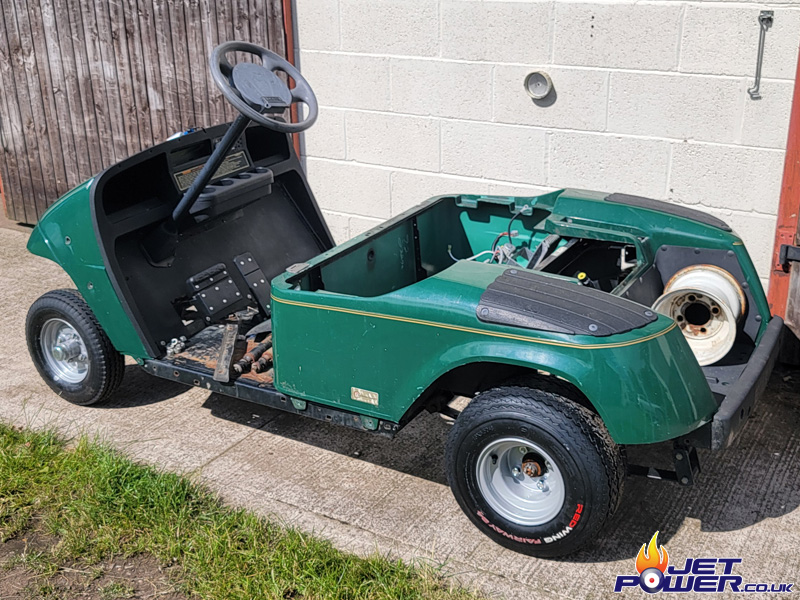
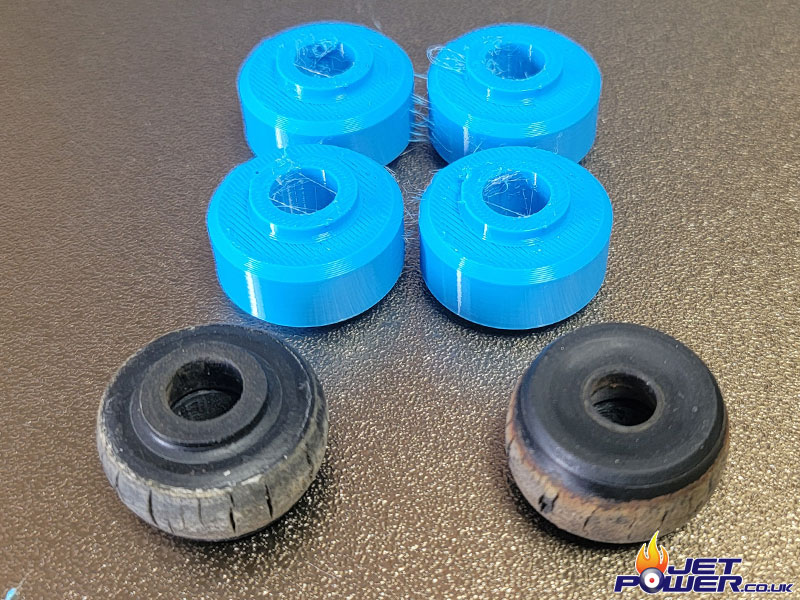
Even though the Shock Absorber’s have surface rust they still work really well, what hasn’t stood the test of time are the end mount rubbers, these are cracked/ perished and need to be replaced. Rather than spend £100 on a set of new ones, I drew some up in Fusion 360 and 3D printed them in Blue TPU for less than a £1.00
It will be interesting to see how they hold up.
I’m waiting for bits to turn up and thus got bored.
So I 3D printed some aerodynamic NACA ducts and fitted them, look great but totally pointless really, at the moment anyway. I’m going for the Lotus team colours of green & yellow.
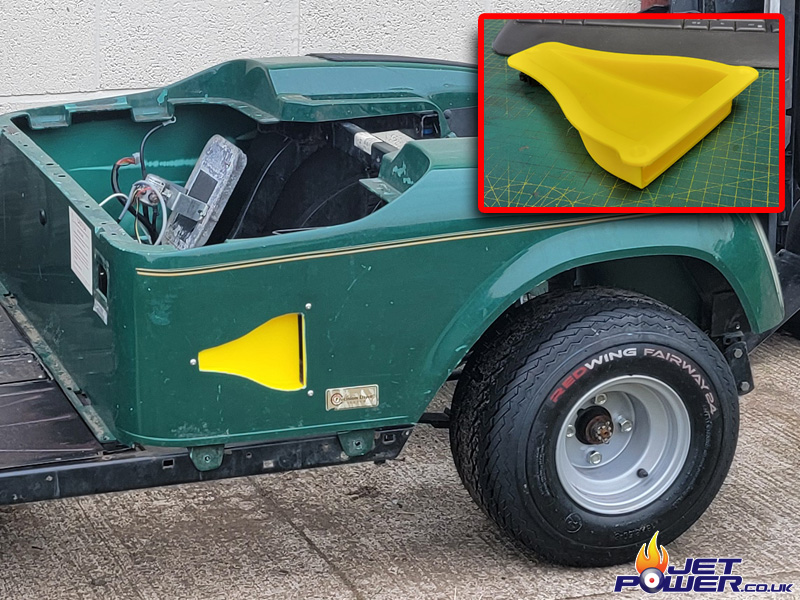
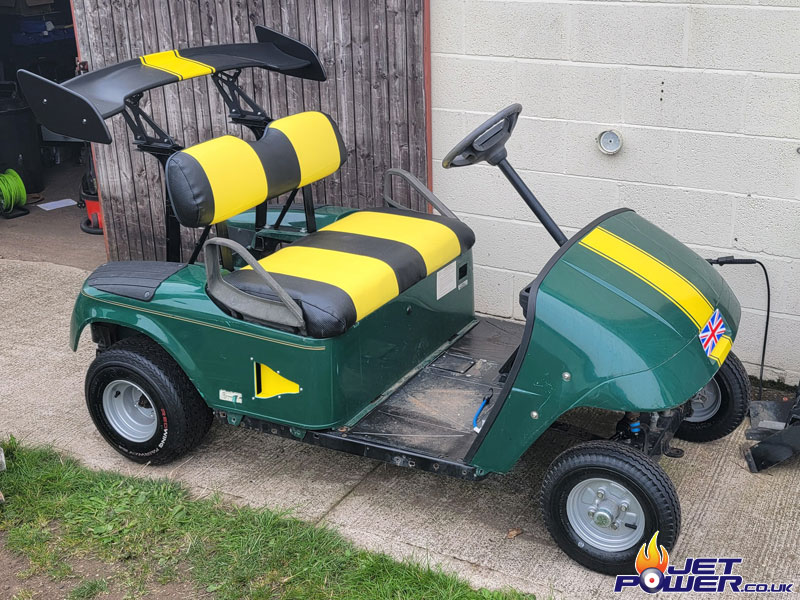
Ok, so aesthetically I am getting somewhere now.
Pointless, but awesomely cool Spoiler/ Viper Stripes added for additional go-fasterness. Also the Seats have been re-upholstered in two tone for added bling !
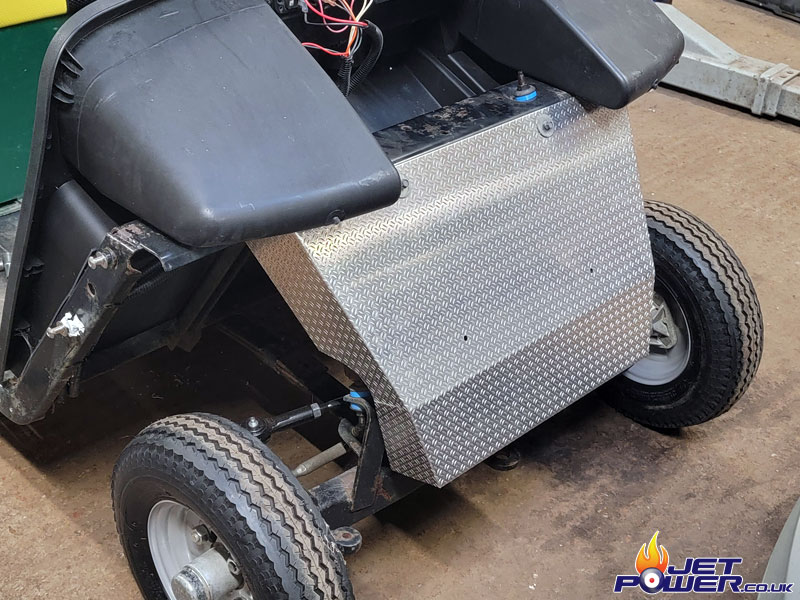
The front plastic cover was shredded, I guess after the impact that caused the front suspension to go all skewwiff. The cover is only really in place to hide the boring front gubbins and with no real purpose, but a replacement aluminium cover was made to keep the job looking smart.
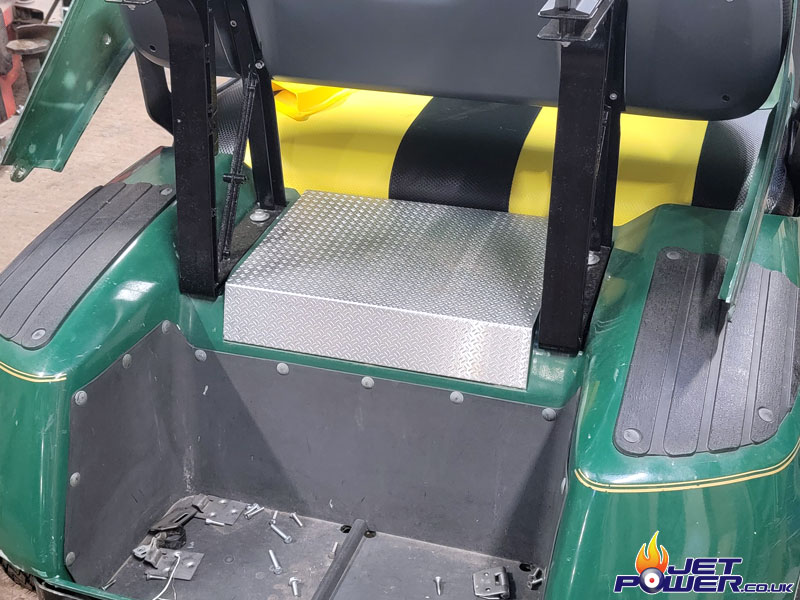
And what would have been the motor access panel (?), will now probably be the fuel tank access panel, made from rice profile aluminium. I just need to work out the best way of securing it in place.
After a fair bit of thought, I have decided to fit a couple of Williams WR24 turbojet engines, not the easy option, but the cooler option. Let the engine frame making commence.
https://jetpower.co.uk/williams-wr24-7-1/
https://jetpower.co.uk/willaims-wr24-7-2/
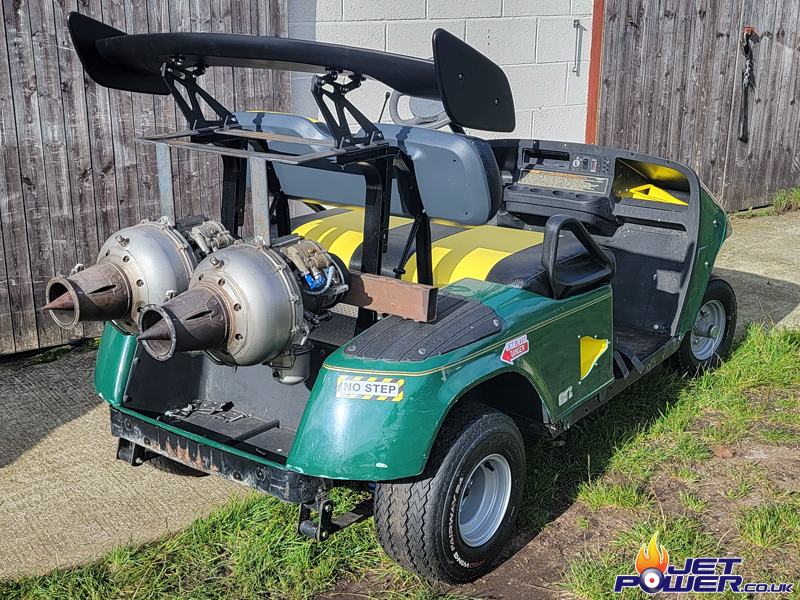
I may also need to make a Bottom/ Arse protector in case of an engine failure..
Still so much more that needs to be done.
