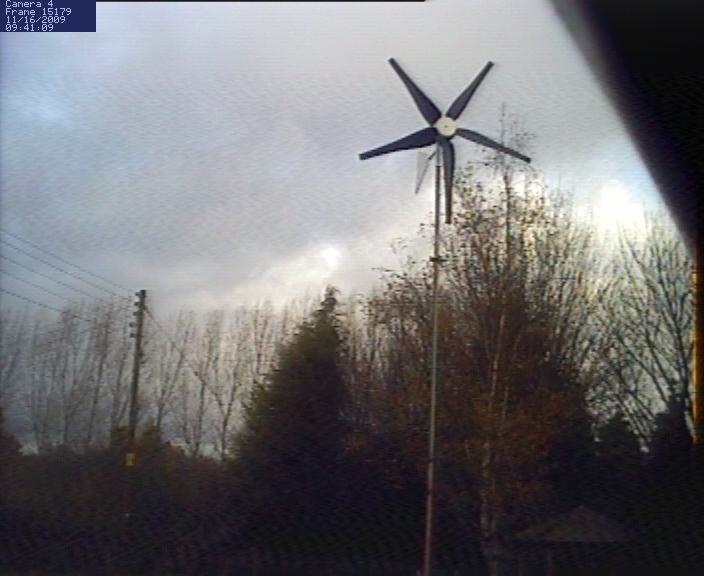
With the price of electricity increasing and the amount that I use of the stuff, It’s time to have a go at making my own, a PV Solar and Wind Turbine Installation are the order of the day.
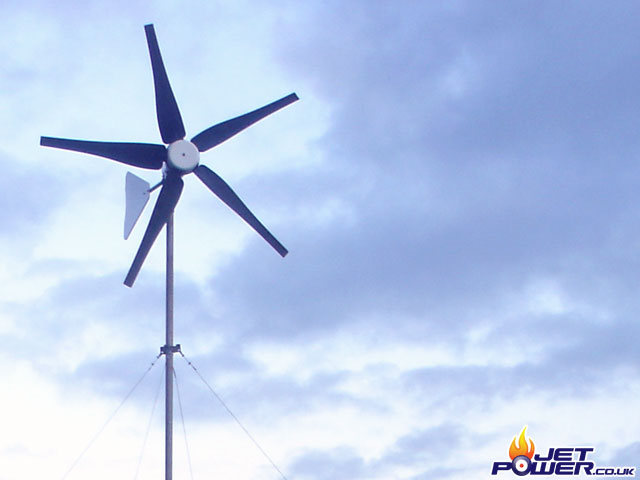
For the wind generator I have chosen a Future Energy 48 volt, 1000w wind turbine, these are made in the UK and I think represent excellent value for money. For any one that is interested, they are manufactured in the same town that William Shakespeare was born.
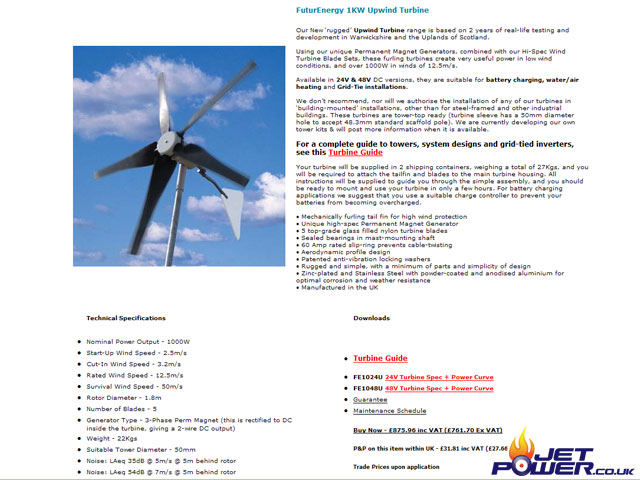
The specification of the Future Energy can be found on their web site by clicking the image above.
As I want the electricity that is produced by the turbine to be added to my household supply, my first choice was a SMA Windy Boy 1100LV Grid Tied Mains Inverter, it is clearly the Rolls Royce of Inverters due to the high manufacturing quality.
Unfortunately that is where the admiration of 1100LV ends. For a unit that is so costly it does have a number of restrictions and I was informed of these after the unit was purchased.
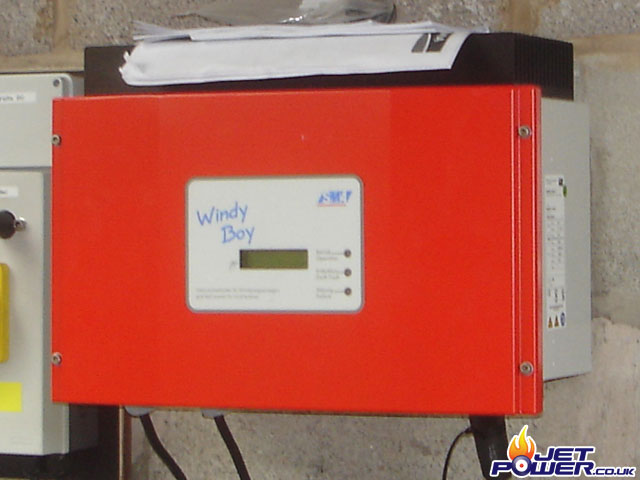
Permanent damage will occur if the DC supply voltage exceeds 60 volts, (easily done) an additional voltage regulator may cost in the region of £600.00, this is starting to make the 1100LV an expensive option.
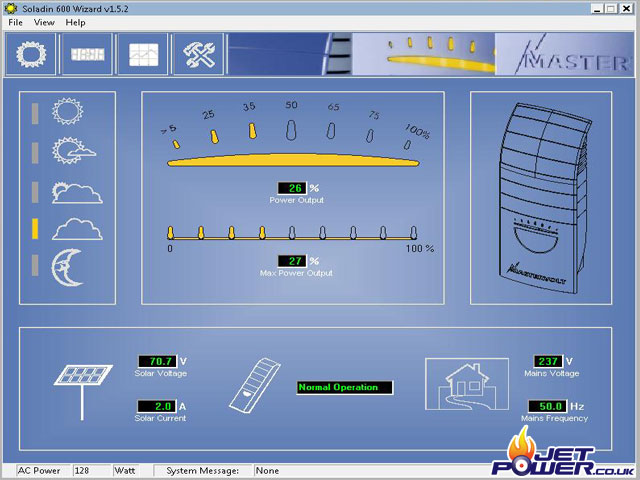
Once installed software is required to enable the ‘turbine’ mode to be switched on, the USB interface cable required to do this may cost in the region of £150.00. Yet more expense.
Support emails sent to SMA via their web site are seldom returned, this is very poor considering the cost of SMA’s products.
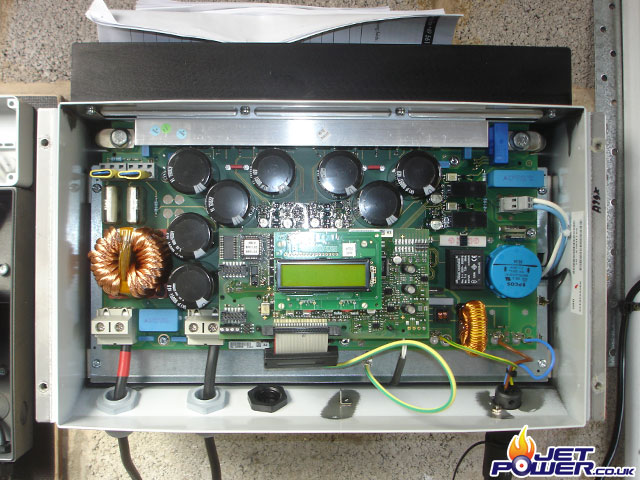
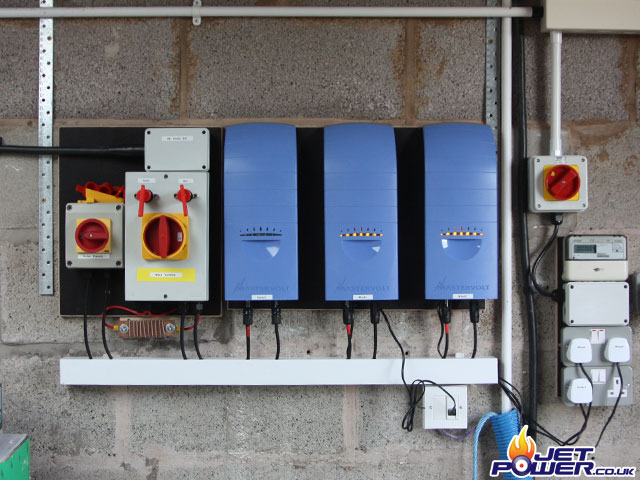
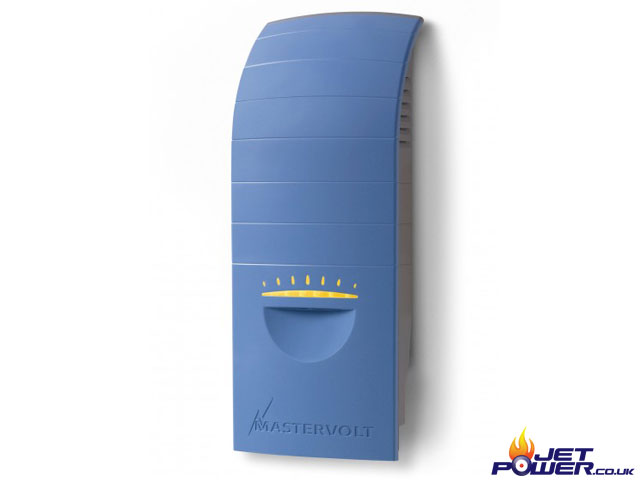
I felt that I had no other choice but to return the 1100LV to the supplier for credit. My second choice of Inverter was a Mastervolt Windmaster 500, this is quite an amazing little unit manufactured in Holland and it does everything that you want it to at a low cost. However it doesn’t have a large heat sink on the top like the 1100LV and relies upon a fan for cooling, (my only gripe). Due to it being a 500w unit, two will be required to run in parallel with the Future Energy Wind Turbine.
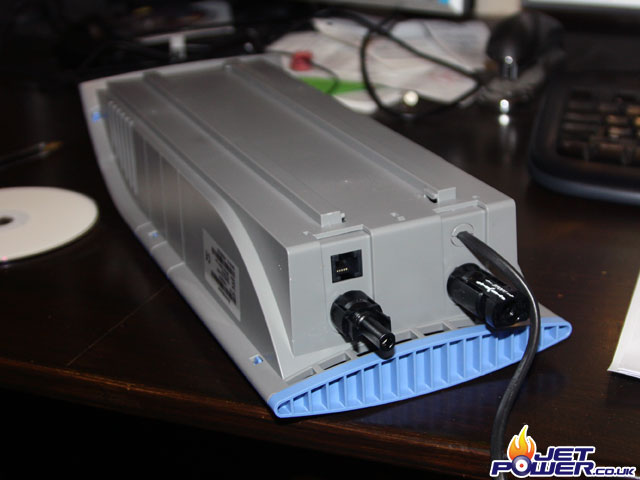
The connections on the Windmaster are simple, a DC positive and negative connector, the AC output cable that will connect to a Micro Generation meter and a RG11 connection for the serial interface cable.
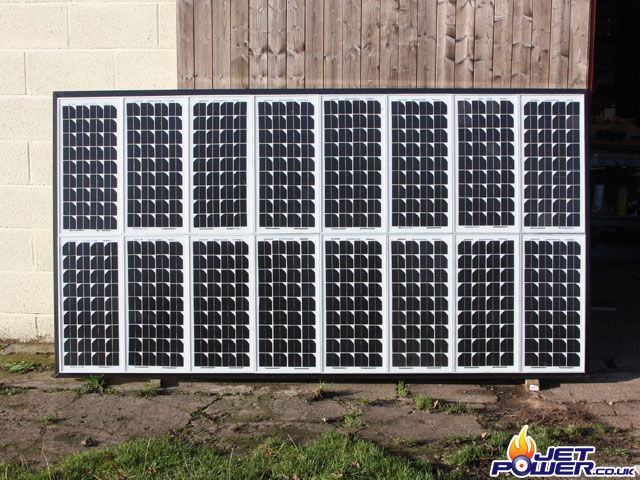
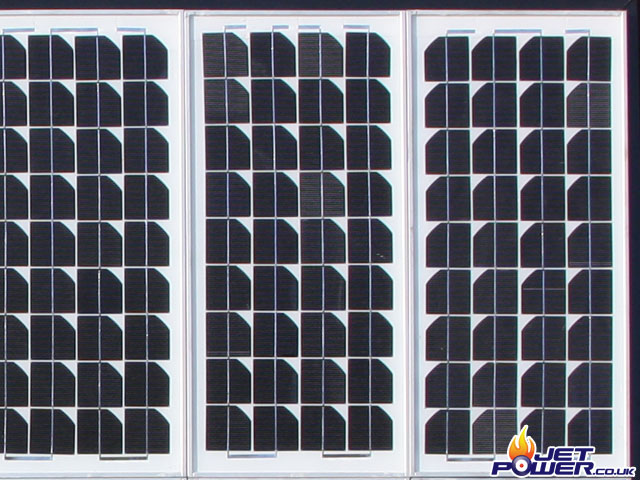
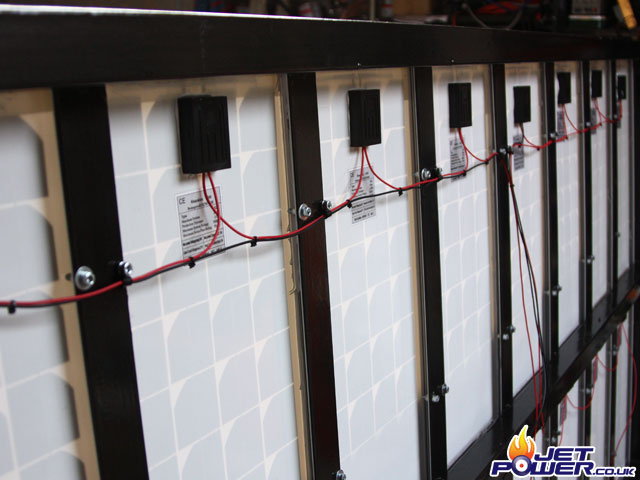
I have opted for 16 x 20watt Solar panels at 12volts. They will be wired in series in banks of four giving a 48 volt output. I have a fear that if at some point one get’s damaged it will be cheaper to replace a single 20 watt panel that say a larger 80 watt panel of the same rating.
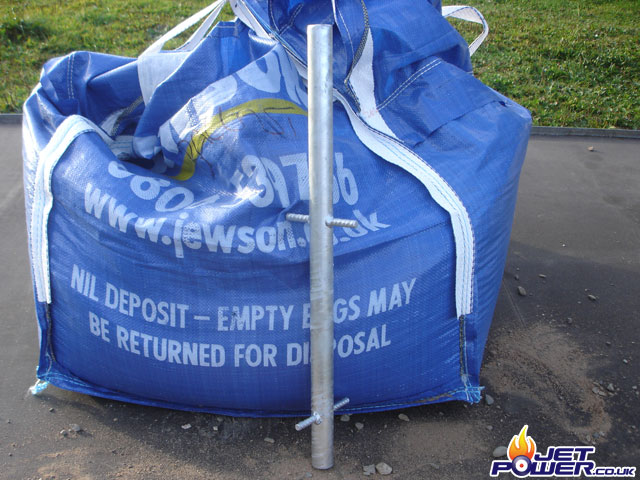
For the guy rope fixings I welded a m18 nut in to the top of four pieces of 1.5″ round tube, then welded two pieces of bar at opposing axis that will prevent the tube from being pulled out from the ground. They were then sent away for galvanizing.
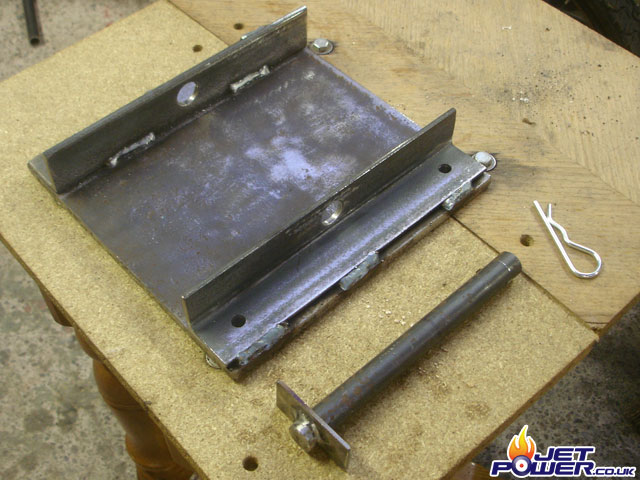
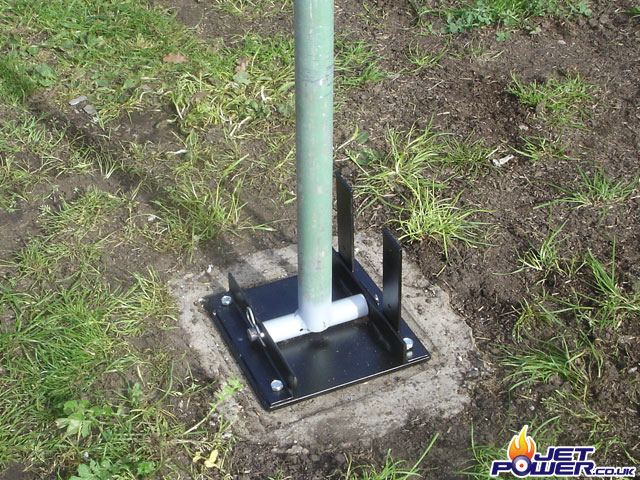
The base plate of the tower comprises of a piece of 8mm thick steel plate with two pieces of angle welded on to it with 20mm holes machined centrally. A pin with an R-Clip will locate the mast in to place, giving a pivot for the initial erection of the turbine.
The base of the mast (5m scaffolding tube) welded on to a piece of 1″ steel tube that will form the mast pivot.
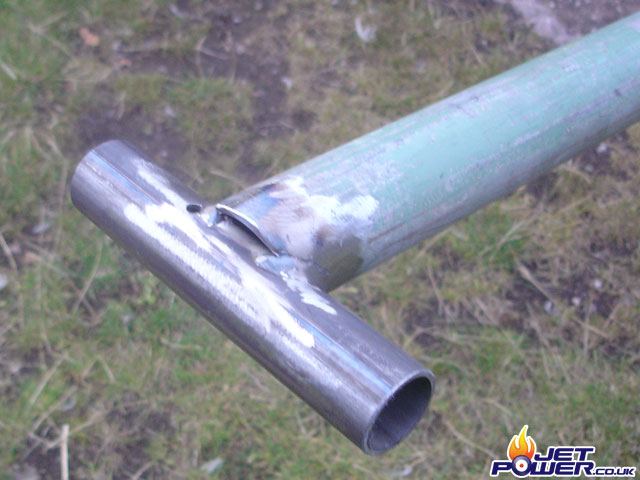
For the guy wire fixing I modified an old scaffolding clamp and welded four pieces of flat steel plate to it. The steel rope passes around a eyelet, this will avoid any chaffing to the guy ropes.
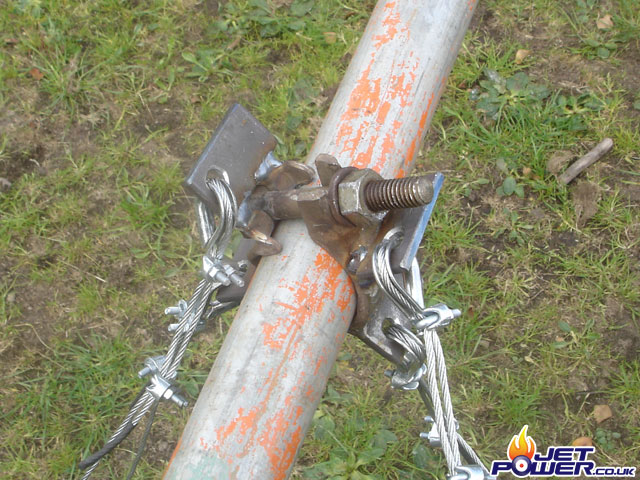
The base of the guy wires are fixed to the ground anchors by using cable tensioners, this allows the easy vertical adjustment of the mast.
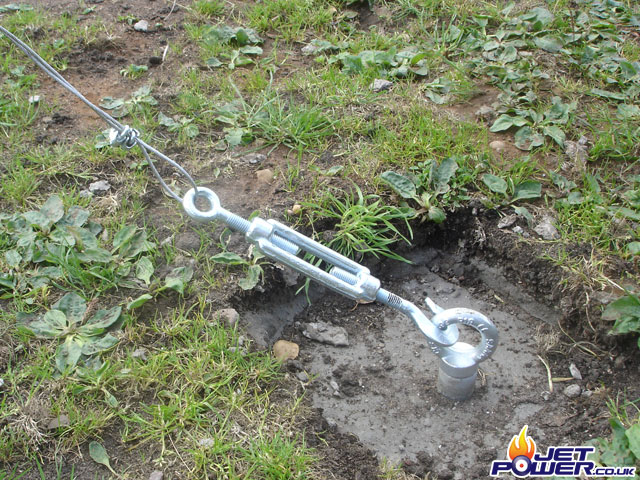
The mast and base plate up and running.
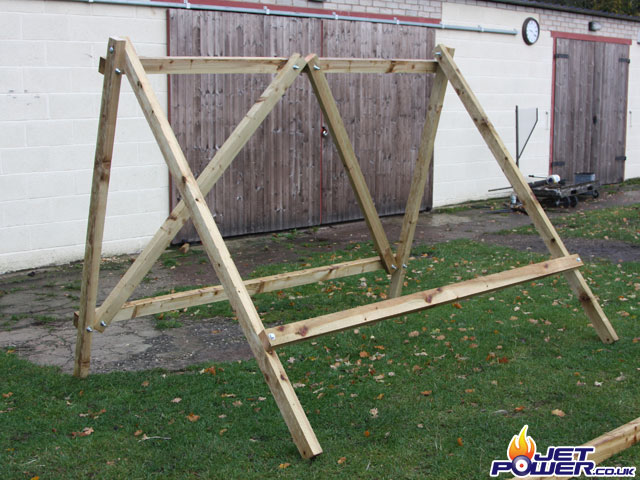
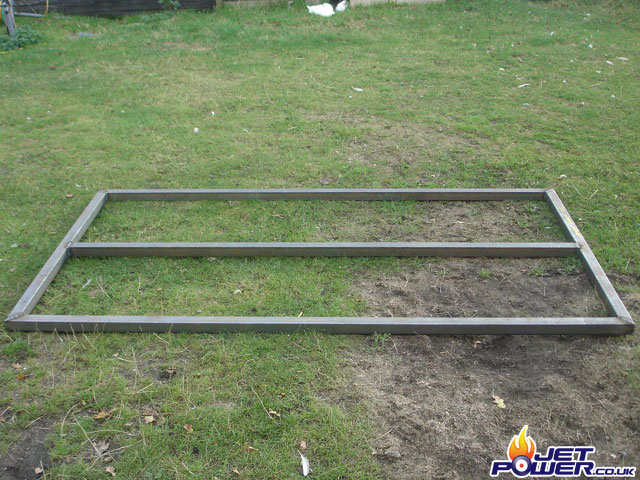
The start of the PV mounting frame. I have used 2mm walled x 50mm box section.
Checking that the panels will fit correctly.
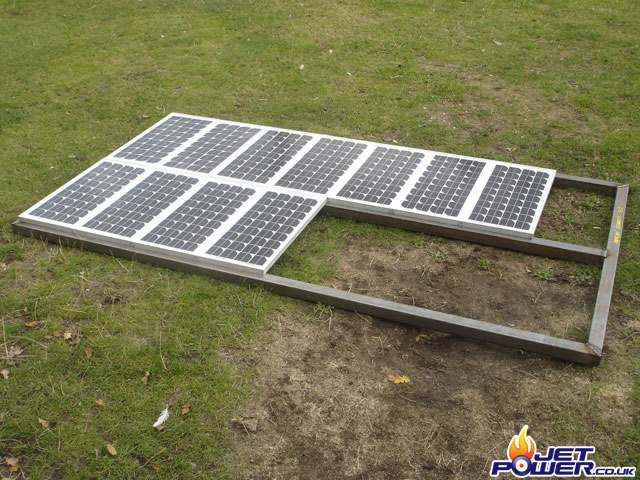
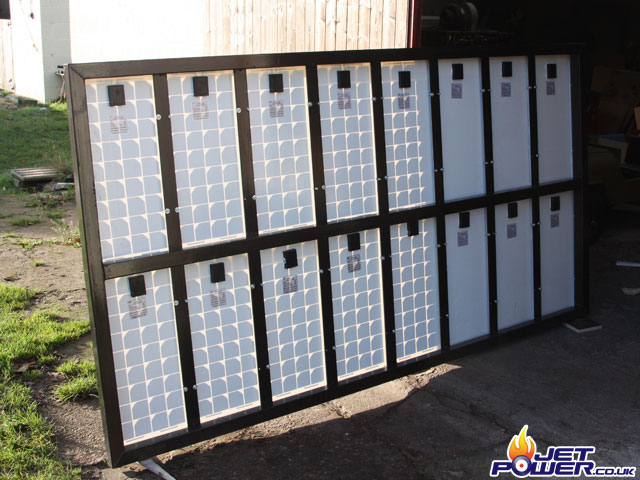
Support fame painted with hamerite and solar panels secured in to place.
The image above shows the panels wired in series in banks of four giving 4 x 48 volts.
The completed panel array, now I have to make the supporting frame.
