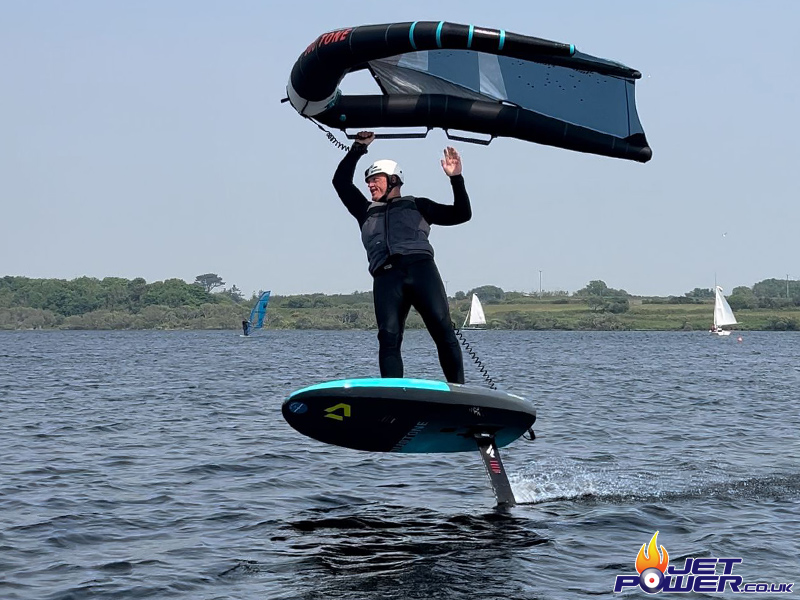
I would like to start Wing Foiling, something that my brother and his wife have become addicted to, but it’s not very easy to learn. To help myself along, I am going to make an e-foil to help get the hang of foiling a board and then once I have got the hang of that I will start using a Wing instead of a Propeller. That way I also get to make something 🙂
My “not as handsome as me” younger brother (Layton) Wing Foiling in Cornwall, this is my ultimate goal.
Click Image Above – Wing-Foiling on a Duotone Setup.
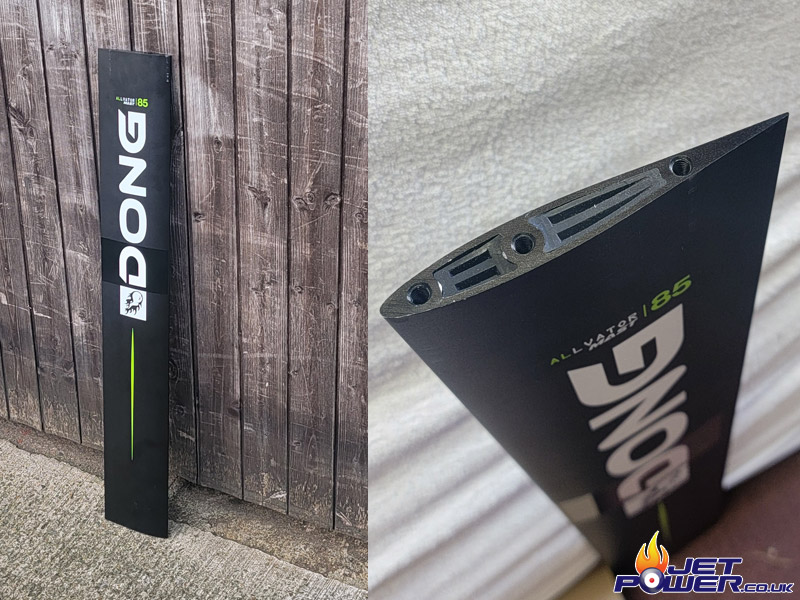
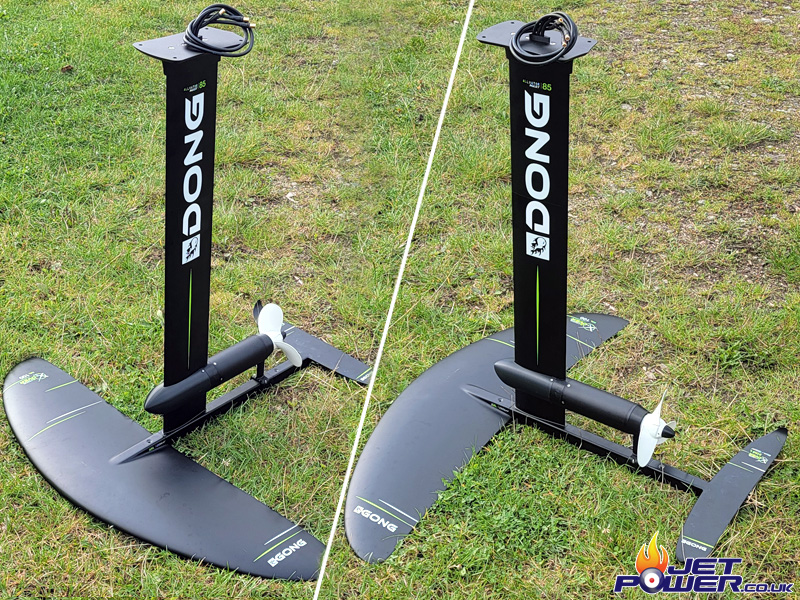
To start off with I bought the part of a foil assembly called a “Mast”, this is what the motor will attach to. I chose a company called Gong, they are based in France and sell hardware for beginner and intermediate foilers, not really the Rolls Royce of gear, but the prices are good. I need to start with a Mast as I need to know the profile shape so that the attaching hardware can be designed & 3D printed. Predictably, I changed the name for a giggle.
Media Credit: www.jetpower.co.uk
OK, honesty is the best policy and whilst researching a “DIY” E-Foil, I came across this particular chap that has already done all the hard work with regards to the underwater propulsion setup, he even listed his 3D prints available for download… Juha Koljonen -what a bloke! Why make work when someone has done such a fine job beforehand? There will still be plenty of hardware to make that won’t involve copying other peoples hard work. His downloads can be found on Thingiverse Here I tried to print the bits using ASA thermoplastic , but due to making the infill etc substantial due to the structural requirements I kept getting warping on the surfaces that really needed to be flat, maybe it was a duff roll, who knows. So in the end and for now anyway I used ABS, which printed absolutely fine.
Media Credit: www.jetpower.co.uk
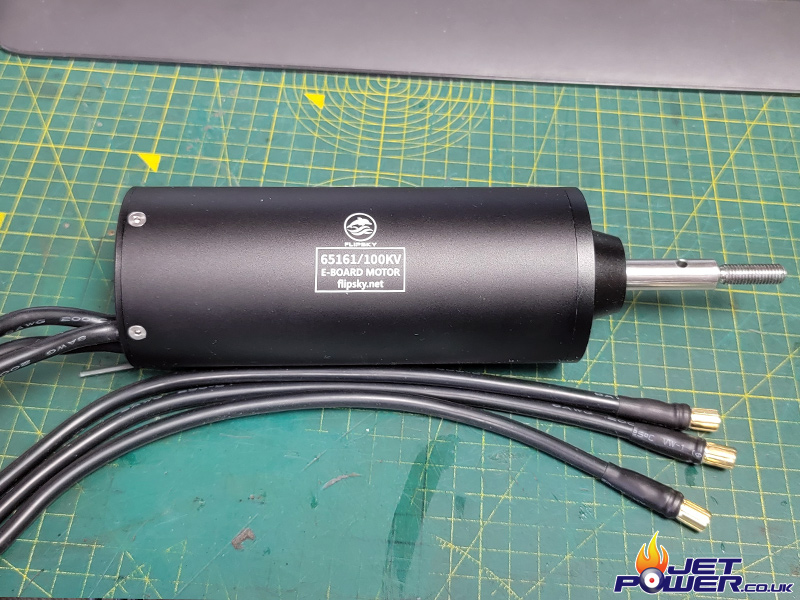
The motor chosen is a Flipsky 65161, a popular choice for DIY e-Foils or powered assisted SUP’s etc. Apparently rated at a continuous 3000w or 6000w peak.
Media Credit: www.jetpower.co.uk
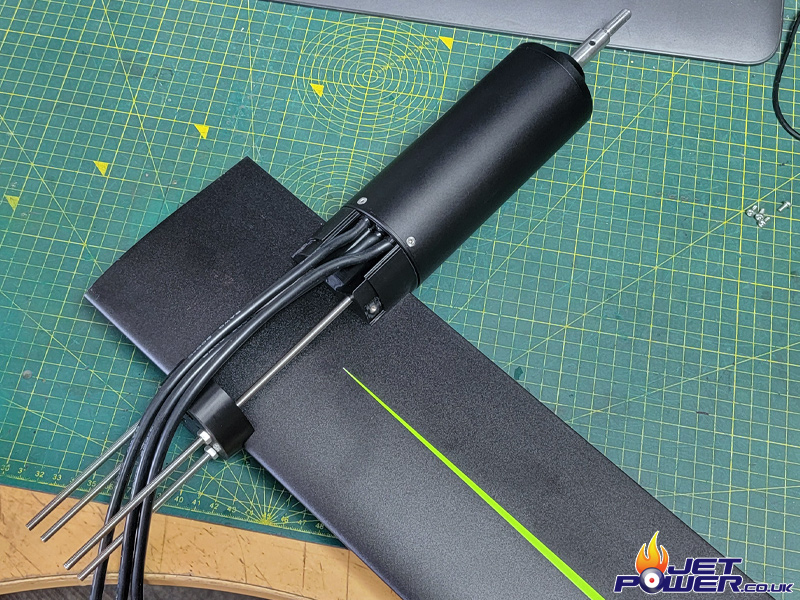
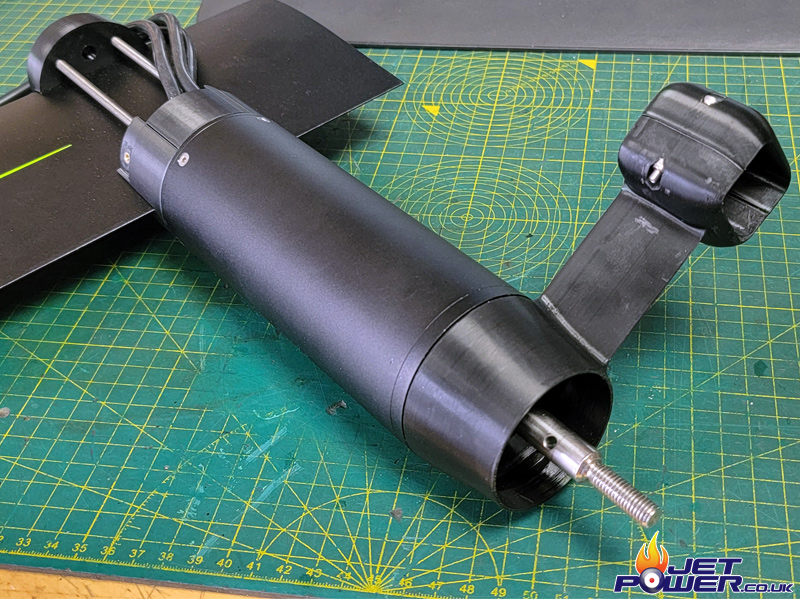
Using some of the 3D printed parts, the motor is attached to the Mast with M5 stainless steel threaded rod, so far so good.
Media Credit: www.jetpower.co.uk
It seems that Flipsky have updated the rear hole mounting positions, which has means the rear motor mount is now 30 degrees out of alignment. Another small issue that has arrissed is the propeller that came with the motor is it is slightly oversize form the slightly smaller prop used in the original design. When mounted to the mast the rear supports length is now not long enough, thus the prop will foul on to the fuselage when everything is bolted together.. Back to jkoljo’s post to see if there is a solution to this or I may have to get Fusion 360 going 🙂
Media Credit: www.jetpower.co.uk
And of course, one of the folks (effix) that is also making the same design and has had the same issue has come up with a solution. I downloaded his .step file and hey presto ! effix has extended the support leg length, rotated the mounting motor holes by 30 degrees and made the assembly thinner to accommodate the thicker profile of the prop. Good work I say.
Media Credit: www.jetpower.co.uk
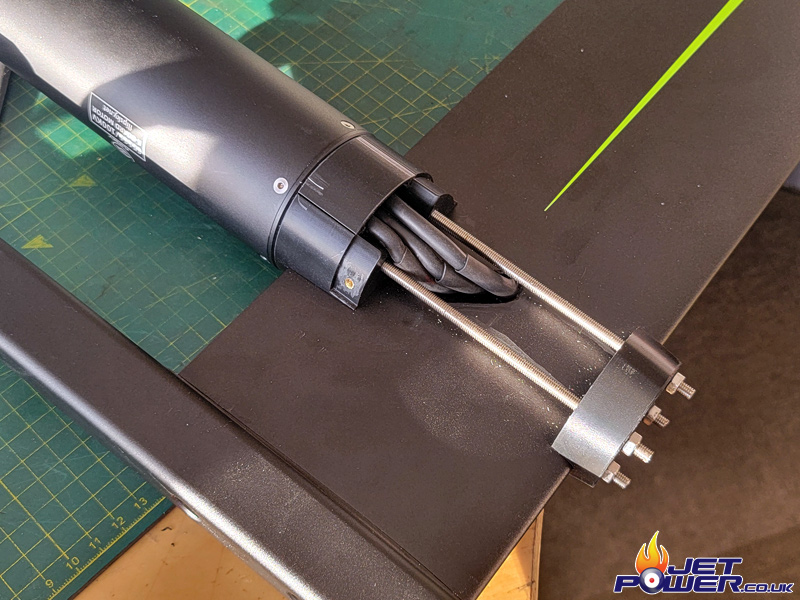
I managed to do a little more on the e-foil today .Previously when I ordered my Gong parts, I ordered the incorrect fuselage which has slowed me down a little. The correct Fuselage has now arrived from France which now allows me to line up the rear motor support and placement on the Mast, now the hole for the cables that are going to run up the Mast can be cut. I also added a section of heat shrink tubing to the cables where they enter the Mast to help reduce potential insulation damage.
Media Credit: www.jetpower.co.uk
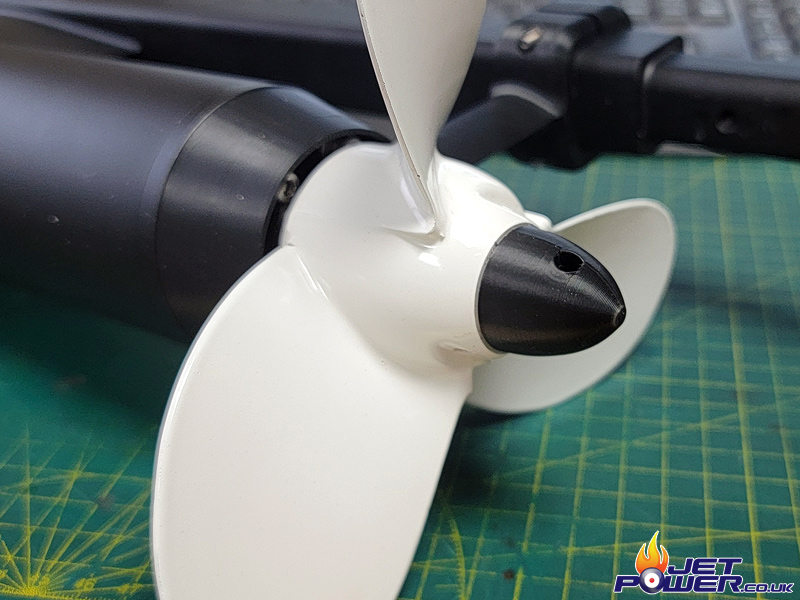
Just to help the water flow move along, I designed and printed in ASA a spinner cone that is a nice press fit on to the propeller nut.
Media Credit: www.jetpower.co.uk
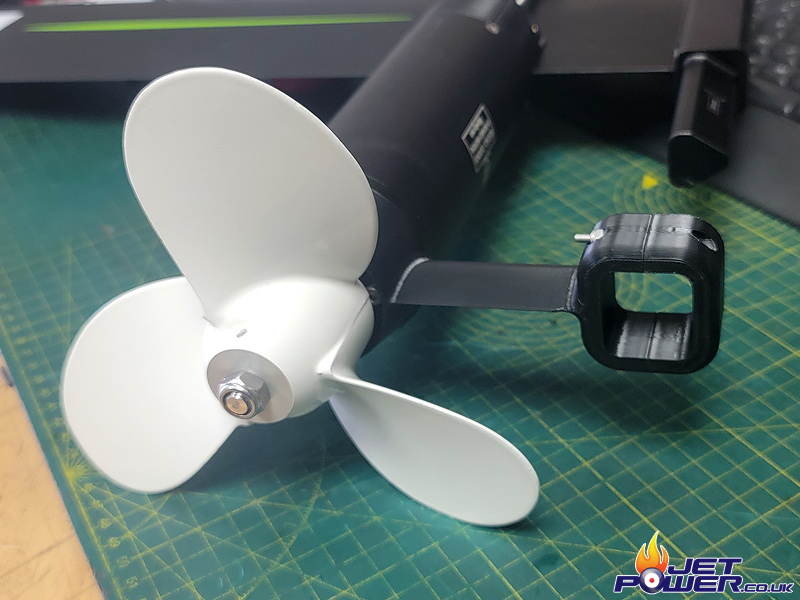
Using my best guess for size and what was available at the time, I purchased a front wing and stabiliser from eBay. It looks about correct to me, but I will only truly find out when it’s used for the first time.