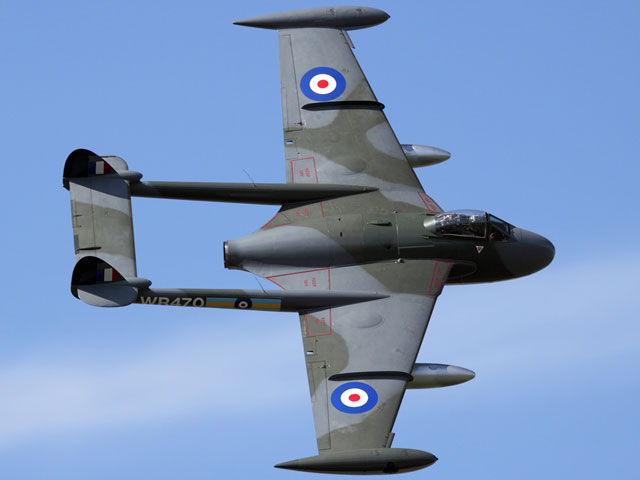
A classic british postwar engine as used in the ‘de Havilland Venom Fighter Bomber’, utilising a large diameter centrifugal compressor and straight forward controls and accessories.
The de Havilland Ghost 48 Turbo Jet Engine, as used by the Venom.
A converted electric start Ghost 48 was used on John Cobb’s Crusader Jet Boat.
And here we go again, 1 x antique Jet Engine with no paperwork, no available history and absolutely no idea whether it will ever run again.
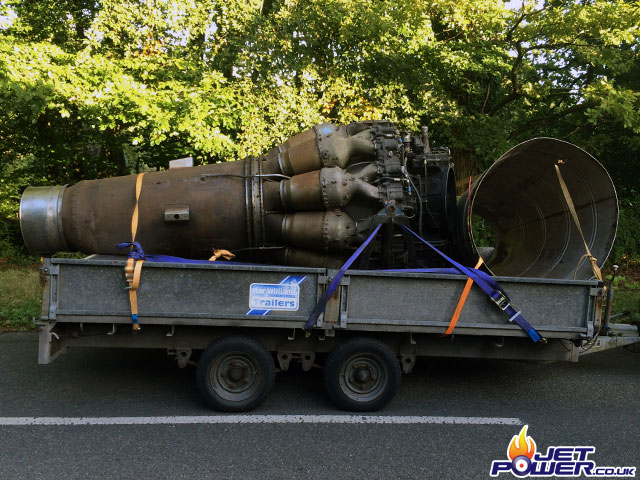
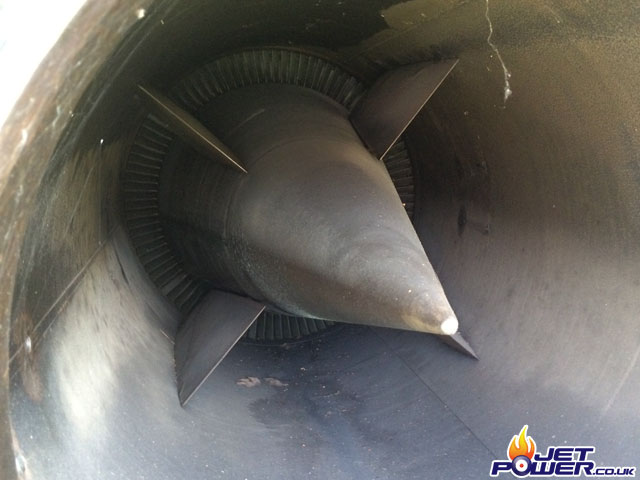
One of the longest exhaust spikes or as some people refer to them ‘ Bishops Hats’ I have ever seen in an engine of this size.
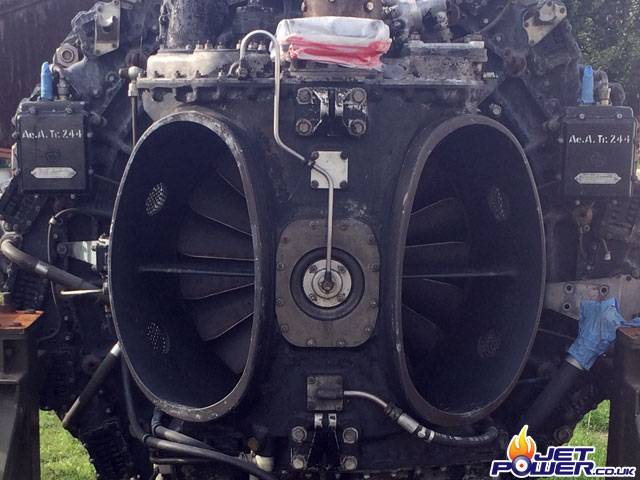
Bifurcated air intakes, fairly common configuration in these older engines, from a glance the centrifugal compressor seems to be in fairly good condition, which gives me a glimmer of hope.
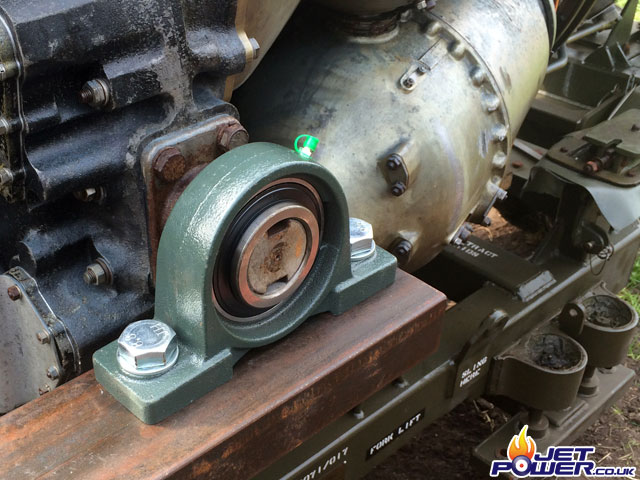
Pillow block bearings make an excellent way of mounting the front of the engine to the transport frame as the bearings themselves self center once mounted thus elevating any stress that might be caused from slight inconstancies in the frames dimensions.
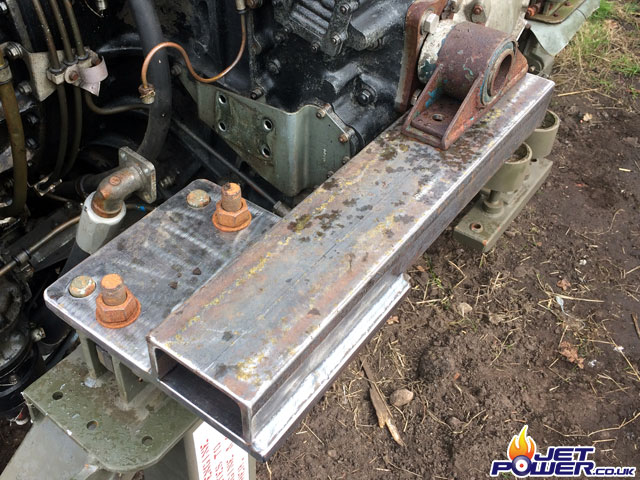
Pillow block bearings make an excellent way of mounting the front of the engine to the transport frame as the bearings themselves self center once mounted thus elevating any stress that might be caused from slight inconstancies in the frames dimensions.
The rear of the engine is now supported by two sets of rose joints, one set either side. Again I made as much use of the original transport trolley as possible and thanks again to Will for proving me with a couple of engine brackets that connect the upper rose joints to the engine.
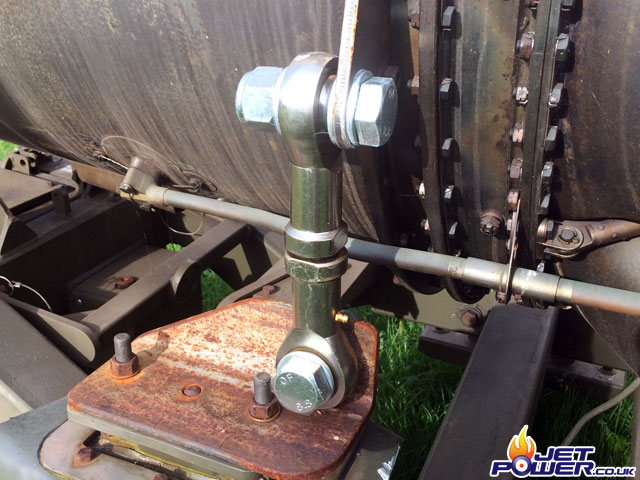
Front side sort of view of the engine mounting arrangement. The supporting steel channel has yet to have a coat of paint.
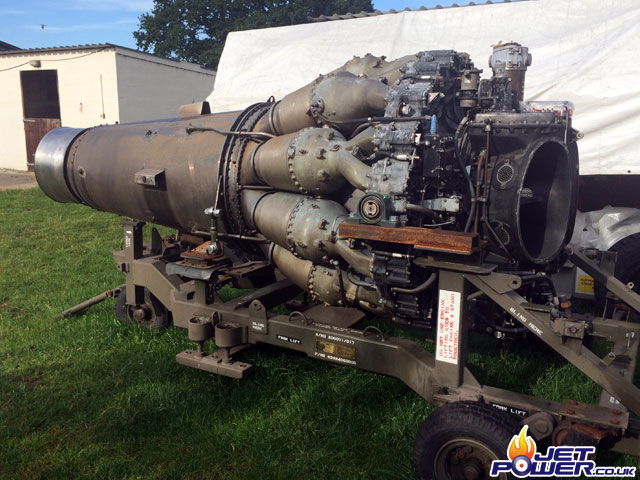
Rear side sort of view of the engine mounting arrangement.
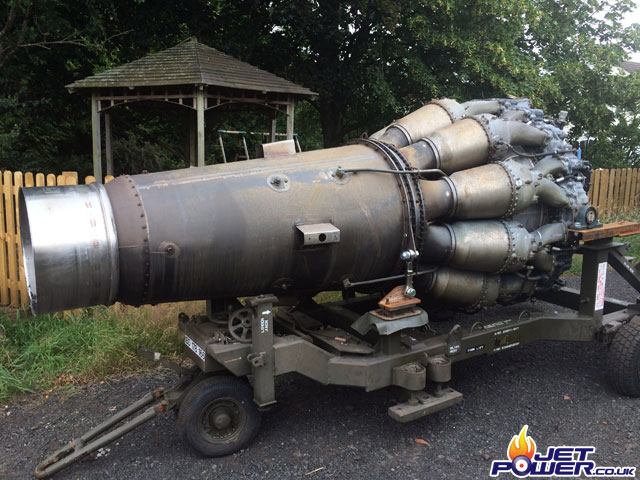
Not high grade stainless unfortunately, mind you its only surface rust.
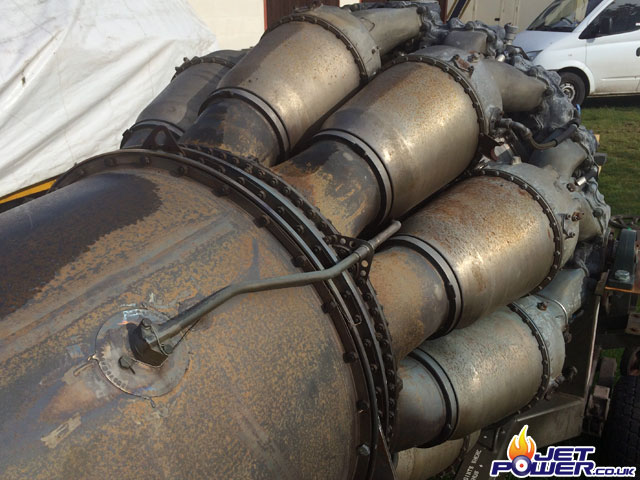
Now that the engine is safely off the ground it is time to look how to start the thing or at least turn it over. The Ghost 48 uses a cartridge start system, these explosive cartridges are hard to find and also expensive , not the best solution for a hobbyist collector type person like me.
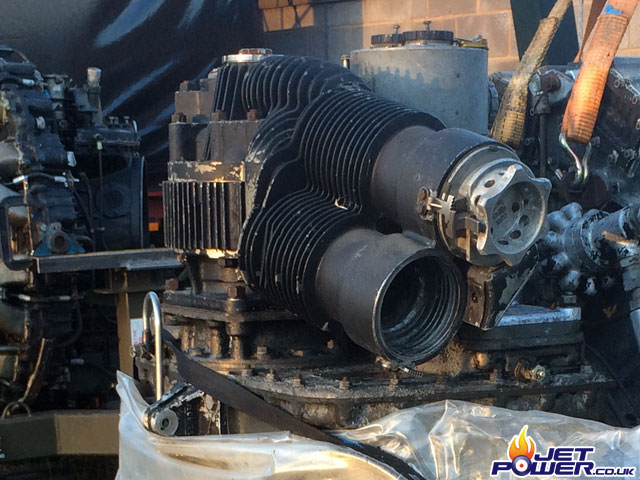
With the help of another mate Jon, we removed the starter unit of and proceeded to take it apart to gauge its condition. Yep, it was totally @!##’ed.
Pictured is the turbine wheel, sort of welded it self in to place in it’s housing.
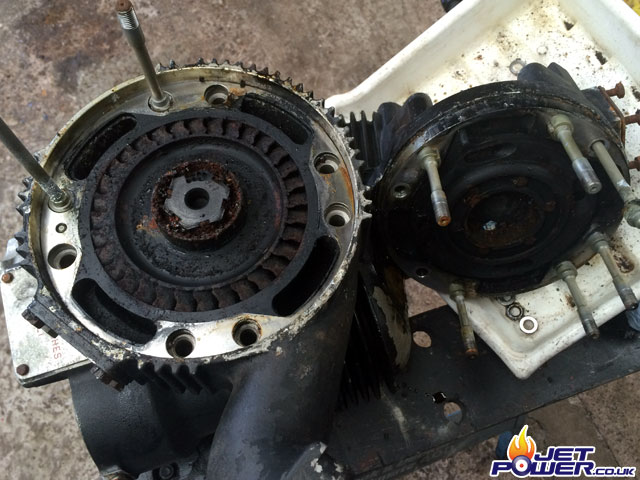
At least the engine side of the starter seems to be in good fettle (Top of engine gearbox).
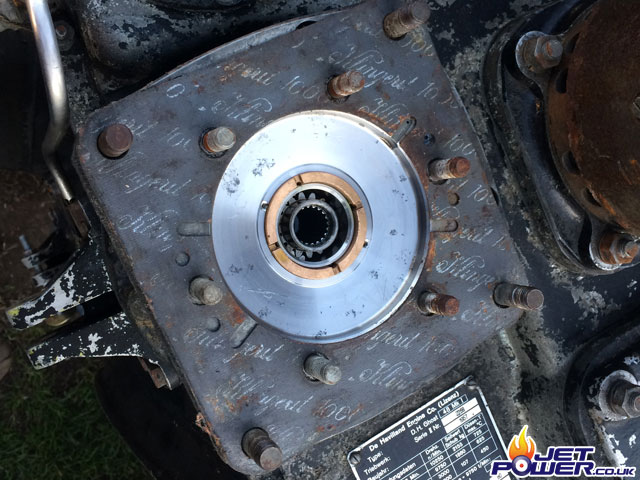
The bottom part of the starter assembly, this spline is the bit that fits in to the engines starter drive in the previous picture.
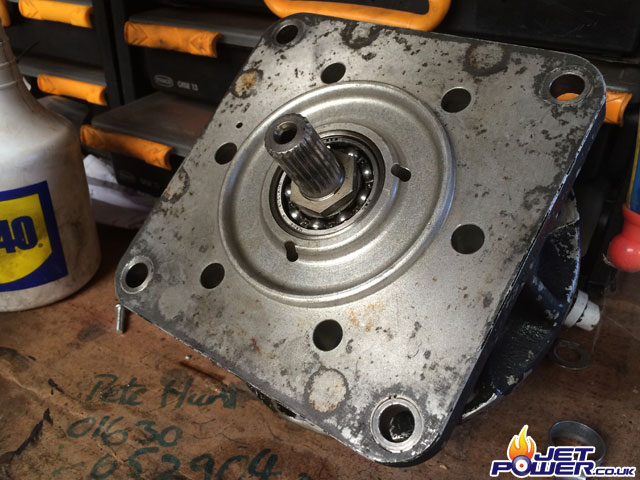
Then came the ‘Every Cloud has a silver lining moment’, why not use the base of the starter that fits in to the engine and has the splines ready made, make an adapter to fit it and then add a suitable electric starter motor. How hard can it be?
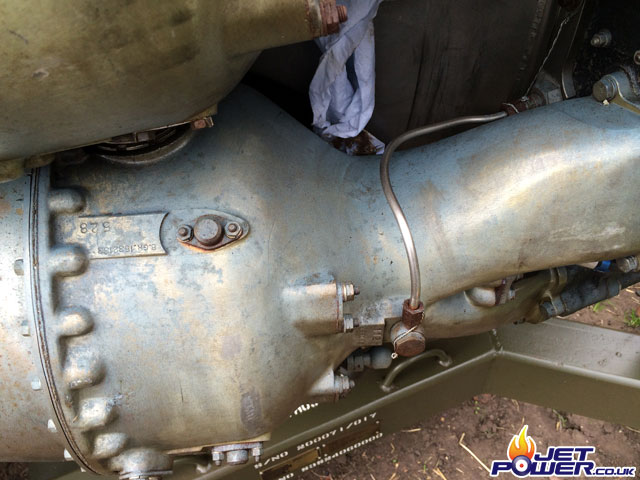
Although it might not be very obvious, I do keep spraying the whole engine with WD40 because there is a fair amount of surface corrosion and seized bolts that one day will have to be undone. The weird thing is that it seems to turn the combustor cans blue, may be a chemical reaction to the metal?
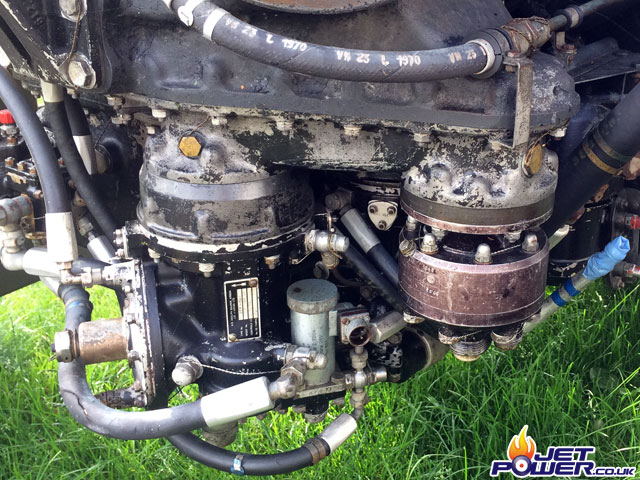
The hydraulic motor pictured on the right hand side was removed and its drive spline taken out and then reassembled. No need for a working hydraulic pump out of the aircraft as it would soon seize if we run it connected.
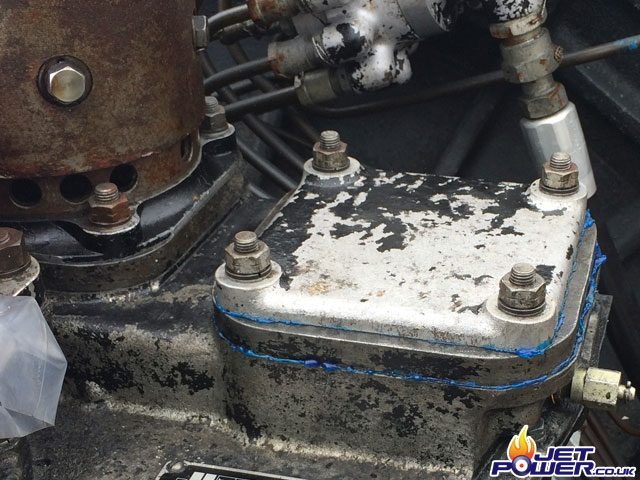
Accessory gearbox plates taken apart, new gaskets made and then put back together using hylomar.
The generator was removed and unfortunately is beyond repair, economically anyway.
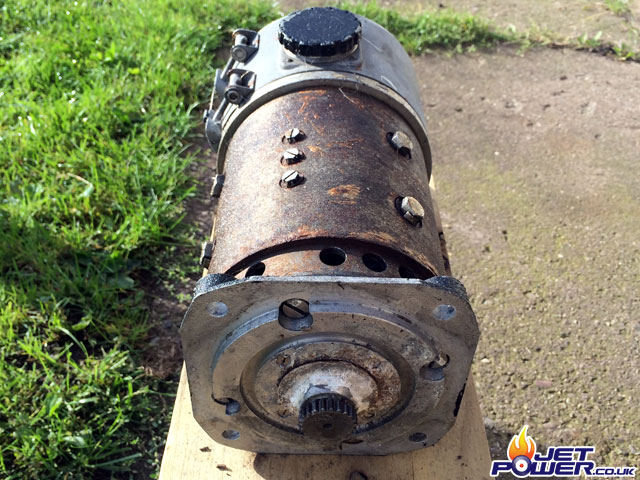
Blanking plate for generator drive as its no longer going to be used.
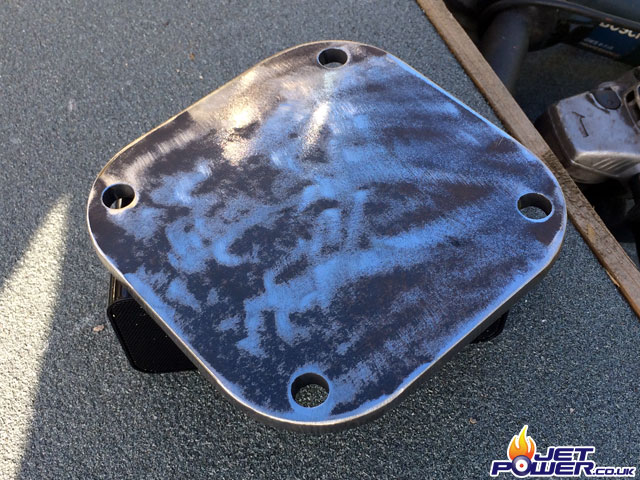
The ghost’s generator drive output.
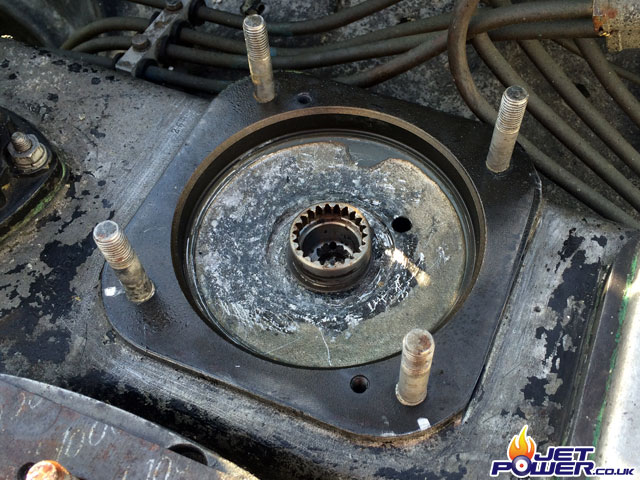
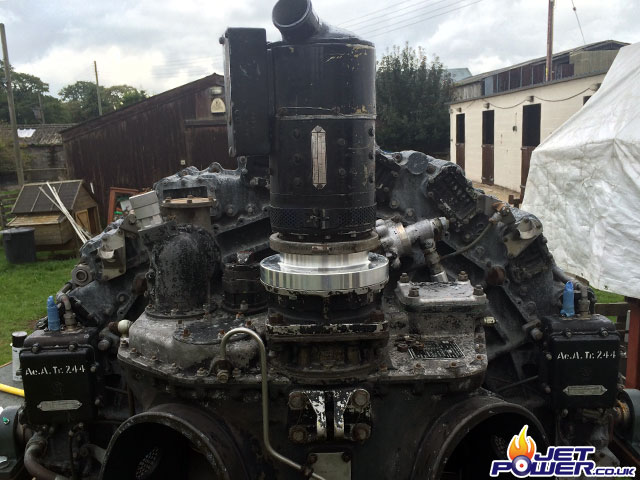
The starter gearbox input, I will now have to devise a way of attaching and electric starter to this replacing the cartridge starter unit.
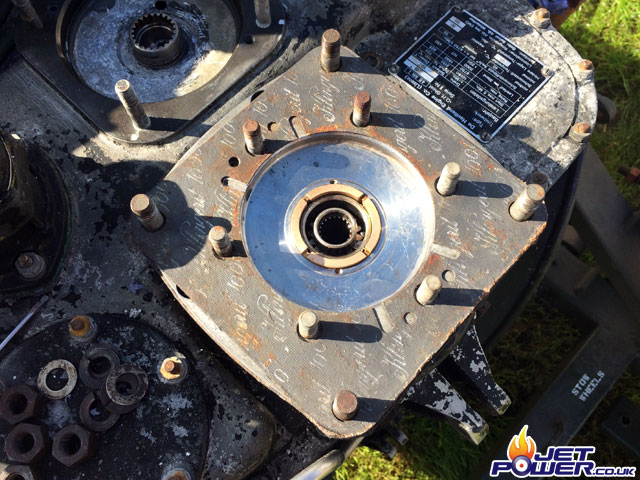
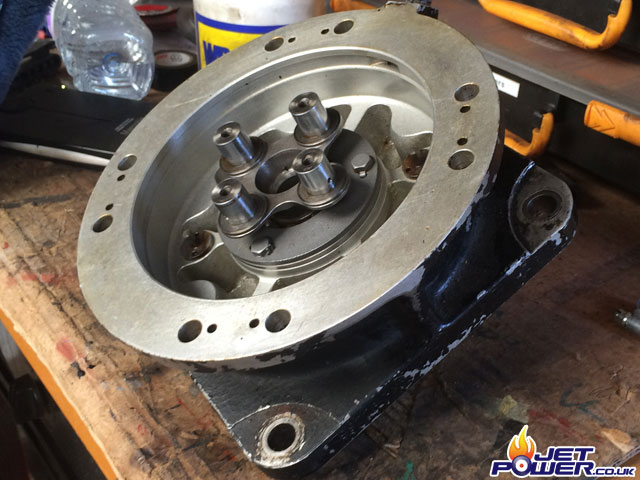
I cannibalised the bottom housing of the cartridge start unit as it was in pretty good condition as it housed the initial drive coupling, this is the thing that has four pins on it, these would have had bearings on originally.
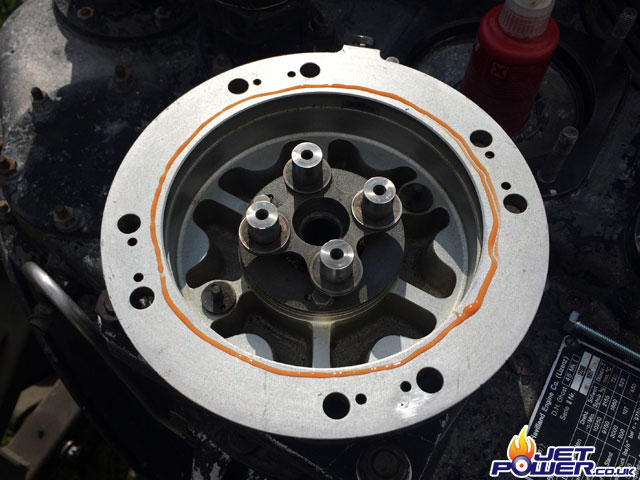
Then my mate Will kindly made an adapter fitting that would sit on top of the initial drive coupling. In this orientation you are viewing the bottom side of the adapter.
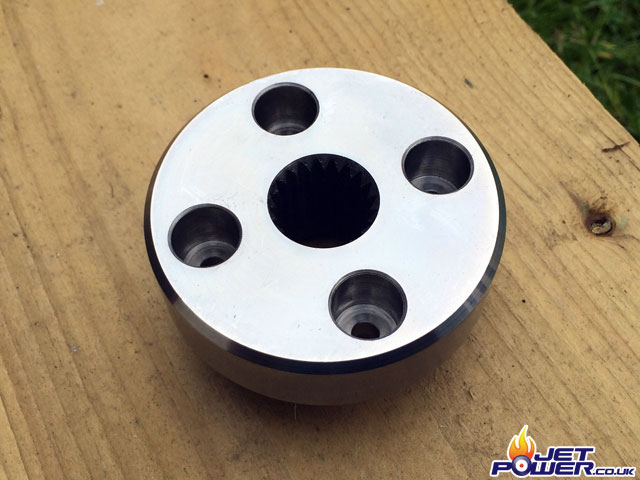
Top side of the adapter, which as you can see is splined, this will accommodate a Rolls Royce Nimbus Starter Motor spline that I’m hoping will be up to the job of starting this engine.
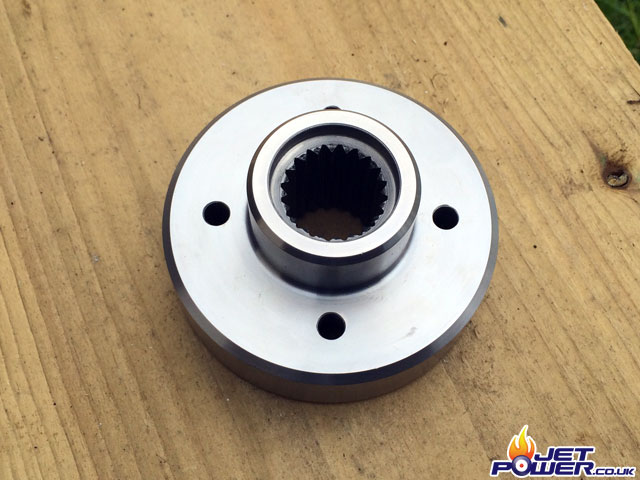
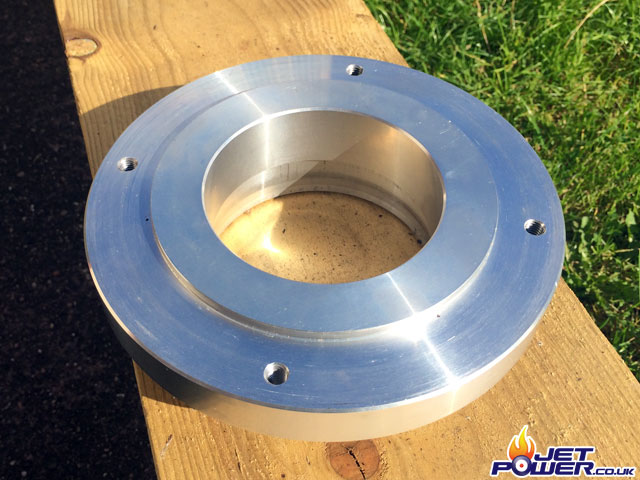
Another favour called in on Will and I now have an adapter plate that will interface the starter motor to the engines starter plate.
View from the top.
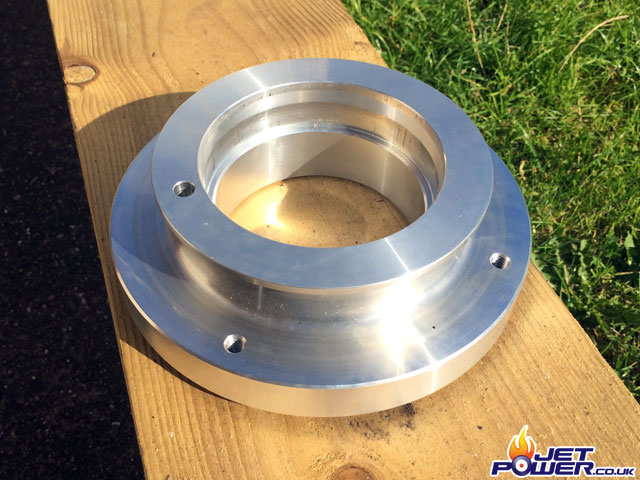
Starter adapter plate viewed from the bottom.
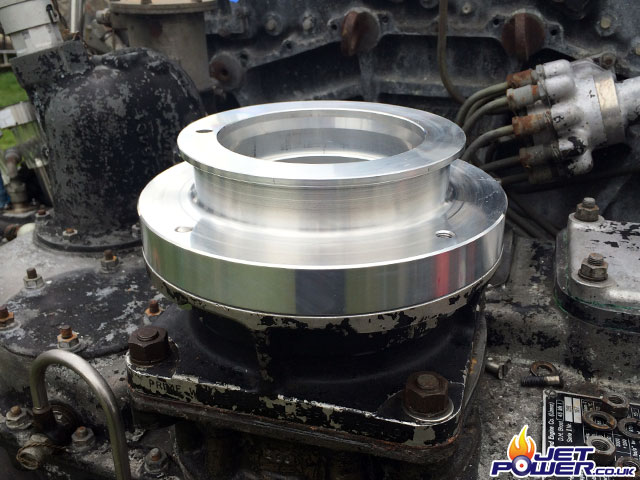
And now fitted in to position and bolted.
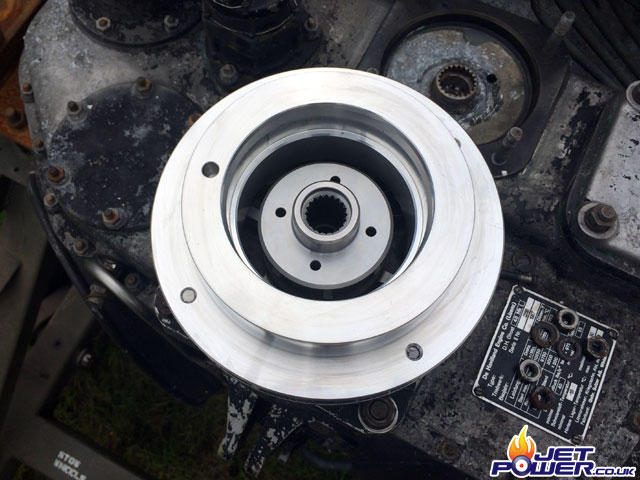
The start drive spline can be seen in place.
The Nimbus starter now fitted in to place.
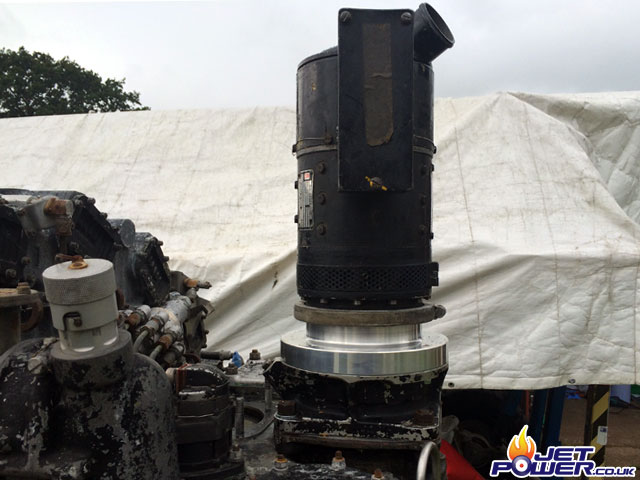
Viewed from the front.
