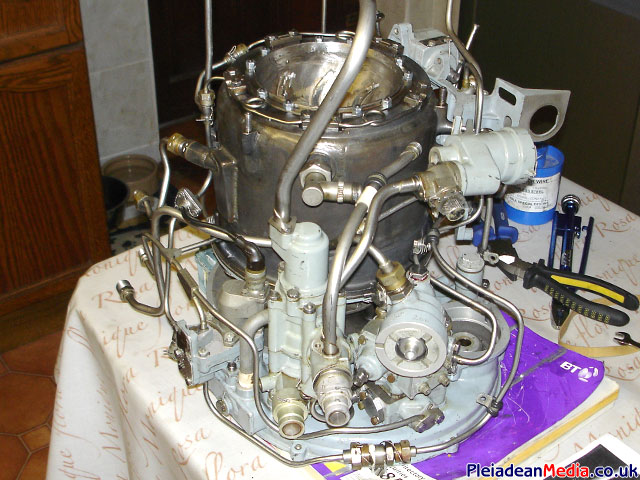
I have now obtained a Lucas CR201 GTS/ APU for which I intend to use as a Shaft drive powerplant for a Go-Kart.
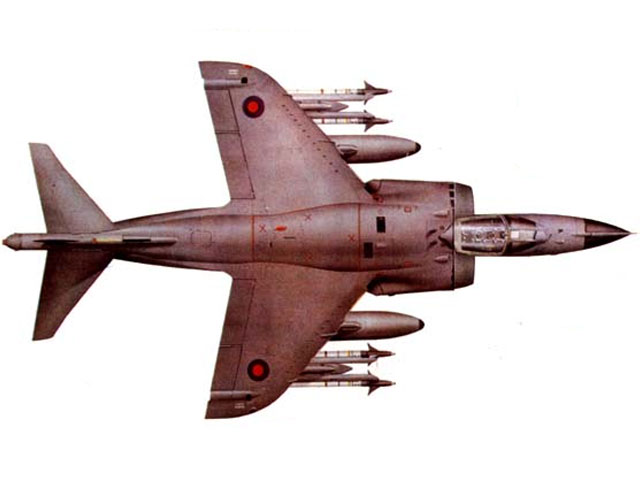
The Lucas CR201 was a replacement for the Rotax CT2023 starter that was used to start the Rolls Royce Pegasus engine on the Harrier Jump Jet. The inlet and exhaust ports can be seen just in front of the main wing in a staggered formation.
My new pride and joy. At first glance it looks in excellent condition.
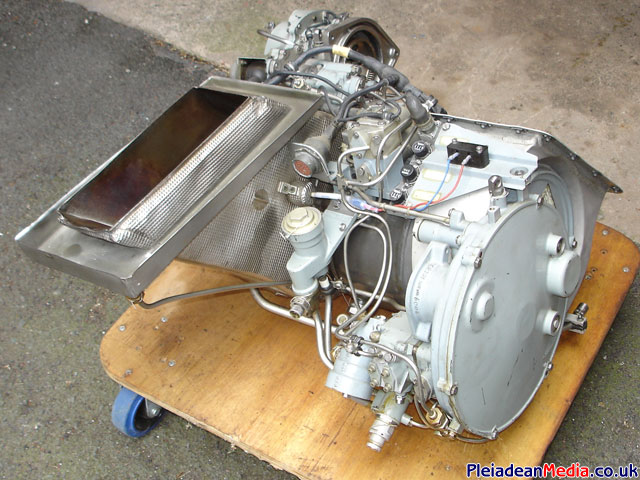
Exhaust Port view.
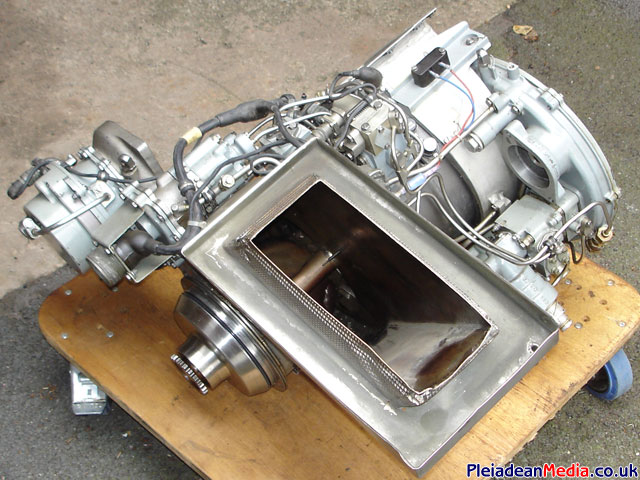
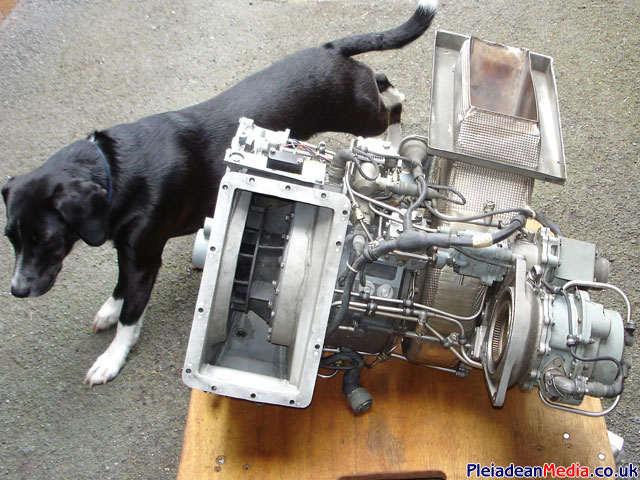
Air inlet view. Also being inspected by Katie the Dog.
Note the aircraft generator is missing from the bottom right fixing point. Don’t need it any way.
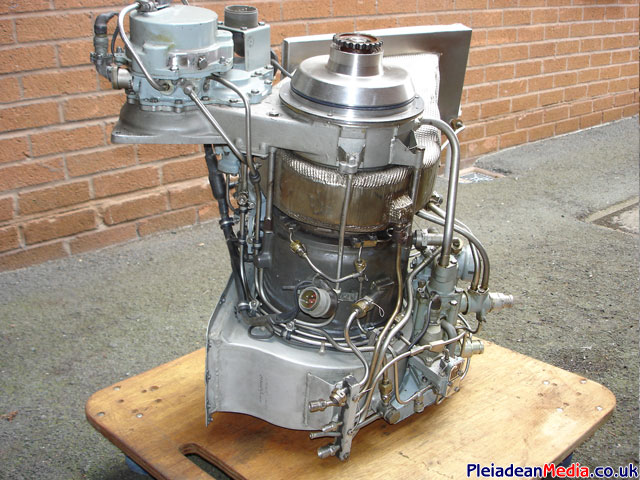
Underside View. Oil and fuel pipes can be clearly seen at the bottom of the picture.
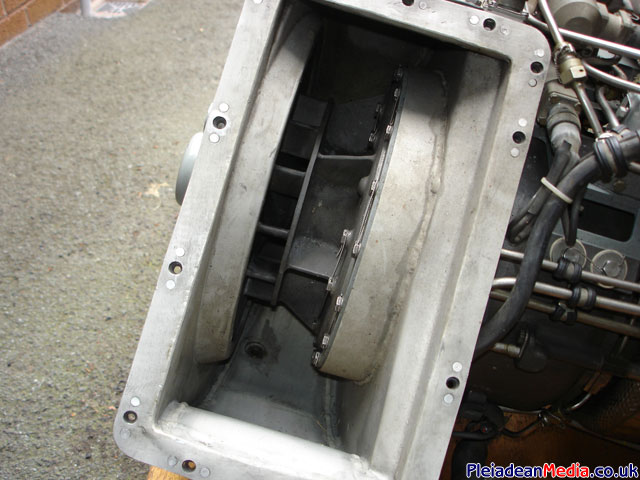
Close up of the air inlet port. Looks good.
Final drive spline.
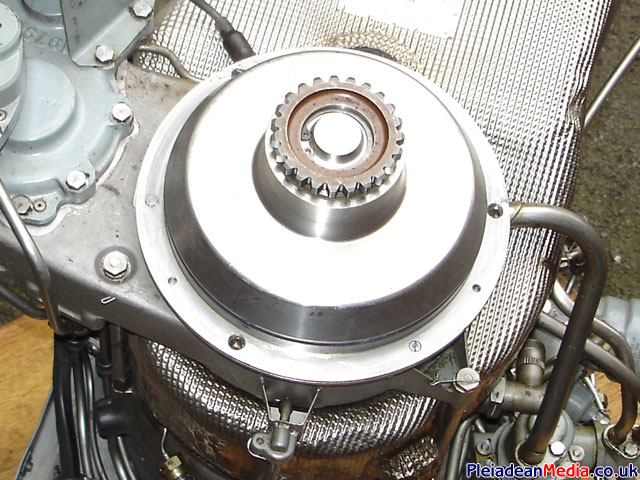
Starter Motor point. A motorcycle starter will have to be adapted to fit, but it shouldn’t be a problem.
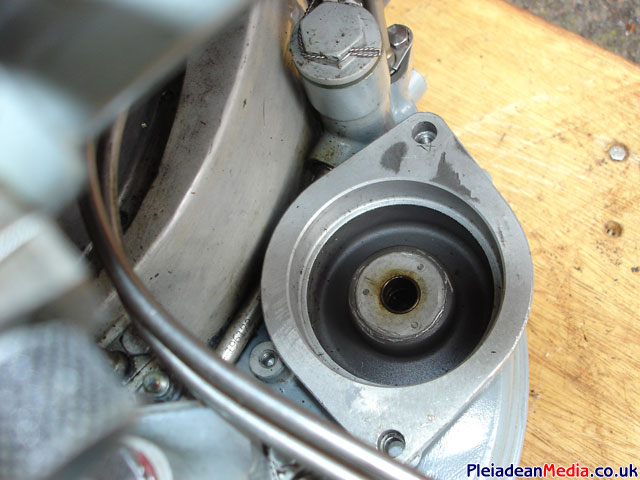
Exhaust Vent shot. I had big hopes for this engine and was gutted when I saw the damage inside. Time to look out for another (working) or similar GTS/ APU I suppose. Oh the grief.
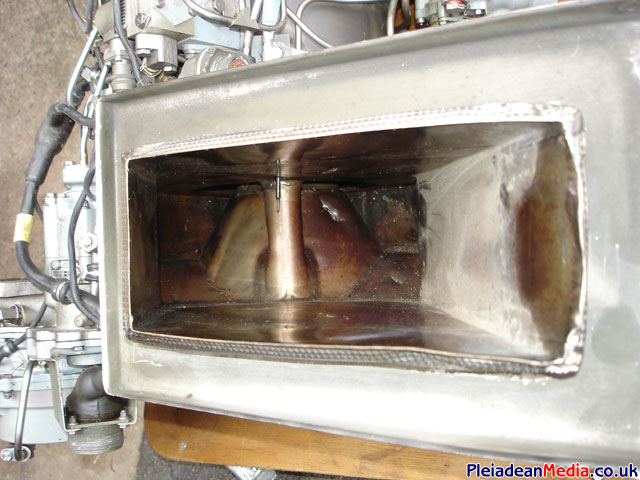
Close up of the damage to the Free Running Turbine Exhaust Port. It seems from this picture that all the support guides have been totally wiped out. Lots of sharp pieces of metal!
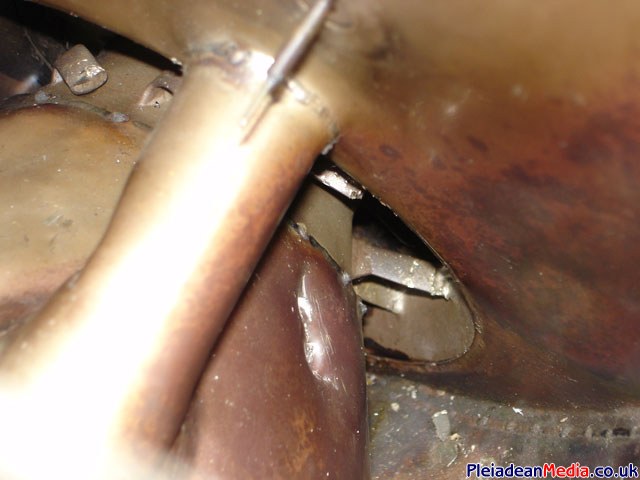
The Gearbox Turbine or what’s left of it. Four blades have been taken of and all the others are badly damaged. It must have made one hell of a bang when this happened. I guess someone tried to run the engine in start mode with nothing to absorb the 80 plus Horse power. Oh Dear.
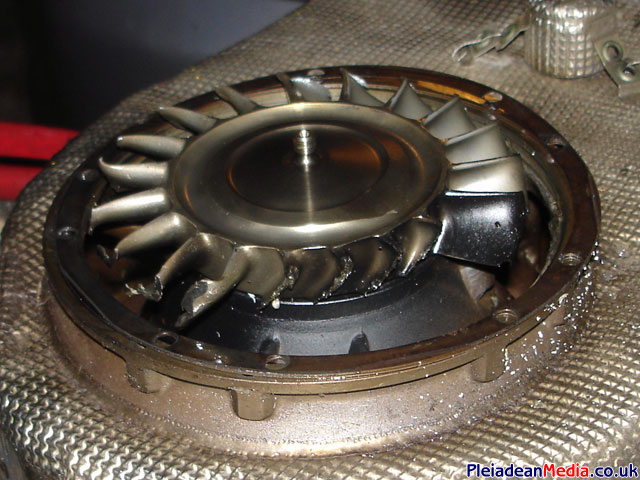
The guide vanes that direct the gas generator gases on to the gearbox turbine, all damaged. Amasing really that this isn’t in a lot of pieces itself. Poor Thing.
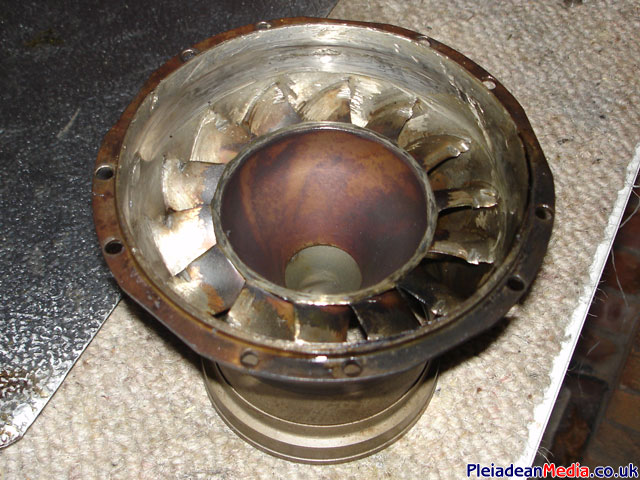
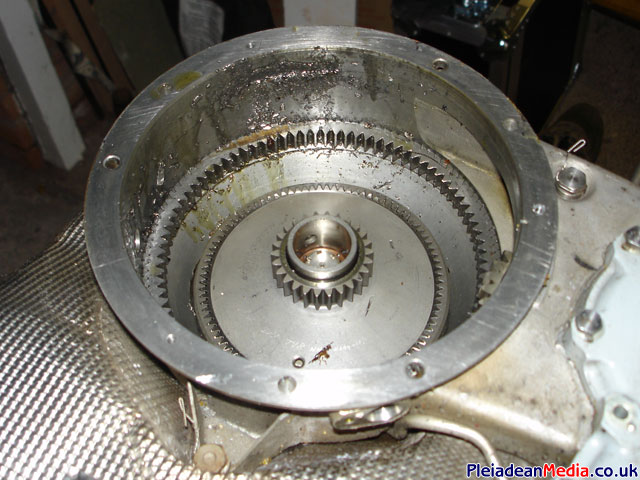
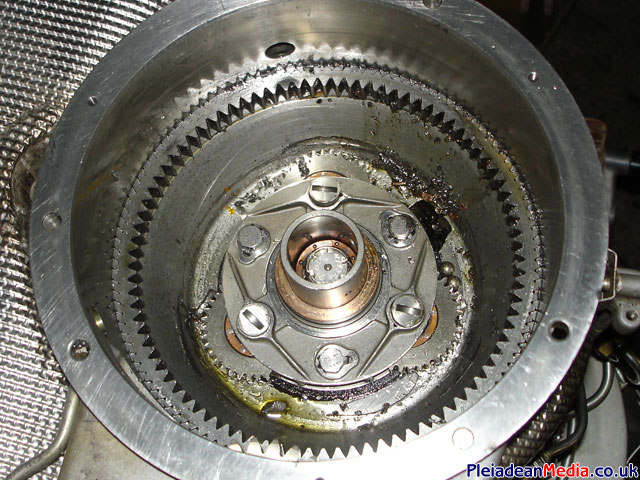
What you see with the final drive removed from the gearbox casing. Lots of swarf. Happy Days.
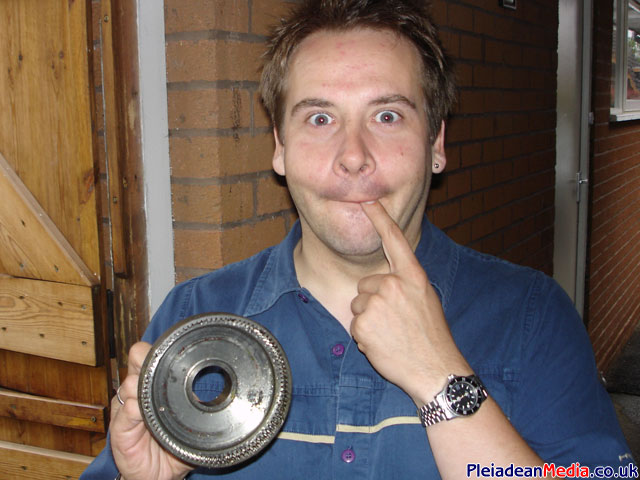
The Reverend Simon Green with a look of shock at the destruction caused to the gearbox cover. Or I suppose maybe he just likes the taste of his finger. Better not go there.
Secondary Reduction Gear Unit. Ready for the scrap man. I can see him rubbing his hands now.
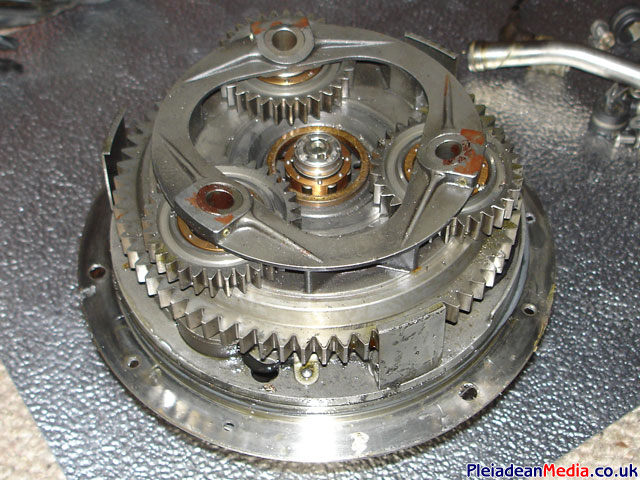
This is how far I got with the removal of the primary gearbox assembley I’ve seen enough now, going for a little cry..
Well nothing to loose apart from some time I suppose, so here we go. I am going to take it steady on this one as it could well be all for nothing. The exhaust guide vane assembly was the most damaged part of the gas generator, if this part is sound then I may stand a chance to make into a turbo jet engine. Here it’s pictured with the vanes removed courtesy of 10 cobalt hacksaw blades and 10 dremmel cutting discs. Still a bit to go I know, but it will do for now.
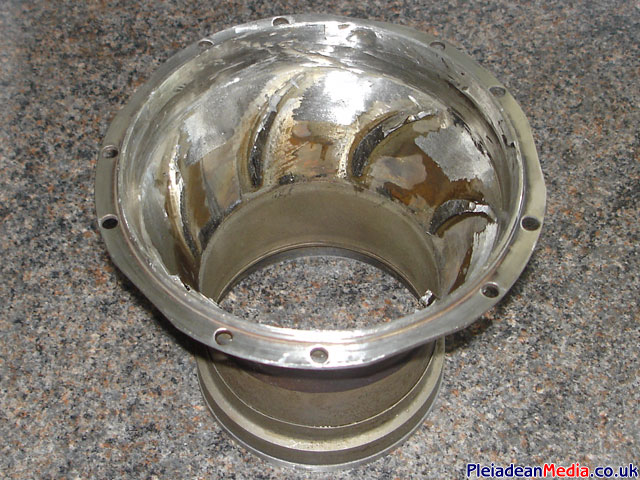
From this picture you can see how the exhaust nozzle fits into the combustion chamber. It is held in place with 10 screws and locking tab washers, with the washers and nuts on the inside. Also you can see the five injector nozzles are on a very basic rail system. Any exhaust nozzle/ jet pipe will have to locate around the small flange just inside the bolt holes, I may do something similar to what I made for the Solent.
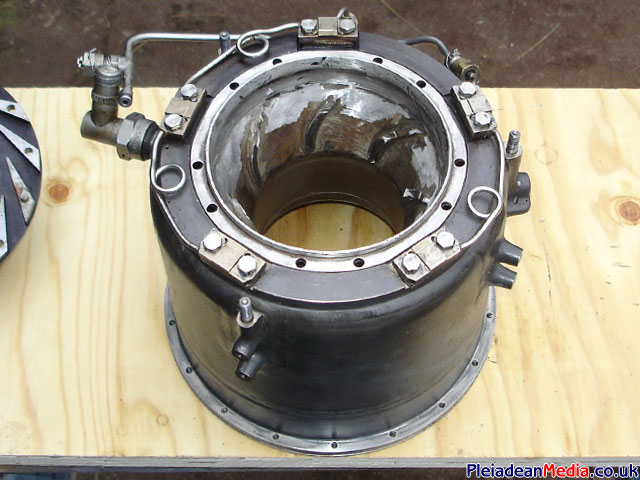
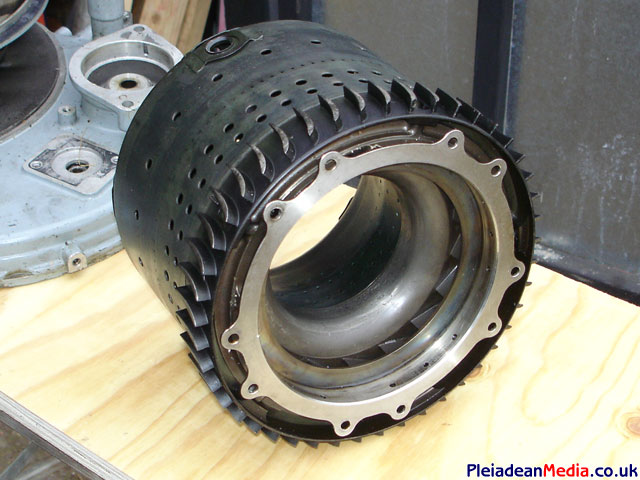
This is the Combuster Can and what a fine piece of engineering it is as well. On the top are the five holes that the fuel is injected through and visible towards us is where the Igniter plug pops it head into from the outer cas
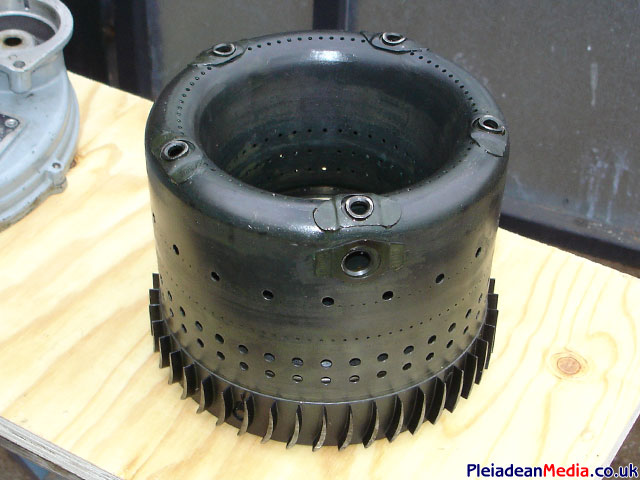
The Combustor on its side showing the diffuser arrangement on the out side, sharp as well! On the inside just visible are the guide vanes that direct the hot gasses on to the Compressor Wheel.
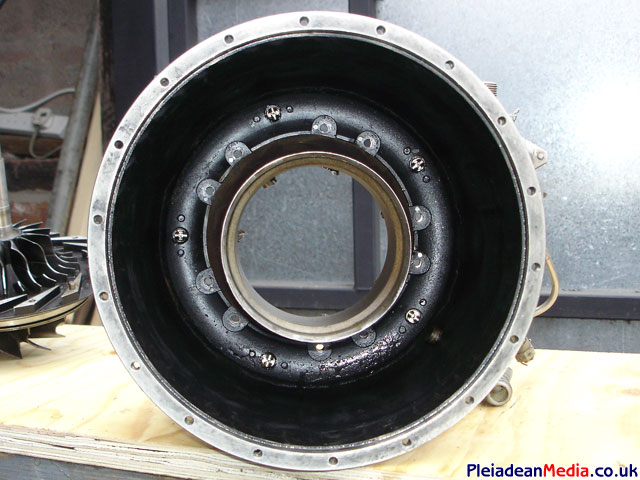
Inside the darkness of the Combustion Chamber, the nozzles of the injectors are just visible and also the back end of the exhaust cone.
You may get an idea how this fits together, pick the combustion chamber up, turn it over and pop it down on top of the turbine wheel. Then bolt it together.
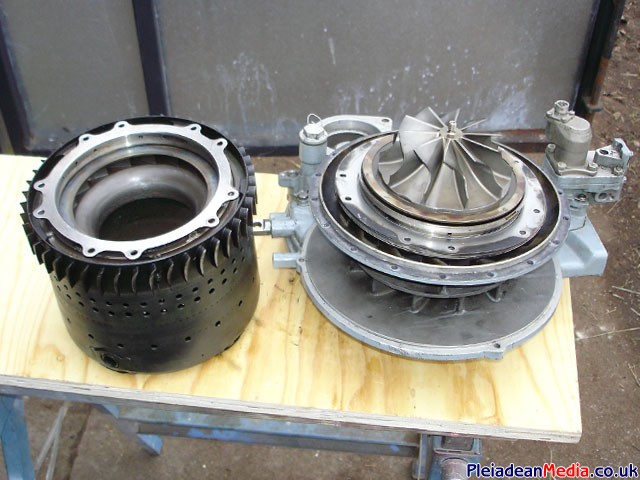
Close up of the Turbine Wheel.
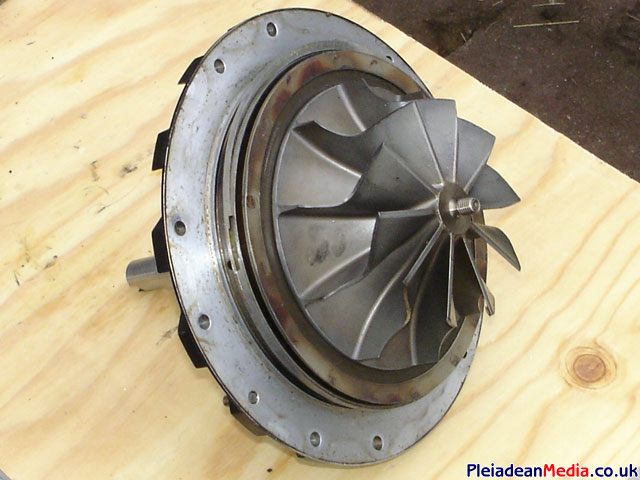
Close up of the Compressor Wheel. I presume you noticed that the two wheels are back to back.
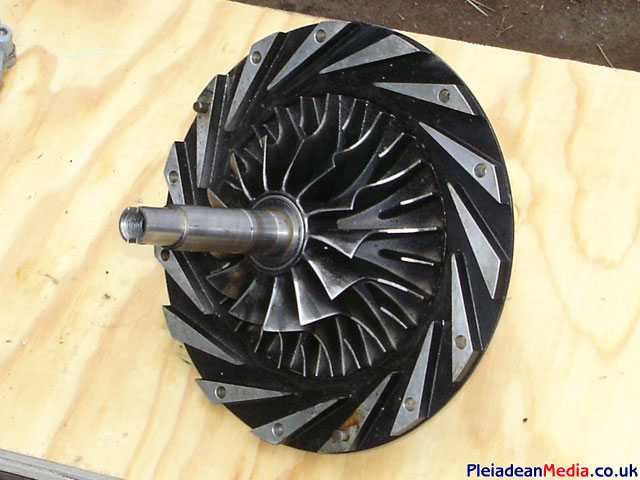
The casing of the CR201 with drives for all of the accessories that are required to run this engine, fuel pump, oil pump and 24volt starter.
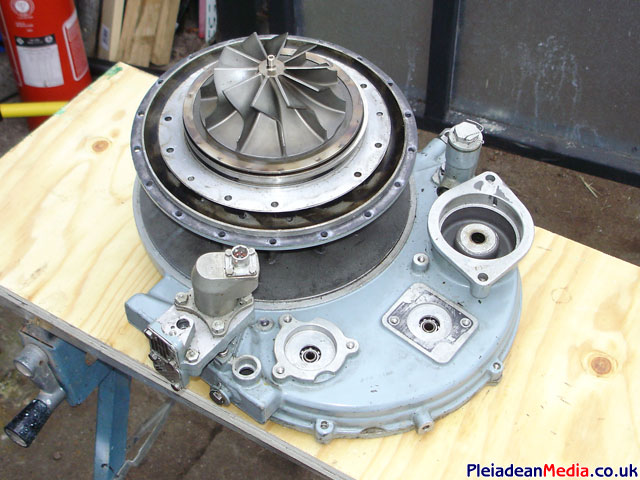
The front with the main cover removed exposing a load of beautifully made gears. The hole on the left is for the bearings that support the main drive shaft and the pipe coming down from it is for lubrication. The hub on the bottom right is the free wheel starter drive, this works on a very fine ratchet system, similar to a bike so that the starter doesn’t have to rotate at huge speeds once the engine is running.
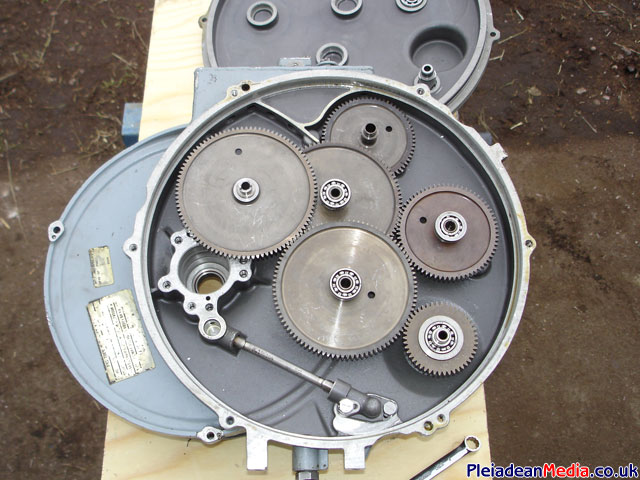
Gears removed and I guess now that its all been cleaned of debris from the Power Turbine that blew up, its time to get it back together. The bearings the first job and the job I’m going to hate, very fiddly!
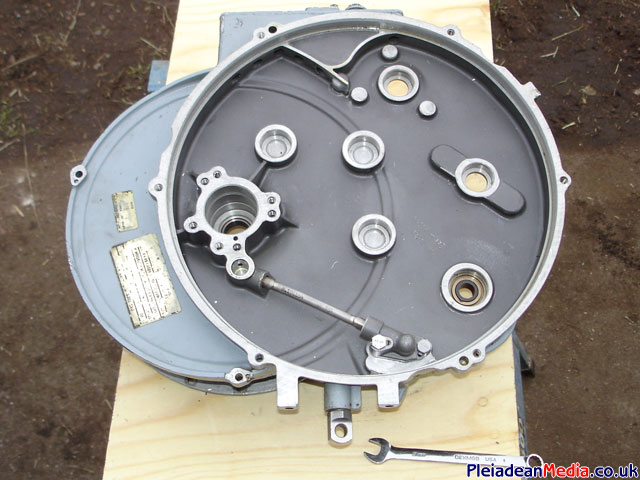
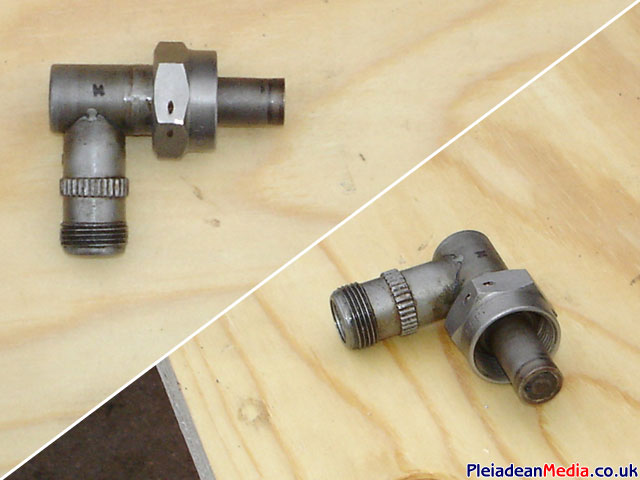
2 views of the Igniter plug from the Lucas.
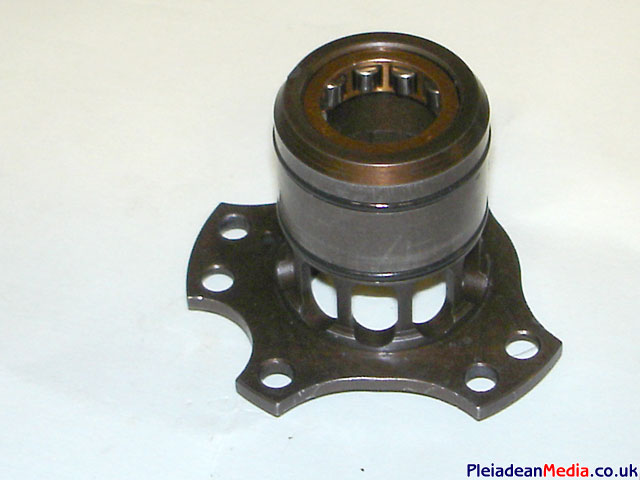
Nasty bit, Needle Roller Bearings in place after about 10 years of fiddling. This is the inner bearing holder (nearest the compressor wheel).
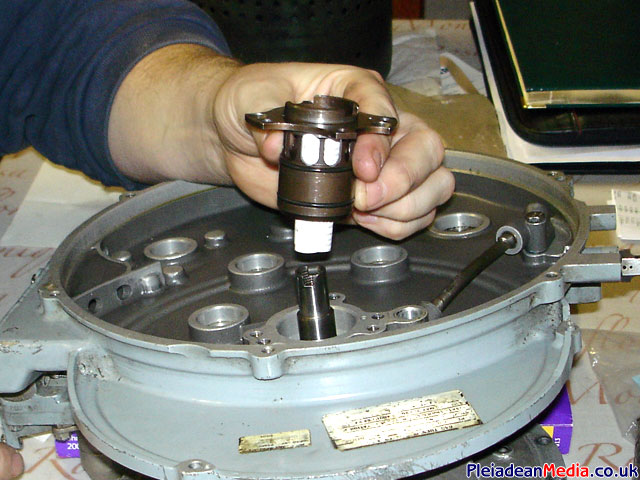
With a piece of card to hold the bearings in place, I had to carefully slide the rollers in to place and then take the card out at the last second.
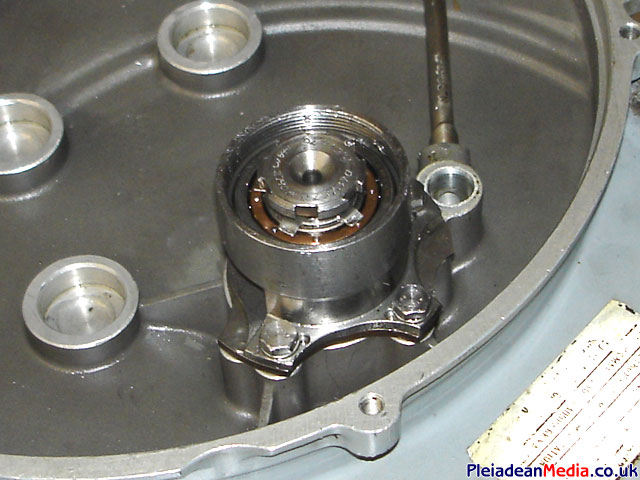
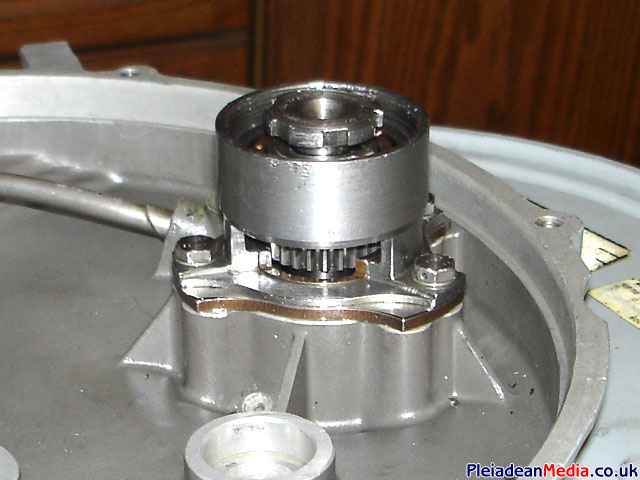
This is the second and upper part of the bearing support housing and was fairly straight forward to assemble. The lock nut and securing rings have yet to be tensioned.
From this picture you can see the drive gear that will power the accessories, straight from the main spindle.
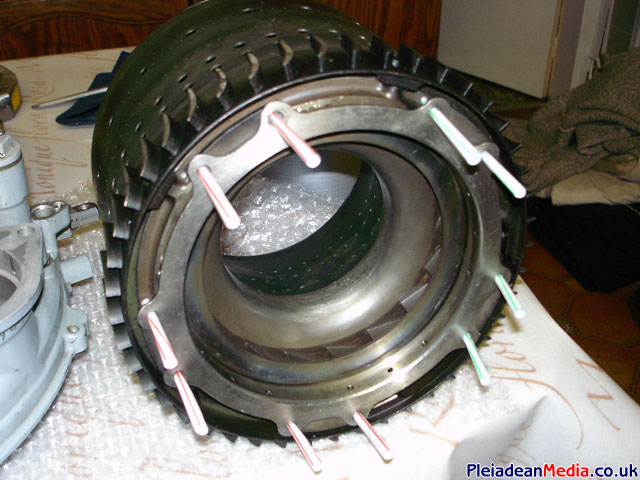
To save time, and because putting this back is a bit fiddly, I have used some drinking straw sections to aid reassemble of the combustion chamber. There are five dual nut tabs that sit behind the holes shown in the image, the idea being to slide the straws through the bolt holes and in to the nuts and then the other end of the straw in to the bolt holes in the gearbox, then carefully mount them together.
Jobs a goodun, combustor now in place and straws taken out one at a time and then replaced with the securing bolts. To finish this part I will Lock Wire the bolt pairs together.
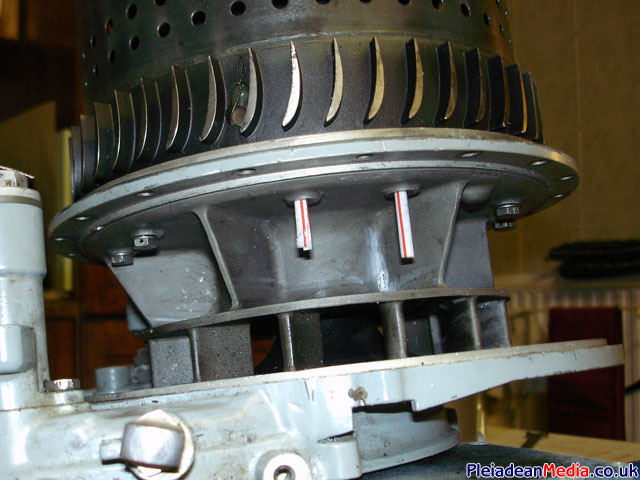
And this part of the reassembly looks like this.
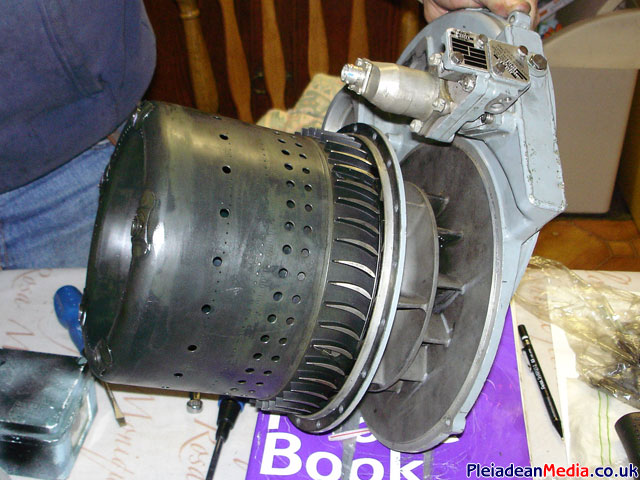
The Oil pump has now been mounted with the scavenge pipe seen nearest to us, I presume the quick release connectors fit directly to the Harriers main oil tanks.
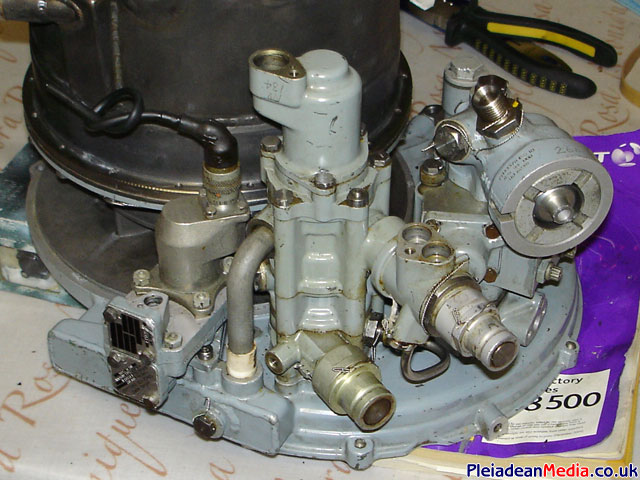
This is the fuel pump, I know piping this is going to be a headache because I’m doing all of this with out any form of reference manual, and working out a way of bypassing the governor that normally would have been fitted on the Power Turbine section is going to be troublesome, unfortunately this may even stop the project in its tracks.
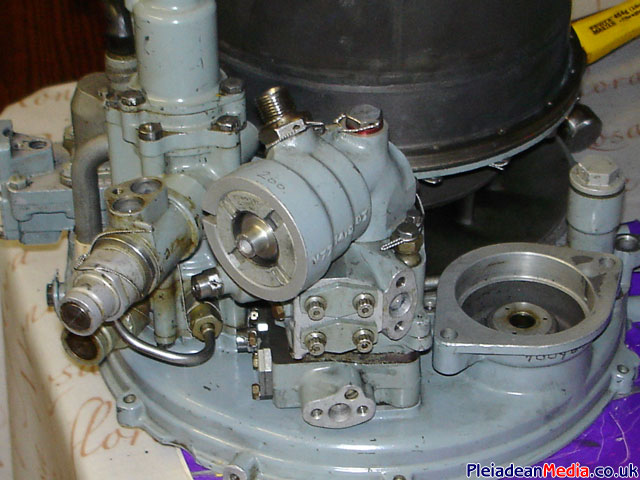
Top view of the assembly so far, with the small oil sump at the bottom and the gearbox spanning out to the right. The accessories connection at the top right is for the starter. The pipe to the left of this is the main lubrication oil feed to the gearbox.
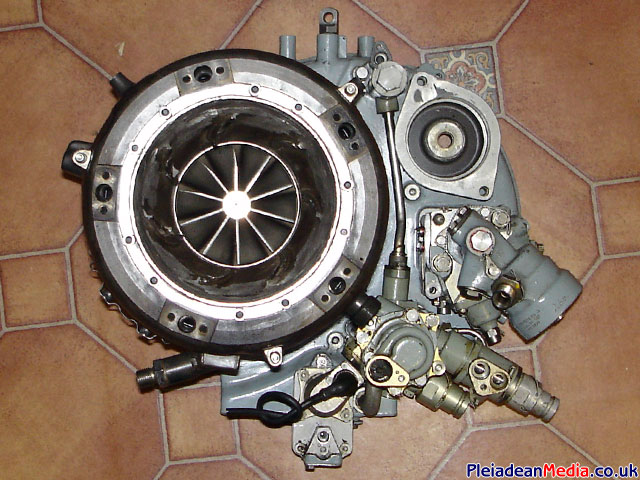
Pipe work has now started to be reattached, and some blanking & re-routing will have to be done. At this point there is nothing more I can do on this project until I get a manual. I am running the risk of ‘a little knowledge is a bad thing’ with the CR201 through the lack of fuel, oil and venting system diagrammatic.
