My wife has decided that because of my exploits our electricity bill is far to high, so as an interesting project I have decided to have a go at making a wind turbine for generating electricity. This is going o be a teaser project and if all goes well, I may undertake some other types of wind generation projects.
Start of the windturbine project. I cut two lengths of 4″ plastic drain pipe in to 24″ long pieces, this pipe will make the turbine blades.
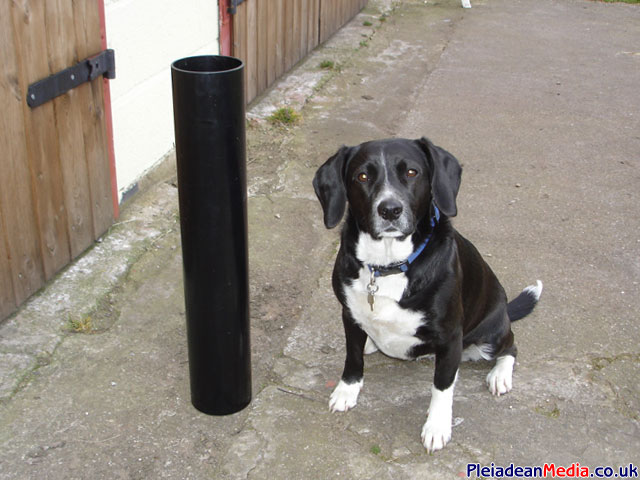
Next the pipe has to be quartered, to do this I found a 2″ piece of square box and marked the pipe every 90 degrees. Then using a metal scribe I etched a mark along the edge, this gave me a neat cutting line.
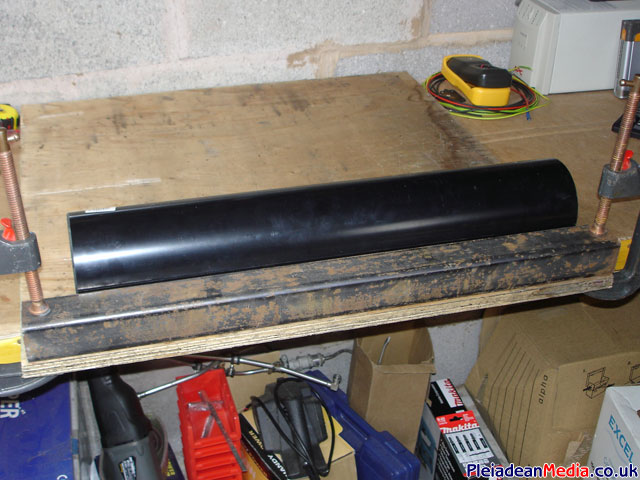
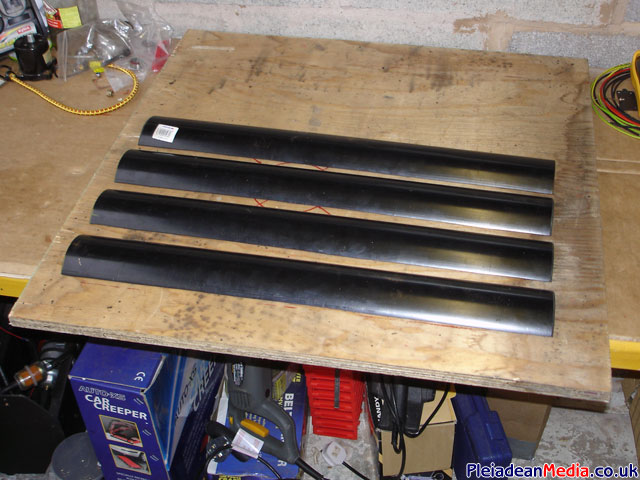
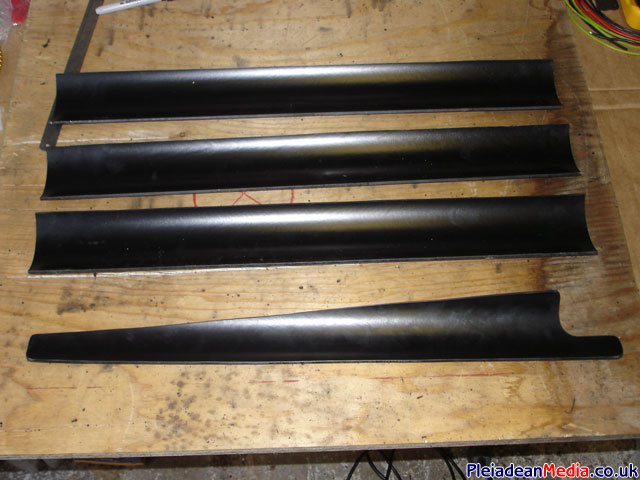
Shown is the 4 quarters that made up the drain pipe.
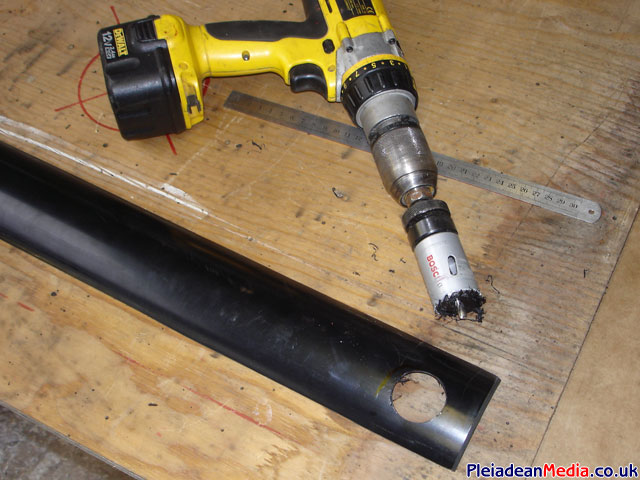
Then I drilled a 35mm hole to give the base of the blade a curved, stress eliminating fixture.
The leading edge of the blade was then cut away to produce an aero dynamic profiled blade and then sanded with a belt sander. I repeated this procedure to give me 6 blades.
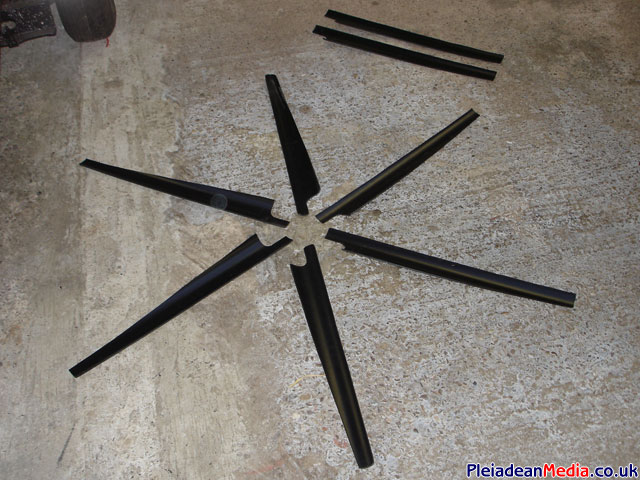
Rather than a typical 3 blade turbine, I decided to have a go at making a 6 blade, of course this naturally left me with a couple of extra blades which I will use as spares.
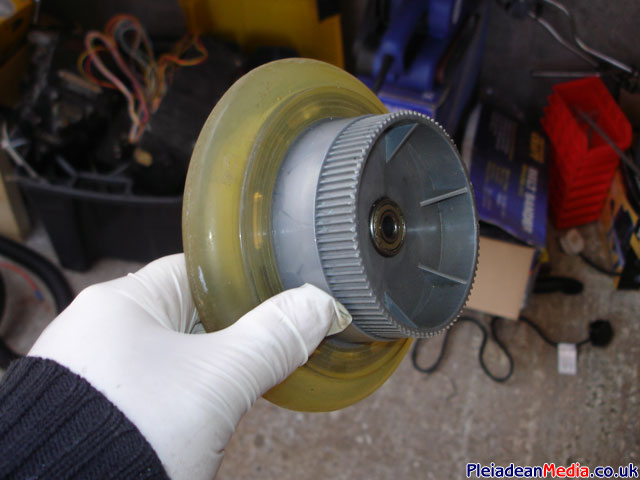
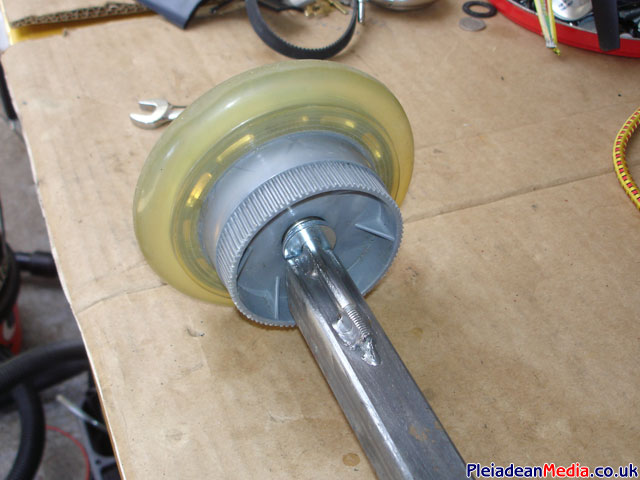
For the generating hub, I found a wheel of a kids electric scooter, it cost around £6.00 and I feel will make a great mounting for the turbine blade assembly.
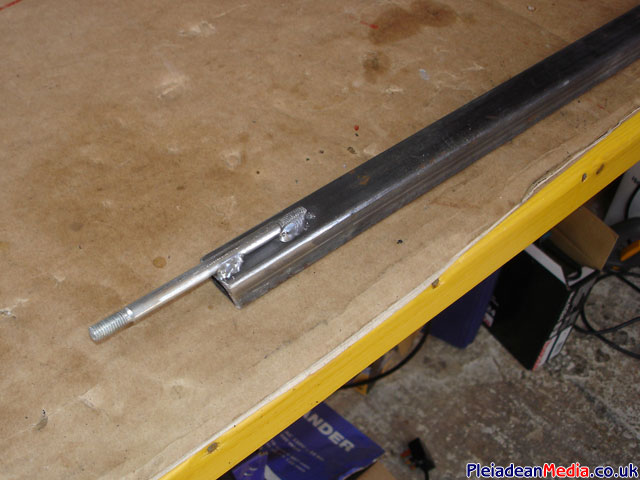
I then welded the spindle that came with the wheel to what will become the main stay of the windturbine.
Hub mounted on to the spindle.
Now the tricky part, there is great debate over the best type of generator, but without going in to it I have chosen a 24volt permanent magnet motor also from a kids scooter, this will act as the generator.
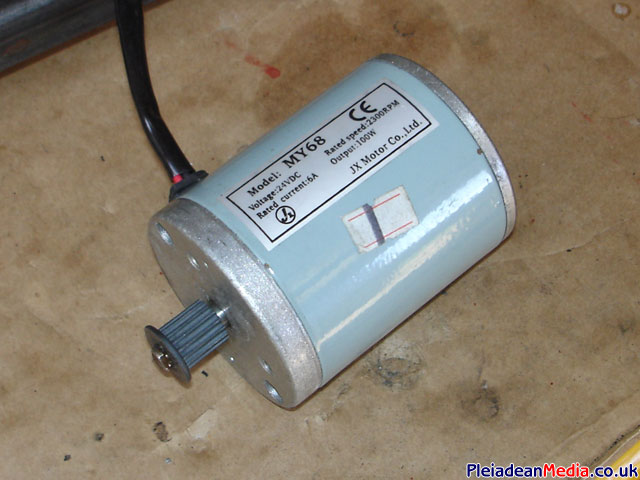
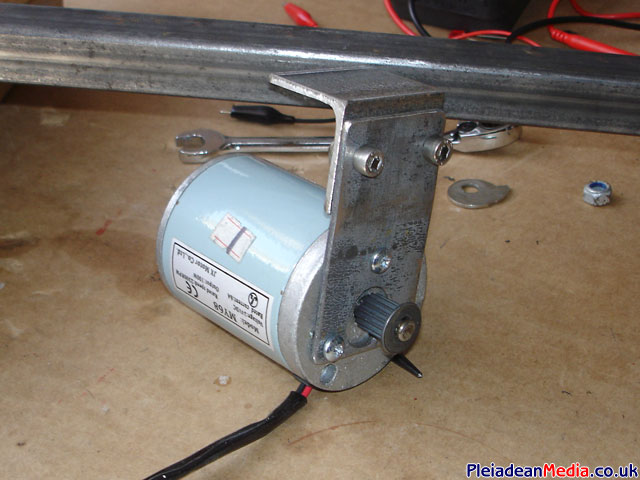
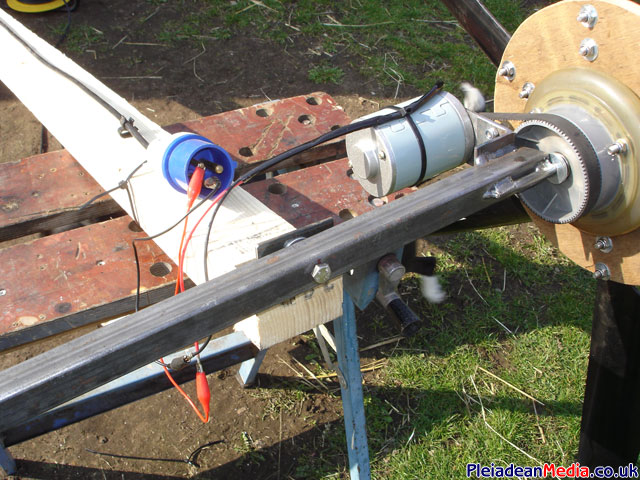
Motor fixed on to the variable tension support bracket, I just have to weld it on to the stay.
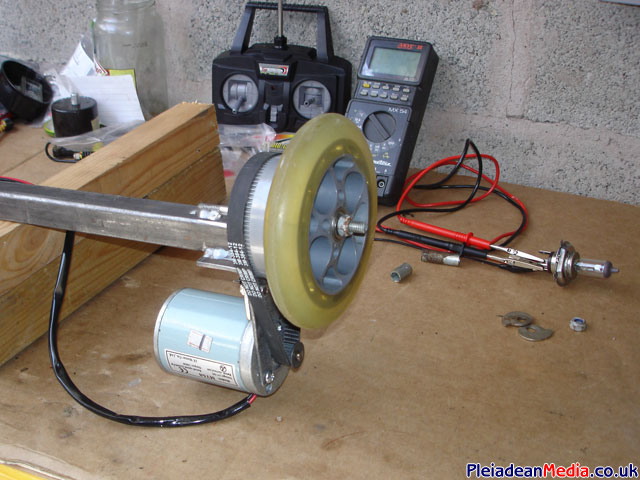
Motor and hub assembled and connected using a toothed pulley belt.
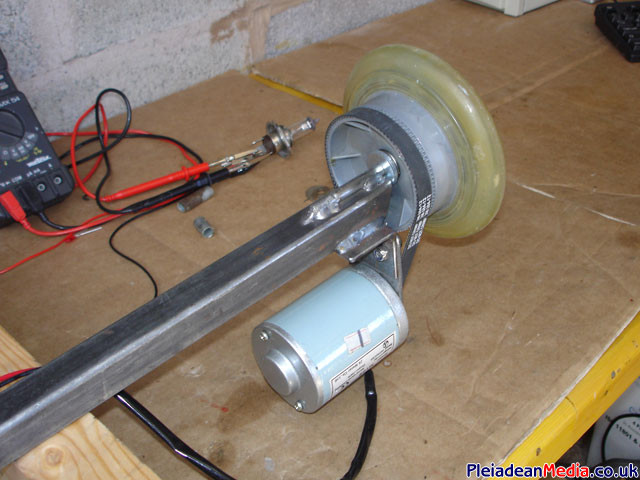
Front view of the hub assembly, next job is to attach a piece of ply wood which will act as the blade fixing plate, bear in mind that this project is to see if I can make a basic turbine, if all goes well, the blades and rotating assembly’s will be fabricated from exoxy resin and glass cloth, well that’s the plan.
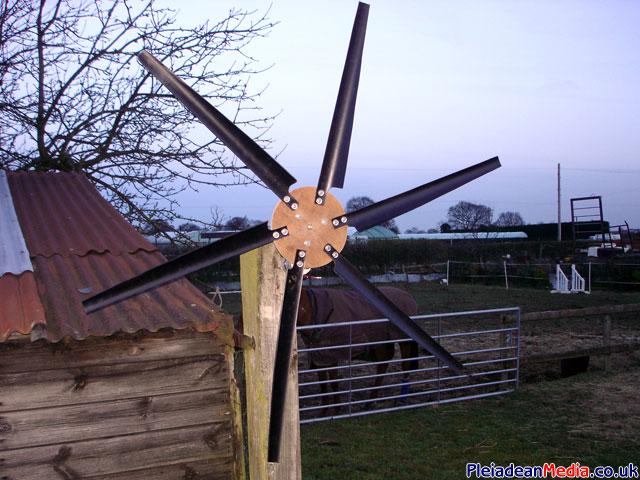
Blades attached to the ply with 2 bolts on each blade and then 3 bolts attaching the ply to the rotor hub.
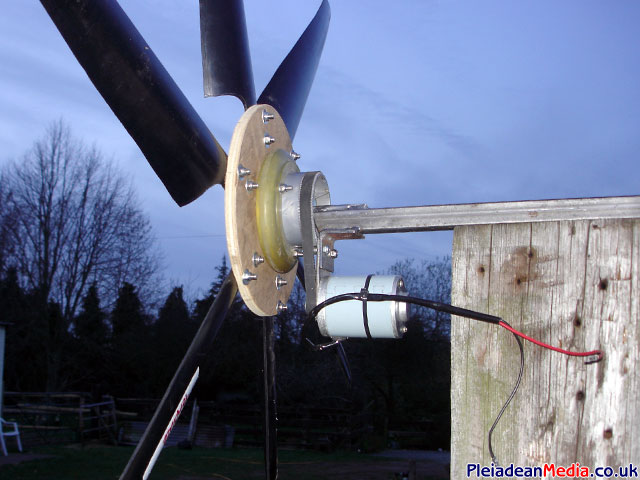
Rear view of the assembly.
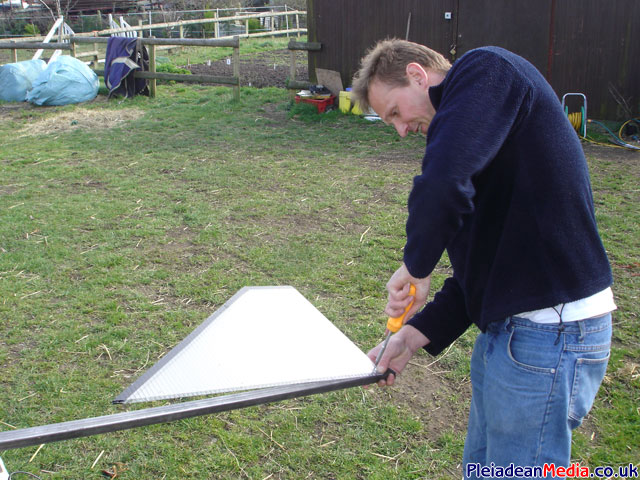
My friend Steve popped along to see how its all going and whilst he was about he made the tail stabiliser for me, bless him.
A Temporary measure to see if the blade design works or maybe I am a little impatient, but anyway I setup a basic pivot and connected it to a mains cable reel as it was of a suitable length, the connections for the test were via small crocodile clips.
Well this will provide all the electricity I will need. To be fair the wind was between zero and 4 mph so the fact that it produced any electric at all meant the design had potential and hooray the project was a success!
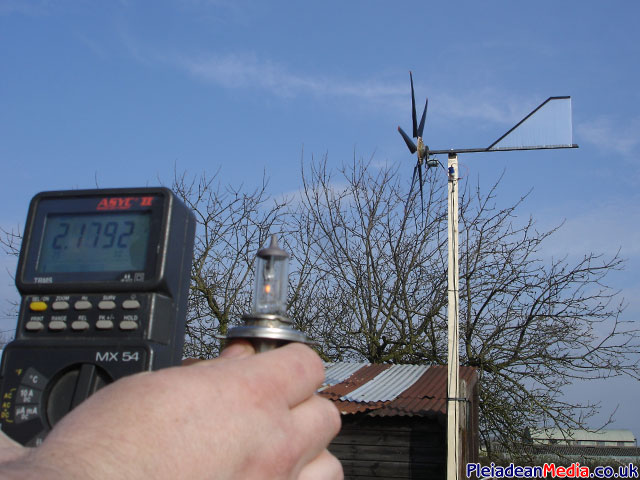
It didn’t take long to realise that the higher the turbine the cleaner and stronger the wind, so we raised it a little bit, then we managed to get a constant-ish 8 to 12 volts, which powered a portable radio that I had lying around.
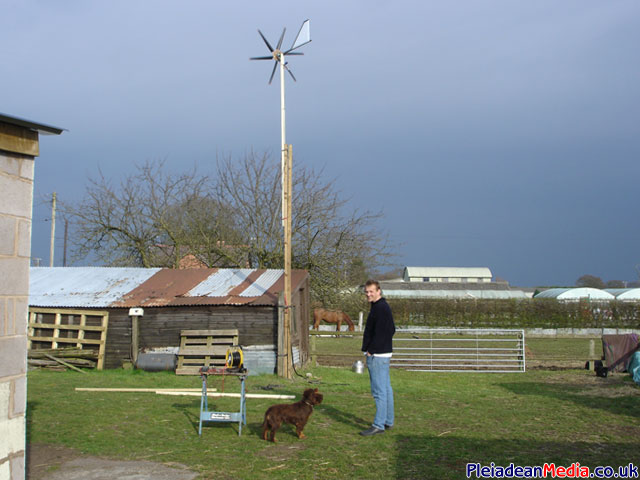
I connected a 12volt supply to the motor just to check what sort of noise it would make when in use, I was very impressed with the quite running of the blades.
